Working with Text
Properties of Text
The Appearance panel lets you change text properties such as color, font and more. To open the panel, tap on the corresponding icon in the main window. Notice that the Appearance panel lets you change the font size and color directly.
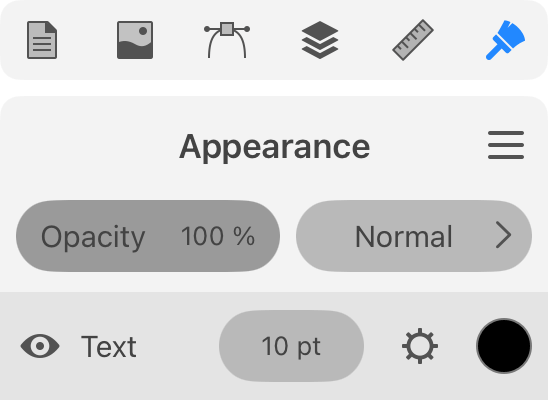
To access all of the properties, tap on the gear icon of a text object.
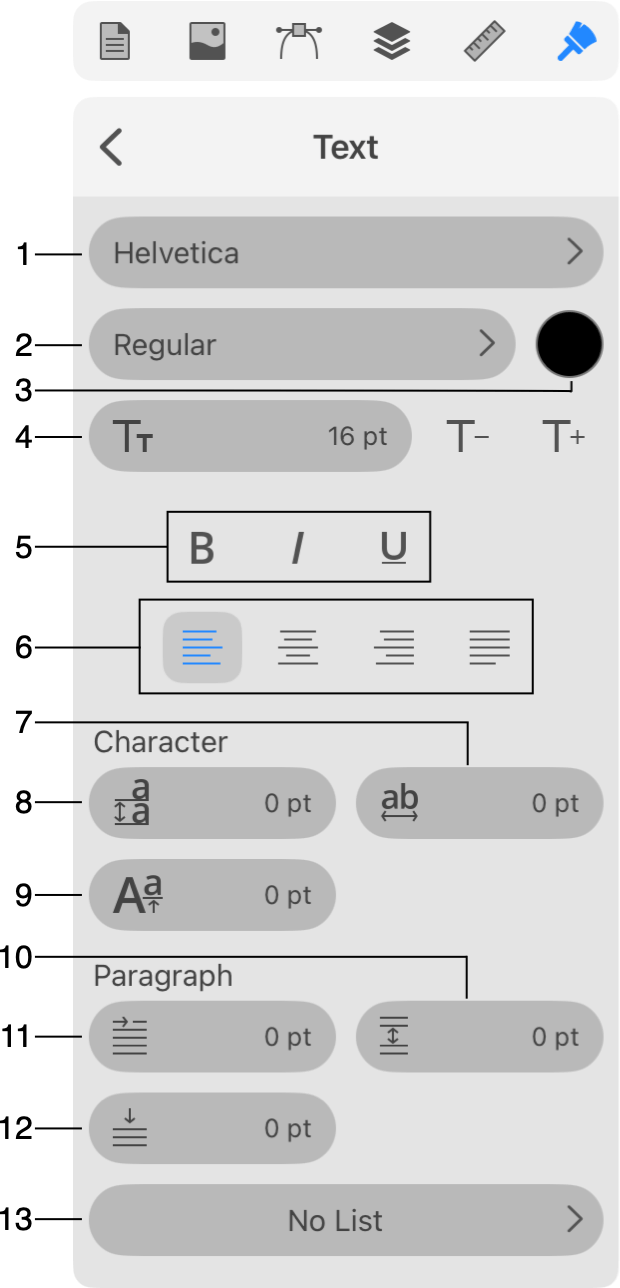
1 - Select a font family (also known as typeface).
2 - Select a font style. This drop-down list shows styles actually available for the selected font.
3 - Set up the text color.
4 - Set up the font size.
5 - Make text bold, italic or underlined.
6 - Select the text alignment.
7 - Change the kerning which defines the distance between characters.
8 - Set up the line spacing.
9 - Move the baseline up or down. That moves selected characters up or down in relation to the rest of the text in the same line.
10 - Set up the amount of space after a paragraph. If the whole text box is selected, this control affects all paragraphs. In the editing mode, you can select one or several paragraphs. In this case, spacing after selected paragraphs will be changed.
11 - Set up the paragraph indent width which offsets the beginning of the first line.
12 - Set up the amount of space before a paragraph. If the whole text box is selected, this control affects all paragraphs. In the editing mode, you can select one or several paragraphs. In this case, spacing before selected paragraphs will be changed.
13 - Tapping on this button lets you create and set up a list. You can choose numbers or letters for ordered lists, or bullet-like symbols.
List Properties
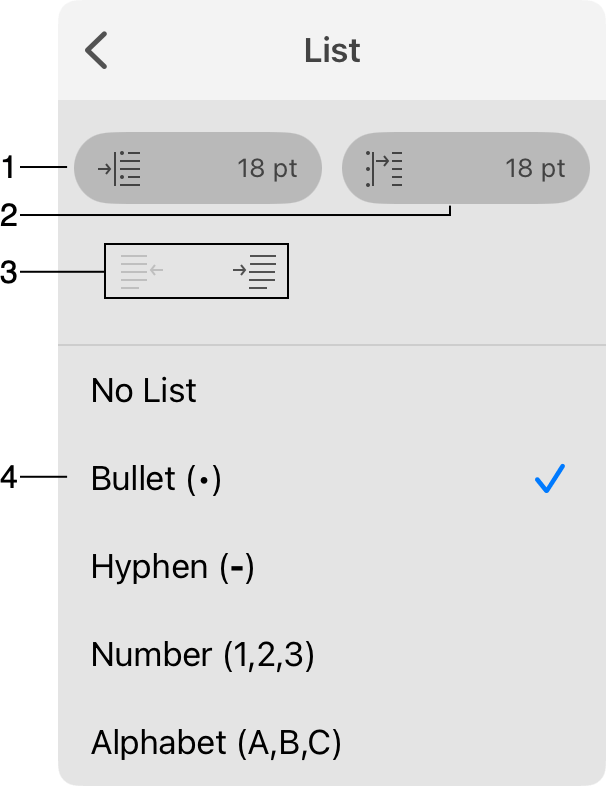
1 - Set the distance from the bullet symbol to the text box border.
2 - Set the distance between the bullet symbol and the beginning of the text.
3 - Decrease or increase the indent level to create a nested list.
4 - Options to create either numbered or bulleted list.