The Library
The Libraries Panel
The Libraries panel has two main purposes. It gives you access to a collection of vector images that you can add to your documents. The panel also lets you store your own objects so that they can be reused later.
To bring up the panel, select Window > Libraries & Stock Images > Amadine Libraries in the main menu. Another way is to click on ![]() in the Control panel and select Amadine Libraries at the top.
in the Control panel and select Amadine Libraries at the top.
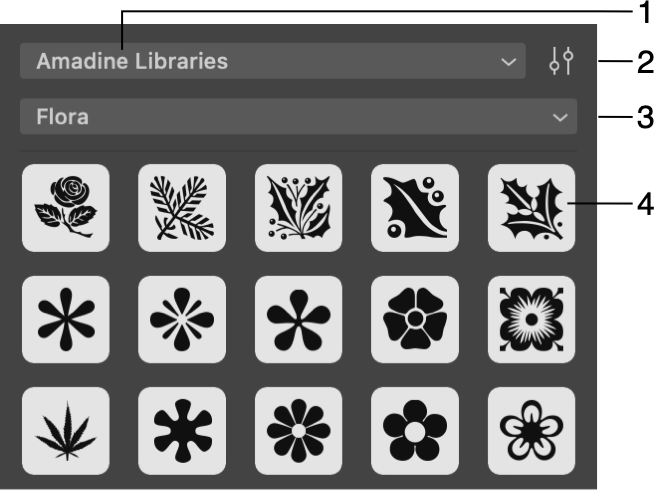
1 - Open a built-in library or image stock.
2 - Open the panel's menu.
3 - Choose a library.
4 - Object's preview.
To add a library object to your design, drag the object onto the canvas. Another way is to click on the object's preview in the library.
Working with Libraries
The menu ![]() lets you manage user's libraries. It is not possible to make any changes in the standard libraries.
lets you manage user's libraries. It is not possible to make any changes in the standard libraries.
In order to create a new library, select New in the menu and type in a name. If you wish to change the name, use the Rename command.
To delete a library that is currently displayed in the panel, choose the Delete command from the menu. Note that the library will be removed together with all objects inside it.
Working with Objects
To add an object to a user's library, select that object on the canvas. Then create or open a library that should store the object and click on the Add Object command in the panel's menu.
In order to remove an object from the user's library, bring up the context menu of the object by right-clicking on it and choose Delete Object.
To reorder objects, drag one of them and drop at a new position in the library.
It is possible to export a user's library to a file that can be imported later on the same or different device.