Working with Text
Creating Columns with Flowing Text
You can split your text into several parts to make it easier to read or to combine it with images. Columns of text are an example of such a layout. Text boxes that contain such text are linked into a chain. When the first text box becomes full, the text automatically flows into the second one, third one and so on. The same happens when you change the size of the text box or font.
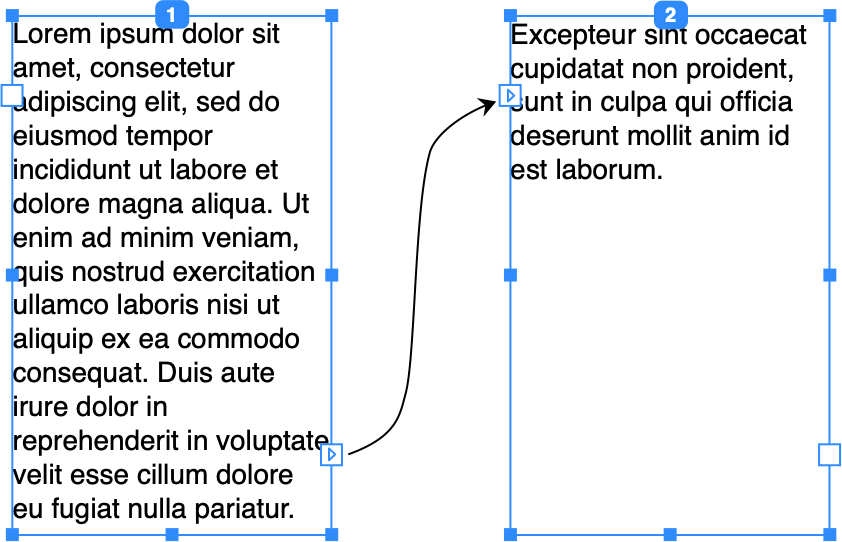
Most commonly, the rectangular boundary is used for flowing text. Text inside a shape also supports this feature.
The text object boundary indicates whether a particular text box is single or linked with others. A linked text box has a tag at the top that displays the number of this text box in the chain. Once you select any text box in the chain, the rest will display their boundaries and numbers. A single text box has no tag.
The boundary of a selected text box has a square control on each side. The functions of these controls are explained in the table. The Available Actions column describes operations that are supported in each case. Consider the left control as the input point and the right control as the output point.
| Control | Functions | Available Actions |
|---|---|---|
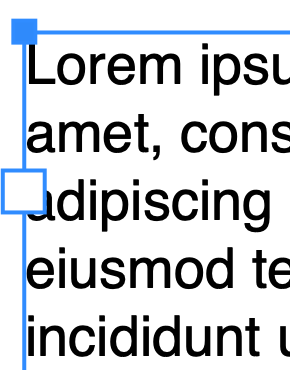 Blank |
A blank control on the left side of the frame means that there is no other text box linked to this side. The text box is either single or the first one in the chain. | Create a linked text box or link an existing text box to the current one. |
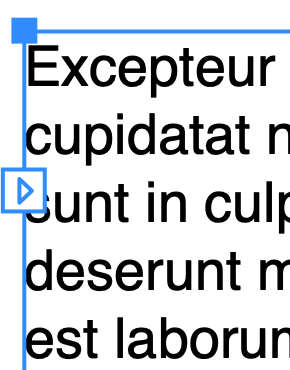 Arrow inside |
An arrow directed inside indicates that text begins in another text box and continues in the current one. The text box is a part of a chain but not the first one. | Unlink the preceding text box or add a linked text box before the current one. |
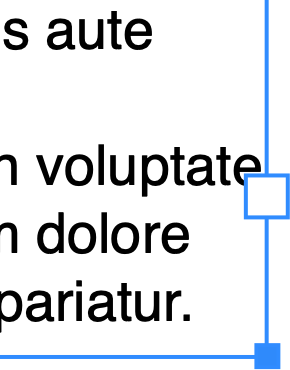 Blank |
A blank control on the right side of the frame means that there is no other text box linked to this side. The text box is either single or the last one in the chain. | Create a linked text box or link an existing text box to the current one. |
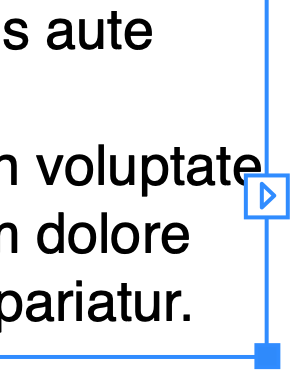 Arrow outside |
An arrow directed outside indicates that text continues in another text box. The current text box is a part of a chain but not the last one. | Unlink the following text box or add a linked text box after the current one. |
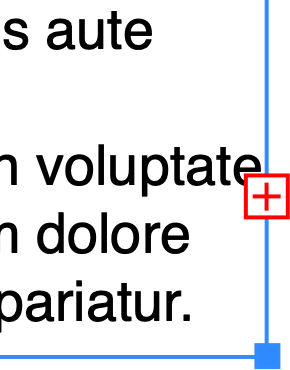 Red plus |
A red plus on the right side of the frame means that the text doesn't fit the given space. The text box can be either a single one or a part of a chain. In the second case, it is the last text box in the chain. | Create a linked text box or link an existing text box to the current one. |
Adding Linked Text Boxes
To create a chain of linked text boxes, add the first text box. Click on its right-hand control. The ![]() cursor indicates that you can create a linked text box. Draw the second text box. Alternatively, you can click on the control and then click on the canvas. In this case, the second text box will have exactly the same size as the first one. You can continue doing this in order to create a chain of multiple text boxes.
cursor indicates that you can create a linked text box. Draw the second text box. Alternatively, you can click on the control and then click on the canvas. In this case, the second text box will have exactly the same size as the first one. You can continue doing this in order to create a chain of multiple text boxes.
Linking Text Boxes
To link two text boxes, use the controls on their sides. You can link the control on the right-hand side of one text box to the control on the left side of another text box. Or vice versa. It is only possible to link either two blank controls or a red plus and a blank control.
In order to link two text boxes, click on a square control of one of the text boxes. To make this text box the first in the chain, choose its right control. To make it the second, choose its left control. Once you place the cursor over another text box, the cursor's icon will change to ![]() indicating that the text boxes can be linked. Click to complete the operation.
indicating that the text boxes can be linked. Click to complete the operation.
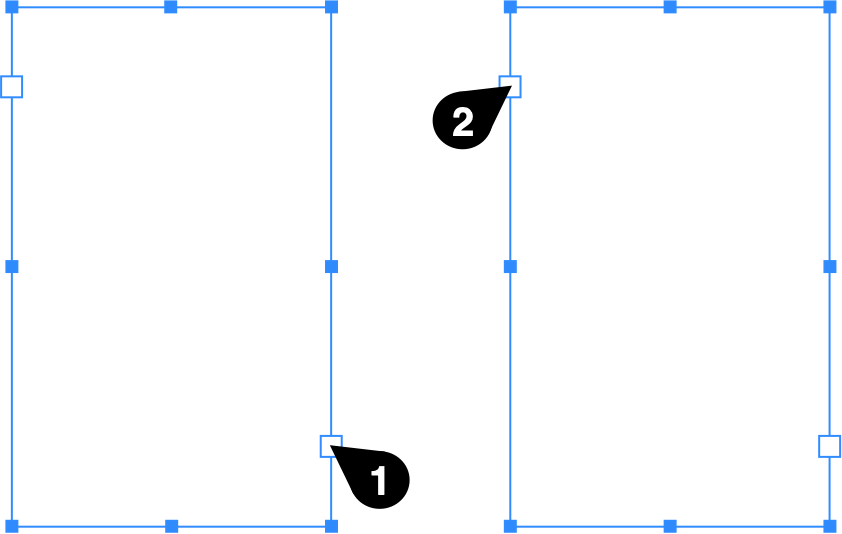
Linking Two Chains of Text Boxes
In order to link two chains of text boxes, you should link the right control of the last text box of one chain to the left control of the first text box of a second chain. This requires the same actions as you take to link individual text boxes.
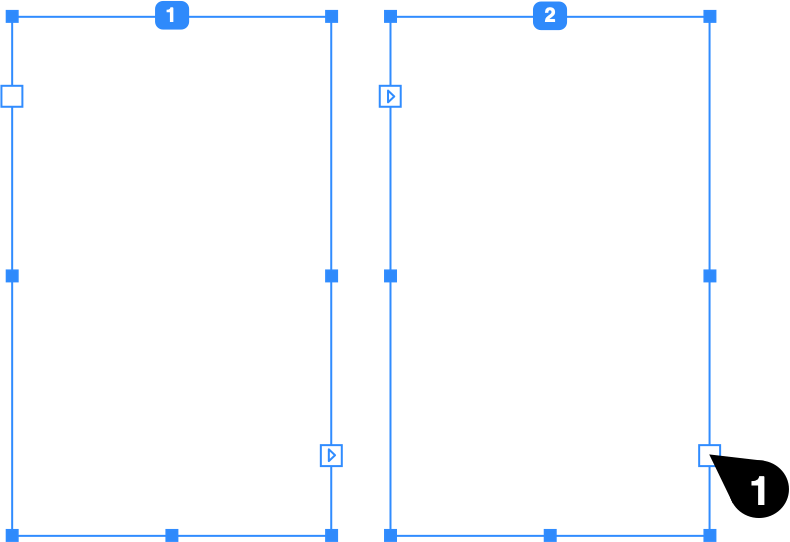
Unlinking Text Boxes
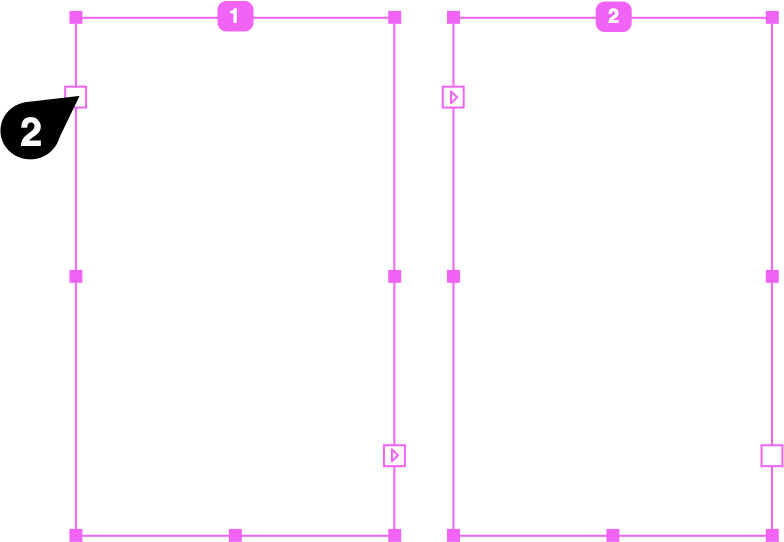
To unlink a text box from the preceding one, click on its left control. To unlink from the following text box, click on the right-hand control of the current text box. Then click on the text box to finish. Alternatively, the second click can be made on a text box that you want to unlink from the current one. The cursor's icon ![]() indicates that unlinking is possible.
indicates that unlinking is possible.
Inserting a Text Box in the Middle of a Chain
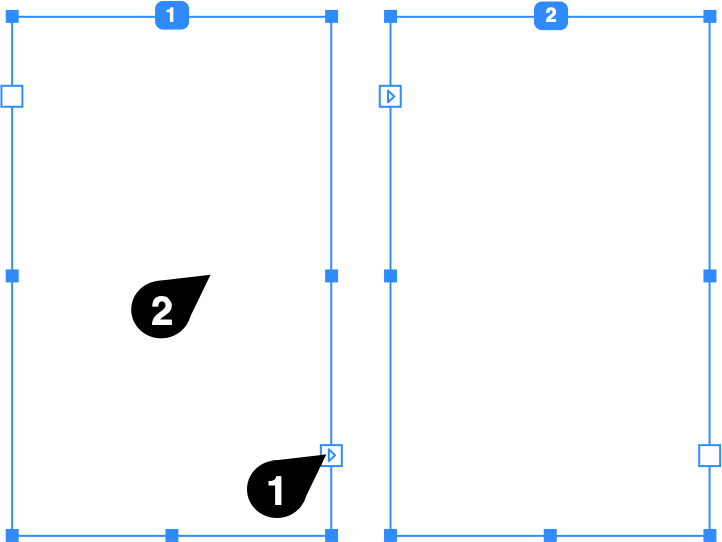
To add a text box in the middle of a chain, after a particular text box, click on its right-hand control with an arrow directed outside. Then draw a new text box. The new text box will be automatically linked to the preceding and following text boxes.
To insert a text box before a particular one, use its left control.
Removing a Text Box from a Chain
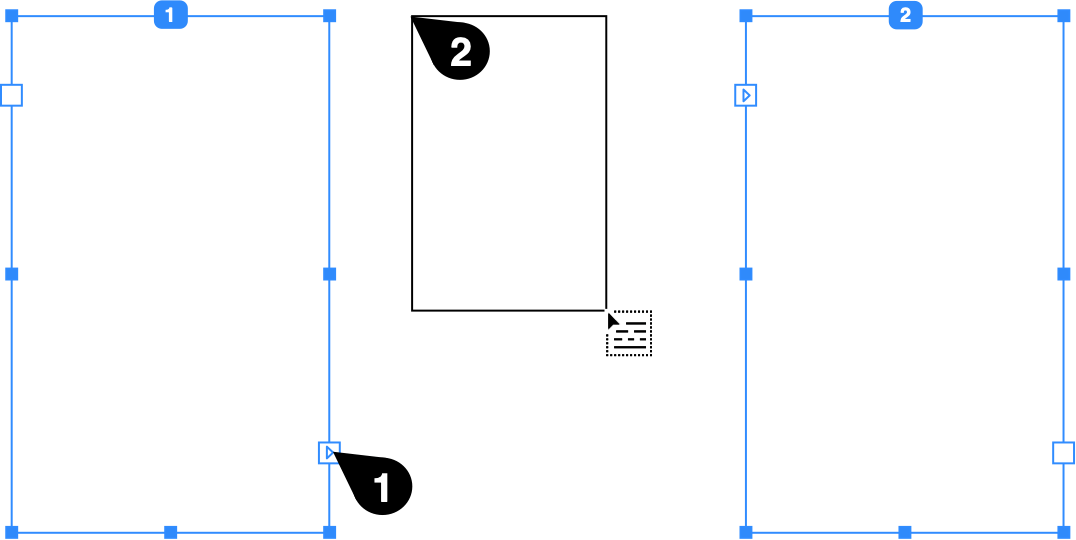
To delete a text box from your design, just delete it as you would do with any object. If a text box is located in the middle of the chain, the program will automatically relink the text boxes before and after it.
If you want to remove a text box from a chain but preserve it in the design, unlink this text box and relink other text boxes if necessary.