Layout
The Grid
The grid can help you place objects on a sheet. It can also be useful when you resize an object or sheet by dragging handles opposing inputting exact dimensions.
To show or hide the grid, use the Document panel. Tap on the eye icon of the Grid option.
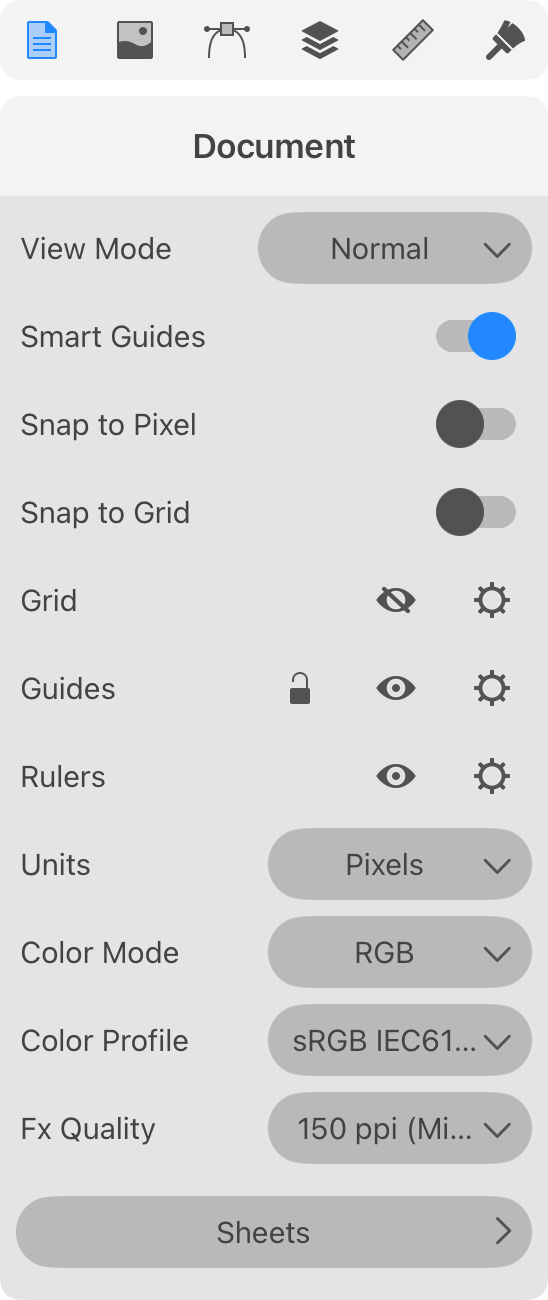
To make an object or its part snap to the grid, activate the Snap to Grid option.
Setting Up the Grid
In order to set up the grid in the current document, tap on the respective gear icon in the Document panel.
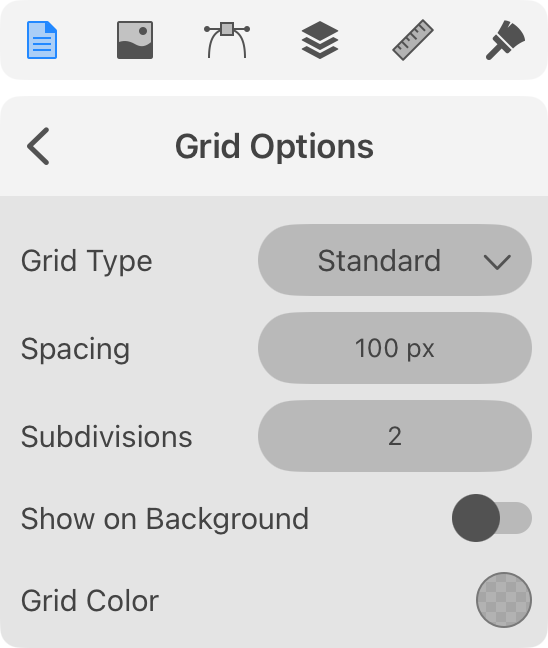
Grid Type: Defines the type of the grid (e.g., standard or isometric). Note that changing the grid type shows the grid if it was invisible. To control the visibility of the grid, use the View > Grid command in the main menu or the drop-down menu in the Control panel.
Spacing: Sets the distance between the grid lines.
Subdivisions: Divides each grid cell into several parts. For example, type "3" in the edit box to split cells into three parts.
Show on Background: Defines whether the grid should be displayed in front or behind everything else on the canvas.
Grid Color: Defines the color of the grid. Notice that the Grid Color in the Preferences specifies the default color for all new documents. You can use the Grid Options panel to change the grid color in a particular document.
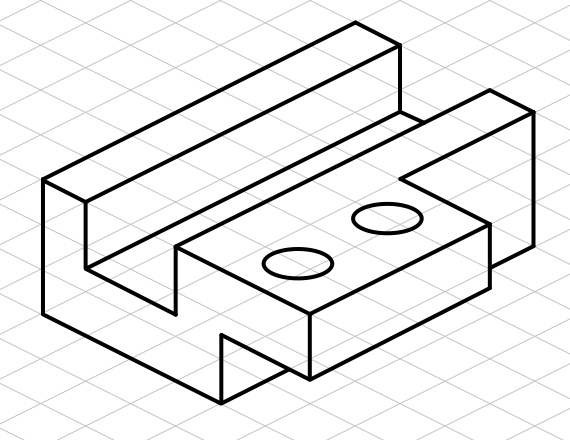
Grid Types
The app lets you choose different grid types in the Grid Options panel. Each of the types has different angles of the grid lines.

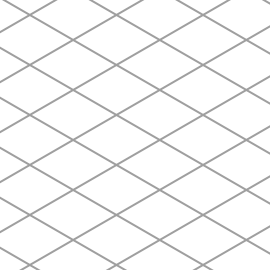
The purpose of the Standard grid is to arrange objects in your design. Other types include isometric and axonometric grids. They can help you create designs that use parallel projection to make objects look three-dimensional.