Color, Gradient and Image Fill
Image Fill
You can use raster and vector images in your document. They may be used as tiled textures, backgrounds or for other purposes.
Add an Image
The easiest way to add an image to your document is to drag it from Finder onto the canvas. The image will be added as a new object with the original aspect ratio. You can also copy an image from other software.
In order to fill a shape with an image, you should use the Color panel:
- Select an object.
- Add a Fill property to the current object in the Appearance panel if the object doesn't have one.
- Click on the color icon of the Fill property to open the Color panel. Then select the Image tab.
- Click the Choose image… button and select an image.
- Adjust image properties if necessary.
Whatever way you have added an image, you can come back to the Color panel and re-adjust the settings there.
The Color Panel
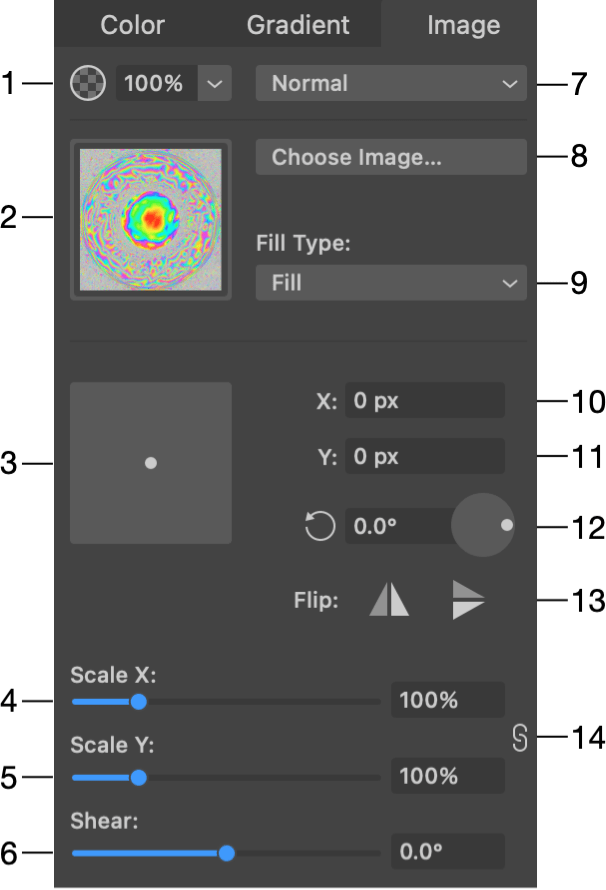
1 - Opacity. Unlike the opacity of an object or layer, here you can adjust the transparency of the image itself, keeping the stroke or other effects with their own opacity.
2 - Image thumbnail.
3 - Offset of the image from the centered position in relation to the object. Drag the round handle and preview the result on the object in your document.
4 and 5 - The horizontal and vertical scales of the image. You can make the image bigger or smaller without resizing the object which contains the image. At a scale higher than 100%, the image will get cropped. In order to change the both values simultaneously, lock them using the icon on the right.
6 - Shear the image. This parameter transforms the image into a parallelogram.
7 - Blend modes. If you wish to select a blend mode for the whole object, use the Layers panel.
8 - Click to load an image from a file.
9 - The Fill Type options define how the image should fit the object. For details, see the Fill Type section.
10 and 11 - Set the image offset using numeric values. These edit boxes work together with the square offset control.
12 - Rotate the image inside the object.
13 - Flip the image inside the object.
14 - Maintain the current aspect ratio when either Scale X or Scale Y is changed.
Note that when the Fill Type is set to Stretch, the app sets most of the parameters automatically. Consequently, most of the controls become disabled.
Fill Type
The Fill Type drop-down menu lets you choose the Fill, Stretch and Tile options.
At 100% scale, and when the boundary has the same aspect ratio as the image, all of the options can yield the same result. The difference will become visible if you change the aspect ratio of the boundary or if you scale the image.
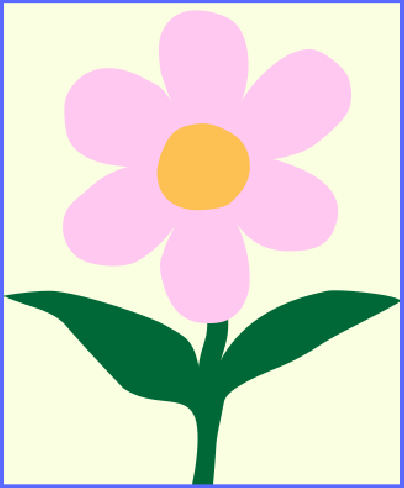
To see how the Stretch option works, we can decrease the height of the object. With Fill, the image will keep its aspect ratio, but some image parts that don't fit can be invisible. Stretch will reshape the image to fit it for the new width and height.
image is cropped
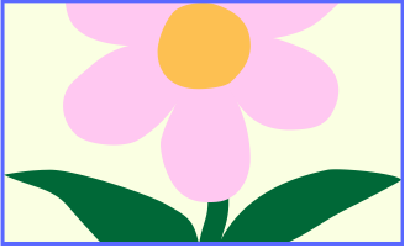
image is deformed
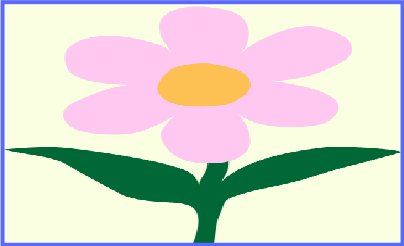
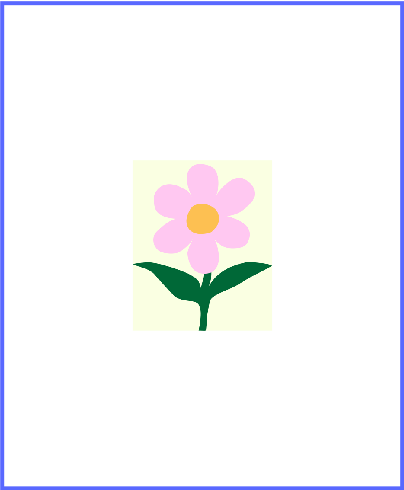
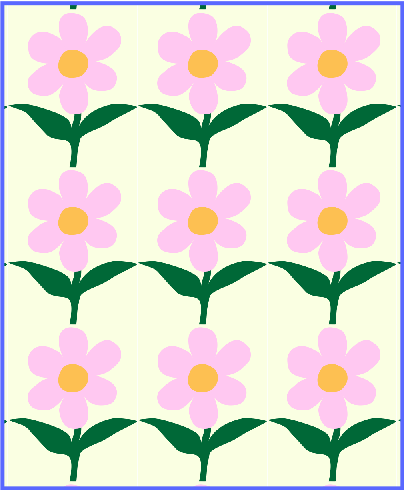
The Tile option makes a difference when the image is scaled down. Many copies of the image will take up the whole available space. With Fill, you'll still have a single small copy.
single copy
many copies
Note that to create a tiled texture, you may need to use a specially designed image that can be tiled seamlessly. Creation of such images is outside the scope of this documentation.