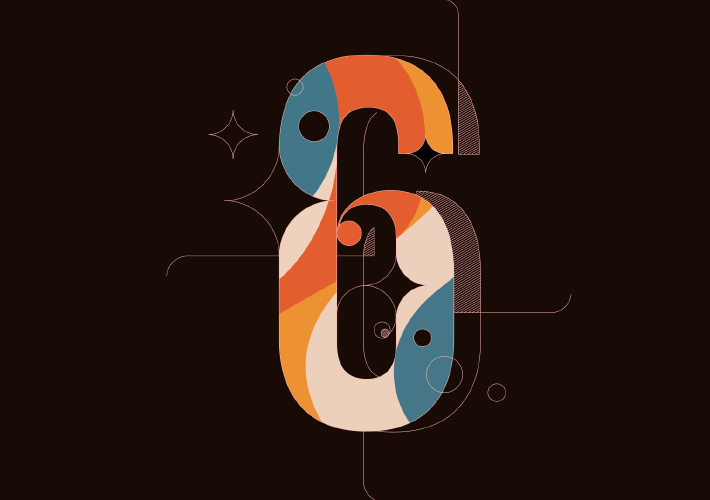
How to Draw a Letter or Number in Amadine in Minimalist Style
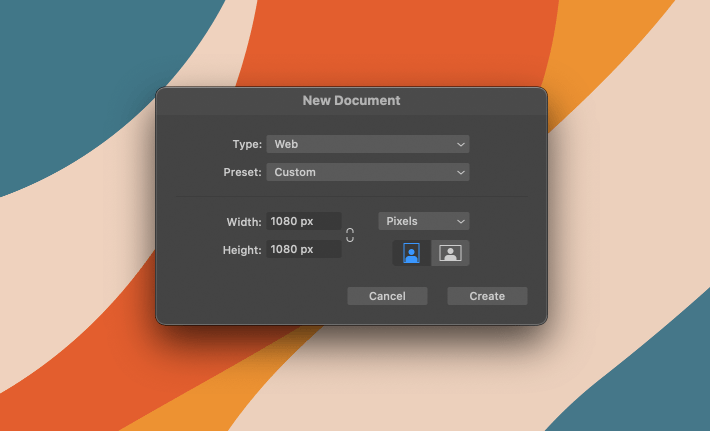
First and foremost, open Amadine and create a new document with the parameters of 1080 × 1080.
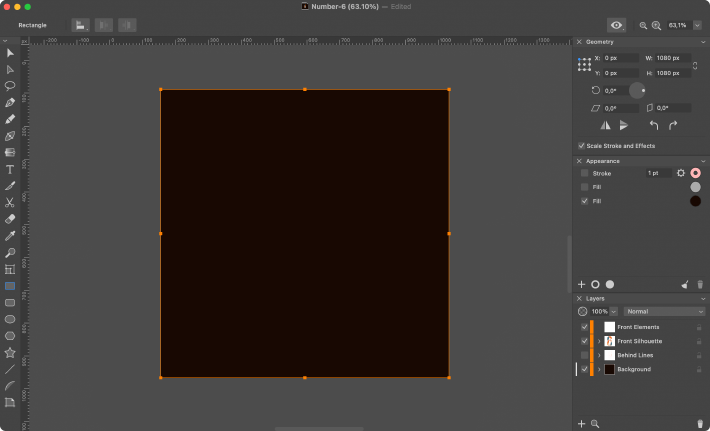
Go to the and create a square with the dimensions of 1080 × 1080 px, which will be used as a background. Fill the square with the color #170905.
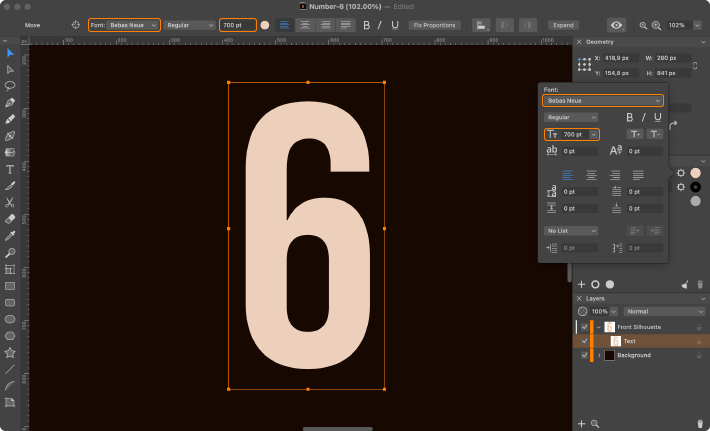
To create a shape of a number, switch to the . Click in any place on canvas, and in the created text box type the number 6. Then go to the Appearance panel, and, in the Text field type, set the size of the text to 700 pt.
Next, click on the gear to get to the text settings. In the font popover, change the font into the one that you’ve chosen to work with. In our case, the font is Bebas Neue. You can always download it from Google Fonts if you don’t see the one you want. You can also find the text settings in the Control panel in the upper part of your interface window.
The next step is to convert the text object to a shape. Doing that is easy—select the text object and click on the Expand button located in the Control panel. You can also find this function in Menu > Modify > Expand.
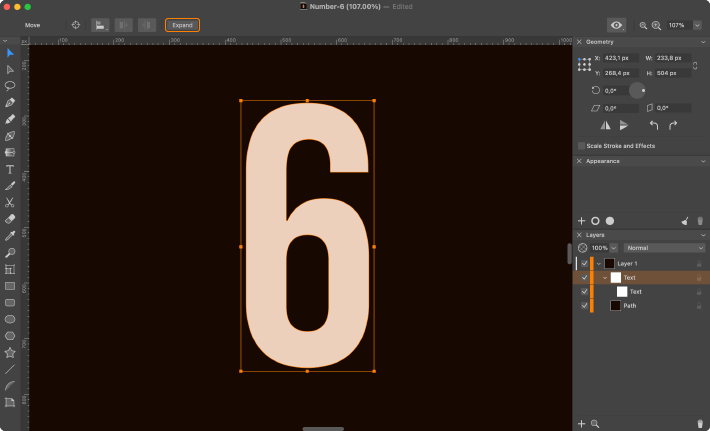
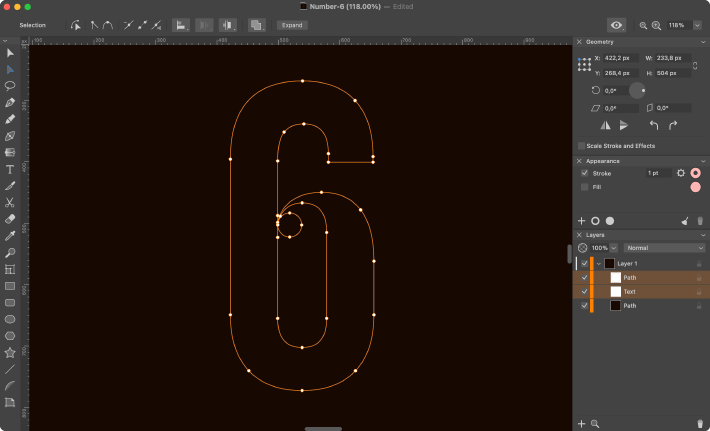
Once the text object is converted to the shape, you can start modifying the letter. For convenience, turn off Fill in the Appearance panel, leave Stroke with a thickness of 1 pt, and fill the shape with color #FFB6B6. Now go to the and make the changes demonstrated in the example.
The next step is to create a decorative fill. Go to the and create flowing shapes to recreate an abstract image. Here, you can let your imagination fly and do wonders. The initial fill colors for the reference are: #457789, #ECD0BC, #EE9232, #E45E2E.
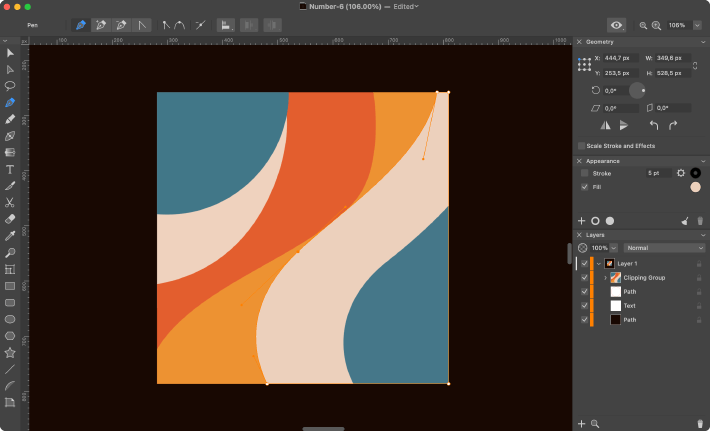
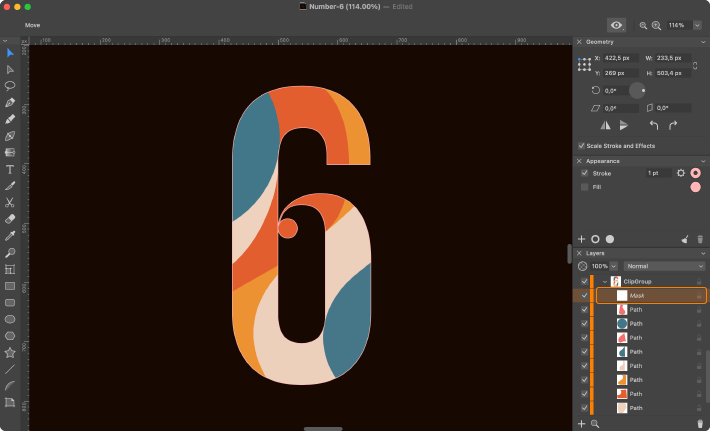
To fill a number with the abstract shape, use a Clipping Mask. Put an abstract shape in front of the number, select both objects and go to Menu > Modify > Make Clipping Mask. More information on the topic of the Clipping Mask use can be found in the dedicated article.
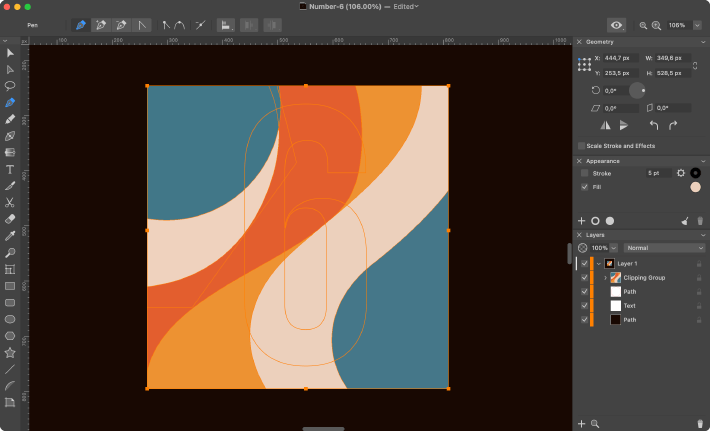
Next, add stroke to the number. In the Layers panel, open the Clipping Group and select the Mask layer. Set the Stroke to 1 pt and fill it with color #FFB6B6.
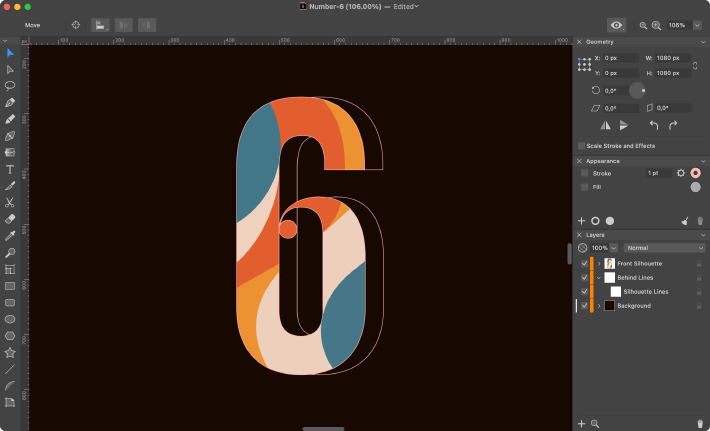
Copy the masked object by pressing Command+C shortcut. Next, create a new layer in the Layers panel by pressing “+” at the bottom. Move the new layer behind the numeric layer and press Command+V shortcut. Using the Selection Tool, move the object according to the example.
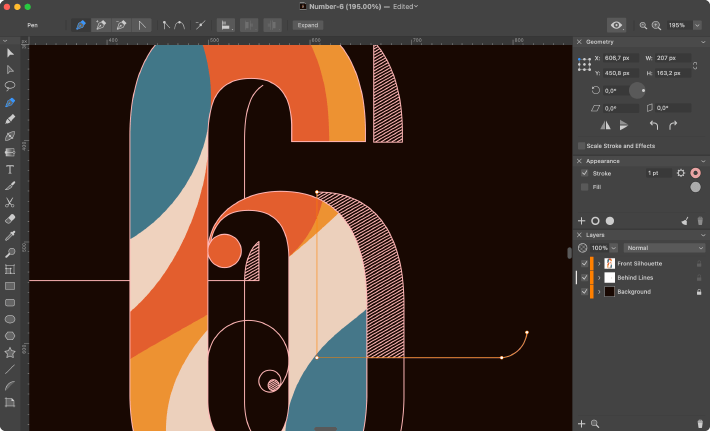
The next step is to add decorative elements using the Pen Tool.
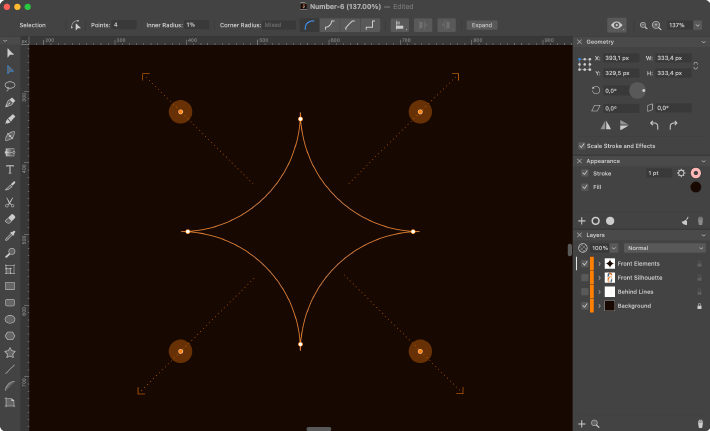
Let’s create a new layer and move it in front of all the others. Create a star using the Star Tool. Set Stroke to 1 pt and color it with #FFB6B6. Set the Fill color to #170905.
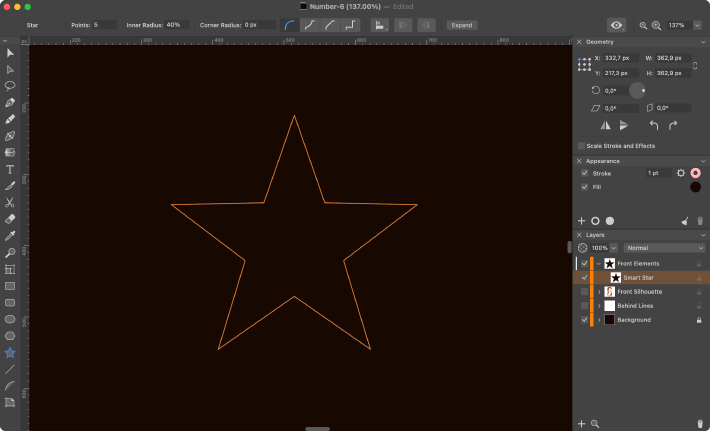
In the Control panel, change the Points parameter to 4 and the Inner Radius to 1%. Go to . To select several controls simultaneously, hold down the Shift button and click on them. Next, pull the controls out to create rounding, as shown in the example.
Now, let’s copy the decorative objects we have just created 4 times and place them as shown in the example below.
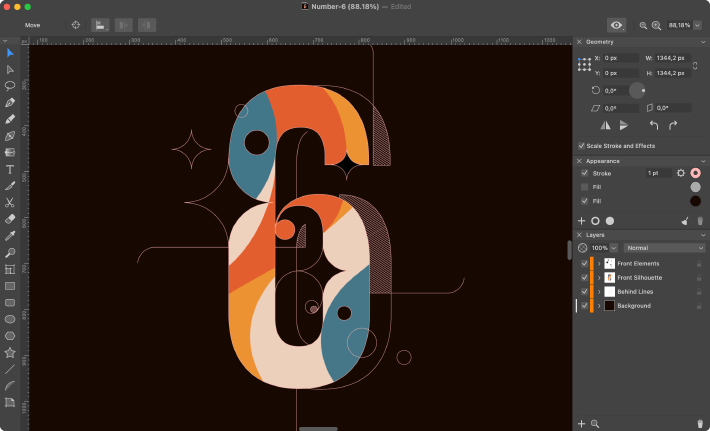
The final result will look like this: