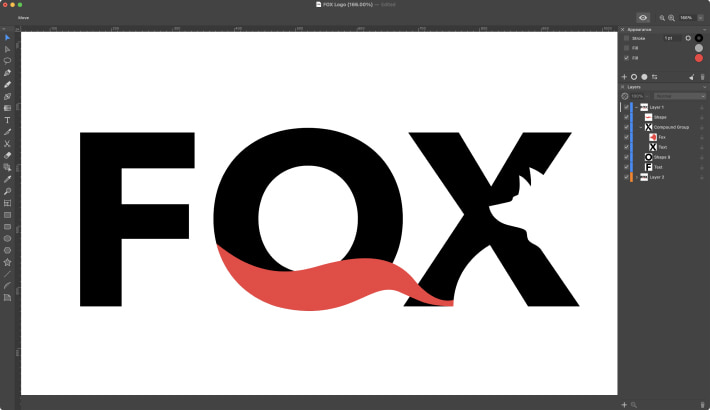
How to Make a Logo in Amadine

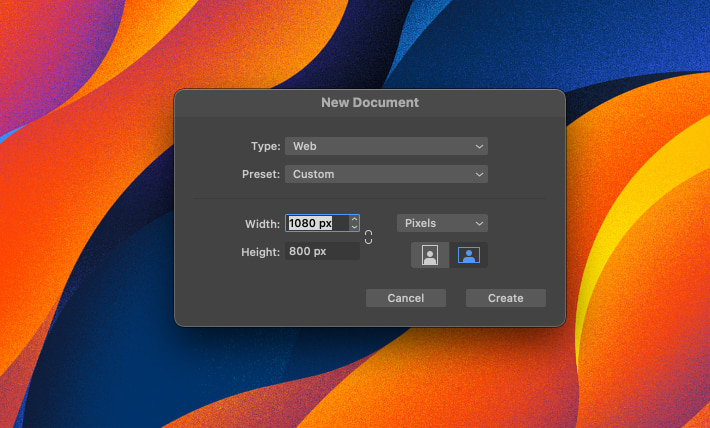
First, open Amadine and create a new document with the parameters of 1080 × 800 pixels for a perfect logo.
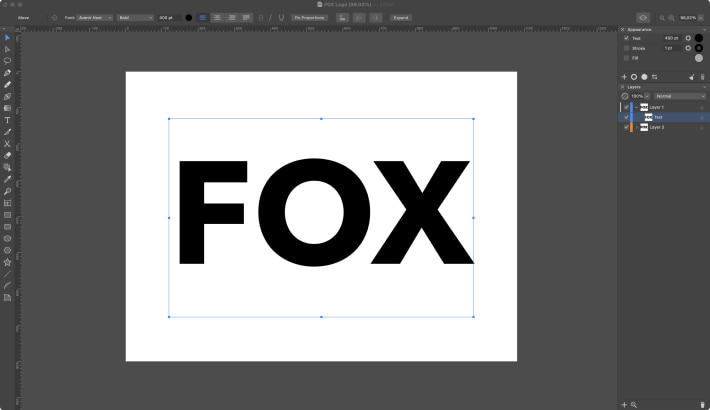
To create a text shape, switch to the . Click any place on the canvas, and in the created text box type the word “FOX.” Then go to the Appearance panel and set the size of the text to 400 pt in the Text field. These steps are similar to the iPad version.
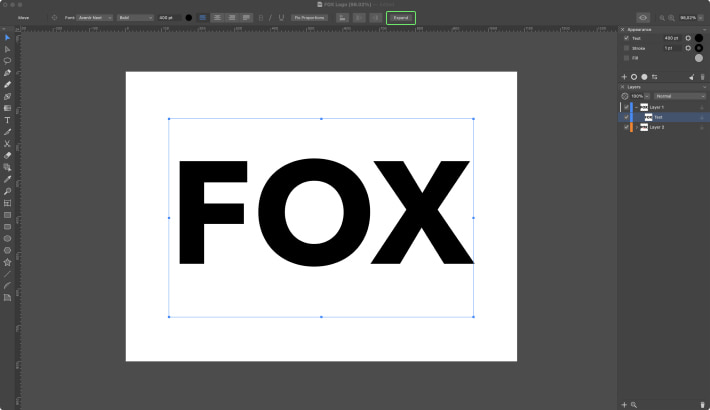
The next step is to convert the text object to a shape. Doing that is easy—select the text object and click on the Expand button located in the Control panel. You can also find this function in Menu > Modify > Expand. On the iPad, go to the path panel and click on the expand button.
Now let's draw other graphic elements. Select the in the toolbar and draw an abstract shape reminiscent of a fox’s tail. You will have to change its fill color to #F23D3D.
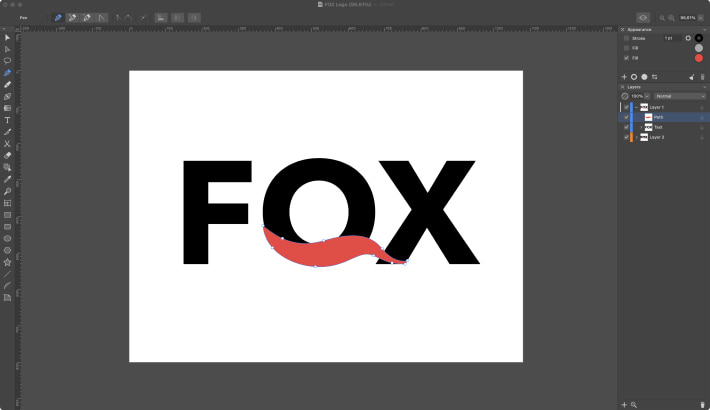
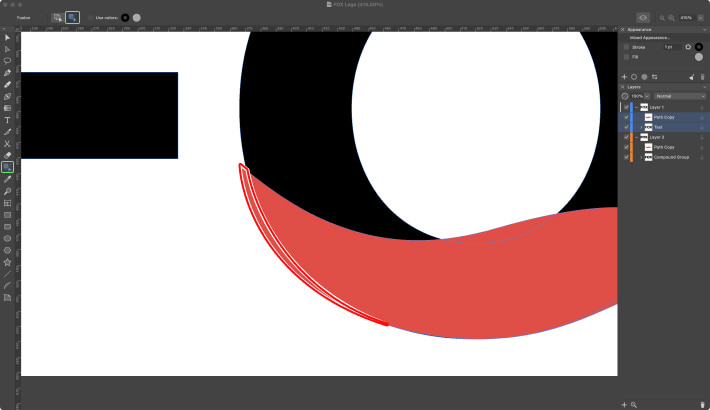
Sometimes, it’s hard to draw a shape perfectly around the figure, but now it becomes much easier by using the . As you can see on the screen, there is a part of the shape on the left that doesn’t fit the shape of the letter “O.” But we can easily delete it. Select the “O” letter and shape, then go to the in the toolbar and select “Erase Mode” in the Control panel. After that, put the cursor onto the part of the shape you want to erase. It will light up with a red line, which means that this part will be deleted after clicking on it. These steps are similar on the iPad.
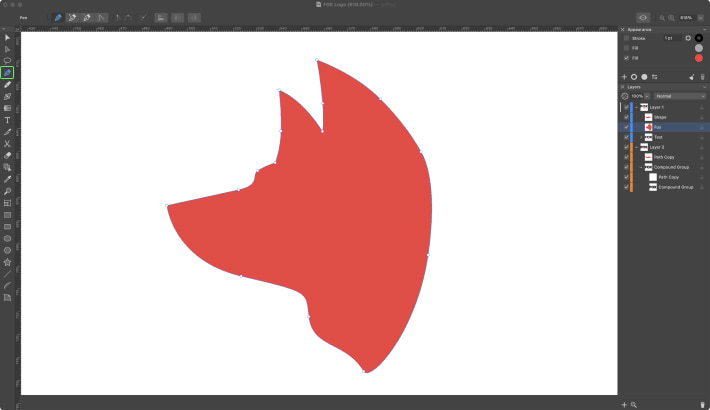
Now let’s draw the shape of a fox's head. You can do it using the .
Next put the fox’s head shape on top of the letter “X.”
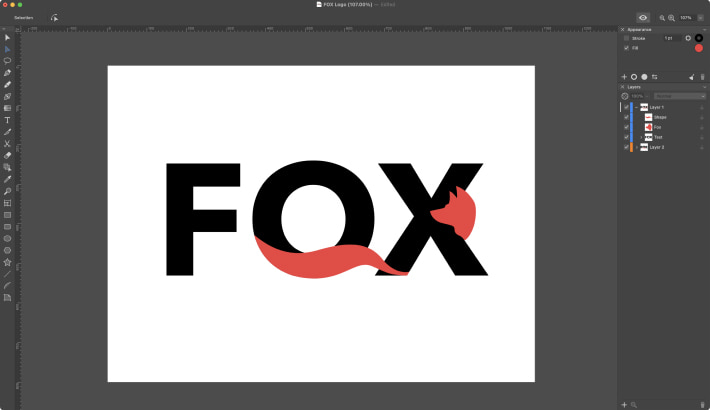
Select the fox shape and “X” letter, go to Boolean operations located in the Control panel and click on the . On the iPad, go to the Path Panel > Boolean.
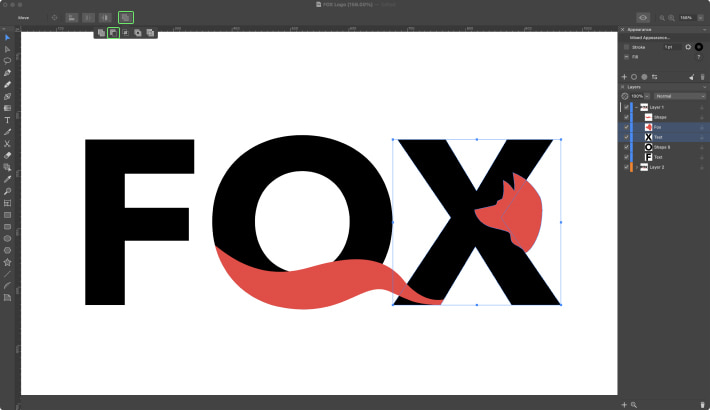
will cut the top shape and create a negative space effect.
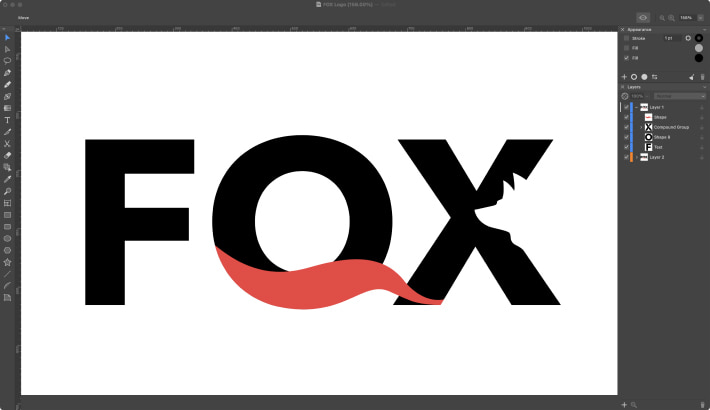
Another thing is that you can edit the position of the fox shape as you want. Just double click on the new compound group on the canvas to enter the Isolation mode. Now you can edit your shapes as you wish. This is the same way to enter isolation mode on the iPad. Just double tap on the compound group.
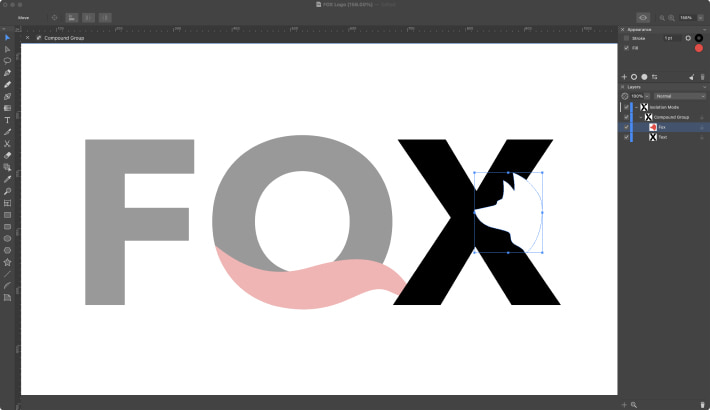
The last step is to stylize our letter “X” a little bit more like in the example below. Select it and edit the bottom anchor point using the . To leave the isolation mode, press escape or Exit Isolation Mode button on the iPad.
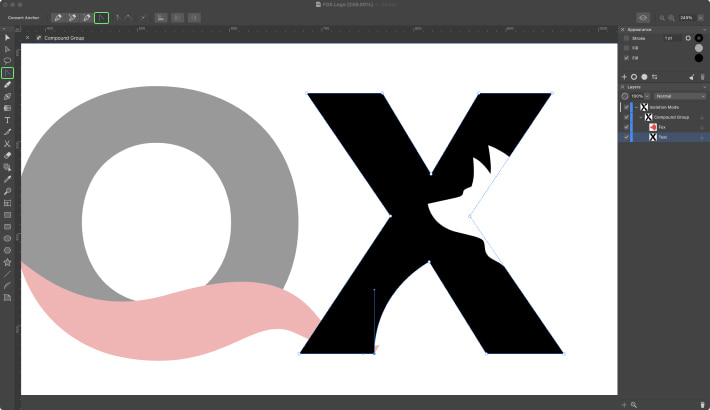
So, here you get the final result.
