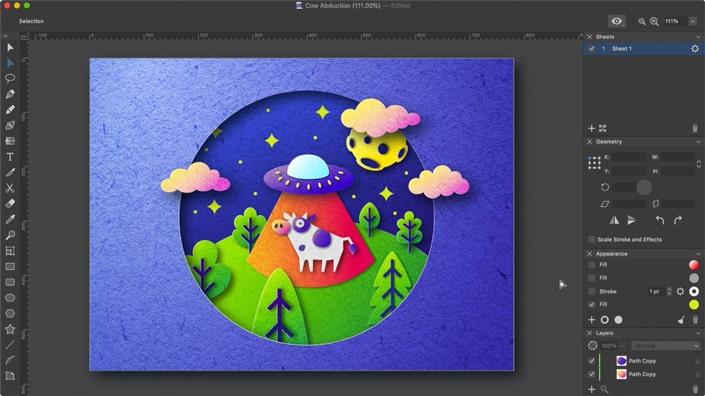
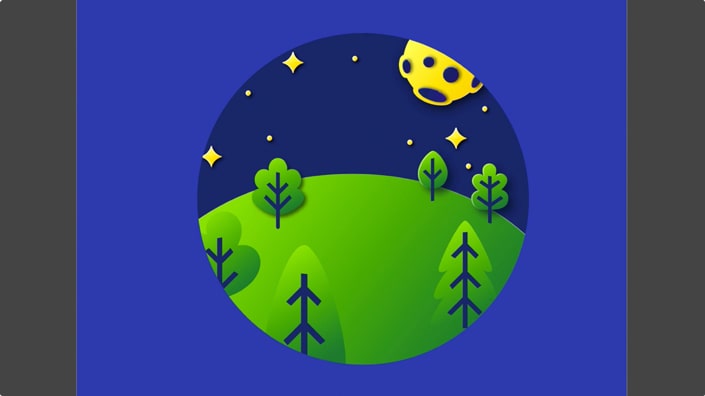
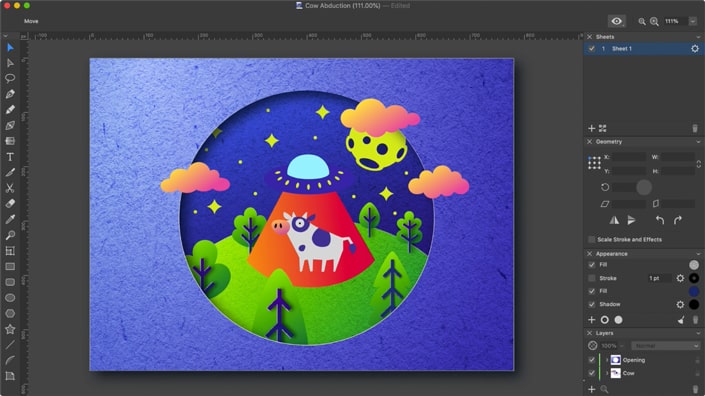
How to Draw the Cow Abduction Art from Scratch
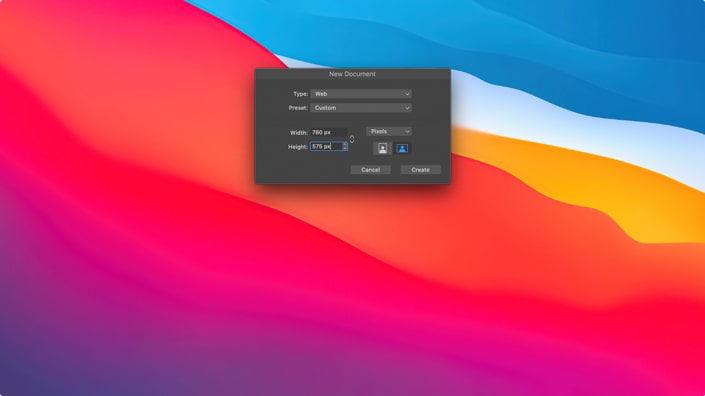
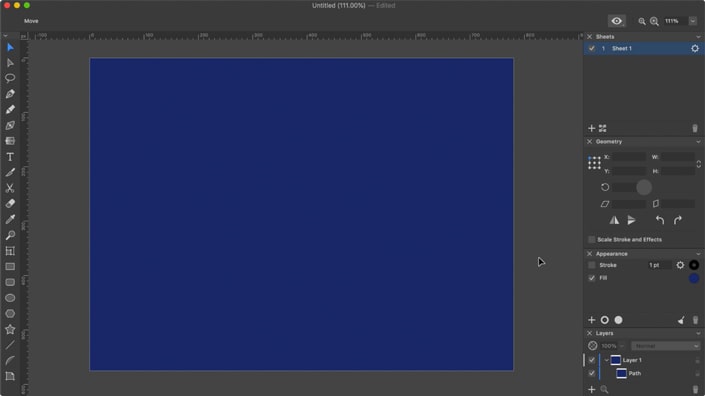
As always we begin with creating a document, for this particular graphics a web type document was chosen with the size set to 780 by 575 pixels.
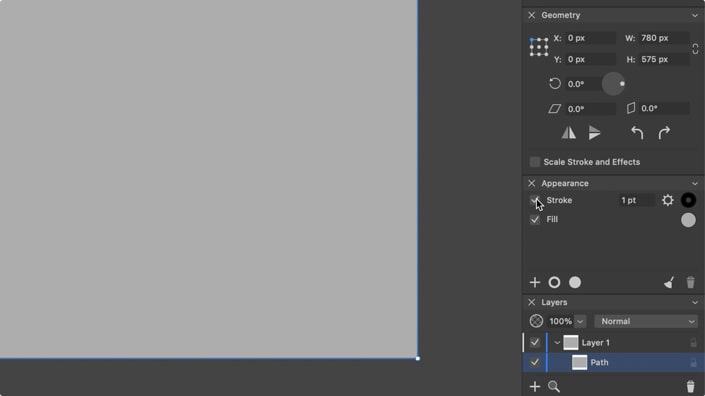
To set background color we will use the to draw a shape that will cover the entire document. While having the created shape selected, open Appearance panel and disable Stroke.
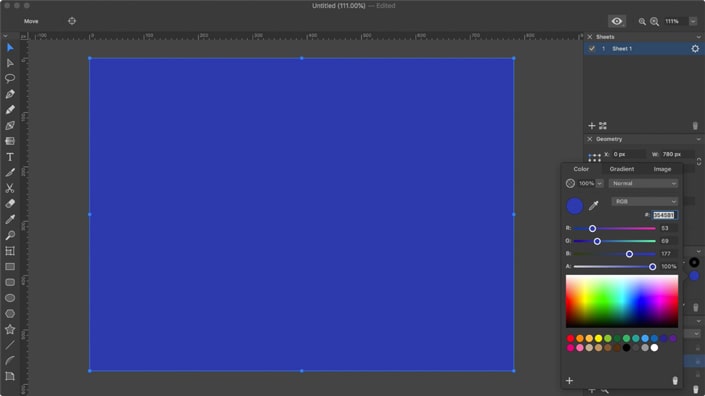
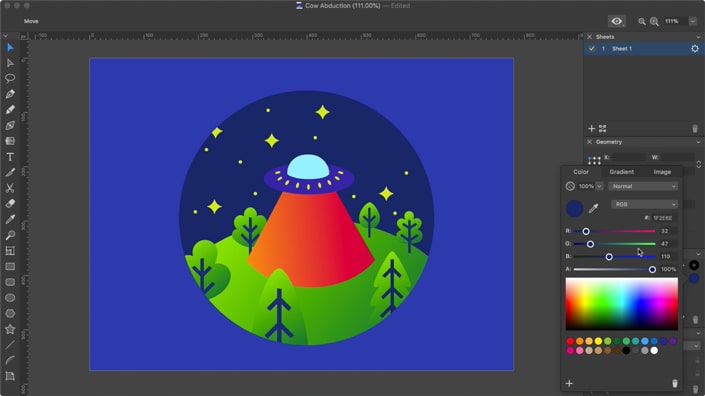
In the Fill settings select RGB color scheme from the dropdown menu and enter the following number 1F2E6E into the color code field. This will fill the rectangle with exactly the same blue color as in the original graphics. If you don’t need a precise copy of the cow abduction art, you can pick any color you like. In this tutorial we will operate with the color code parameters to create an exact copy of the original art.
To create a copy of an object and place it exactly at the same position, use Cmd + C and Cmd + Shift + V shortcuts on a Mac or > on iOS/iPadOS. But this time, we will make it a slightly brighter blue color by entering 3545B1 as the color code parameter.
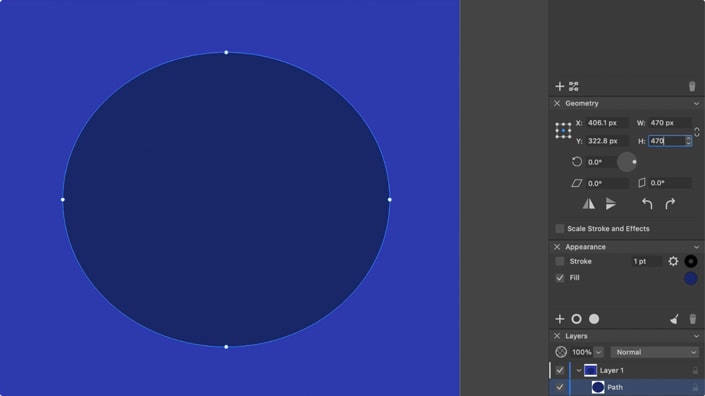
Now let’s create a circle in the center using the . Hold Shift key or hold one finger on the iPad or iPhone screen during drawing to create a circle and not oval or, simply adjust the necessary parameters later via the Geometry panel. The diameter is best to be set to 470 px, but it can actually be of any size.
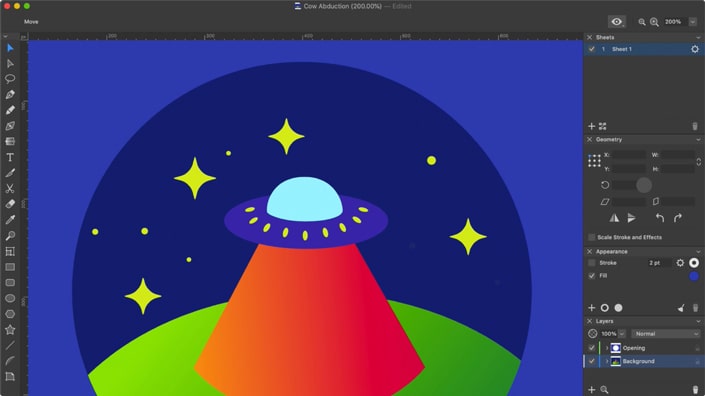
Activate the and select the circle together with the upper rectangle. Then apply the to these shapes via the Control Bar (or via on iOS/iPadOS). As a result, the rectangle shape will get a circular hole in the middle. Another rectangle, that was previously created, will be the background underneath the rectangle with the hole. Most design elements added later, except clouds, will be placed under the rectangle with the hole in the Layers panel, but above the background rectangle.
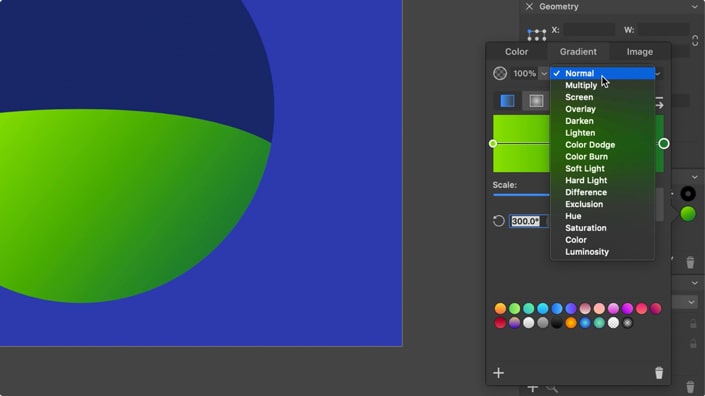
With the help of the (in this particular case you can use the ), draw the Earth surface and fill it with gradient. Use the following gradient parameters: linear gradient, starting with light green (numerical parameter is 86E000) and ending with dark green (numerical parameter is 008039). Scale should be set to 100% and gradient angle to 300°. Leave opacity at 100% and retain Normal Blend.
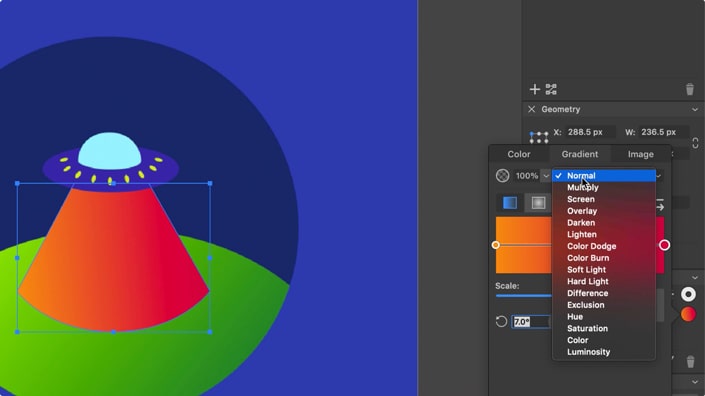
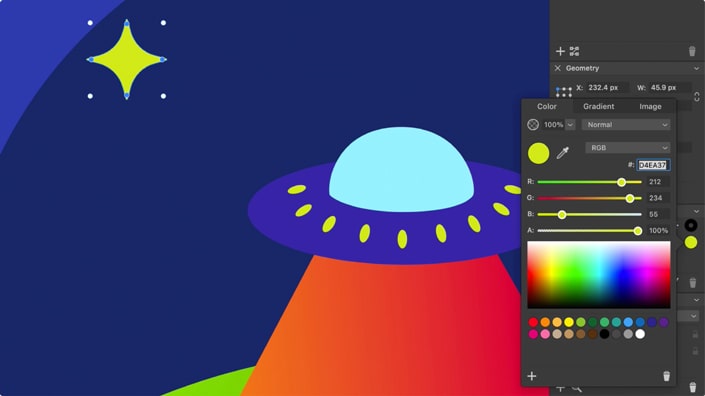
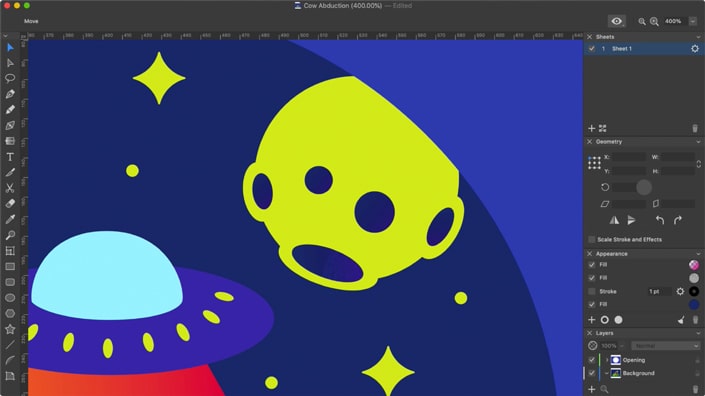
Now it’s time to draw a flying saucer and its beam. This can be conveniently done with the help of Ellipse and Pen Tool. Start with drawing a disc using the and set fill color to 4332AB, then switch to the to draw the cabin. The best color code parameter for it is 93F1FF. Yellow lights on the flying saucer perimeter are added with the Ellipse Tool and their color is set to D4EA37. To draw the light beam, use the Pen Tool once again, but this time use gradient as a fill. It has the following parameters: Linear type, starting with light orange (FC9322) and ending with red (DD0047). Scale should be set to 100% and angle to 7°. Leave the opacity and Blend mode as is.
Stars in the sky can be easily created using the . To create four-pointed star set Points count to 4 and inner radius to 30%. Once the star is created, switch to the to select four inner smart dots and set corner radius to 18 px. Then, select four smart dots on the star points and set the corner radius to 0.5 px. Finally set the star color to D4EA37.
Use Copy and Paste or Duplicate to create several duplicates of the star. Resize several of them and locate in different positions to simulate the sky. Add several tiny stars using the Ellipse Tool.
Now I will move on to drawing trees. For this, I will again use a combination of Pen and Ellipse Tools. Note that if you draw a tree crown with the , you will need to use to convert several ellipses into a single shape. To create a symmetrical tree, draw the left side, then create a copy and it horizontally via the Geometry panel. Connect two parts and apply the Union operation to make it a single shape. Trunks and branches color should be set to 1F2E6E, while the same gradient as we used for the land can be set for crowns. You can try the to copy the color. This will save you time.
The Moon is drawn by uniting several ellipses. Yellow color of the Moon in the original drawing corresponds to D4EA37 color code parameter. To make the Moon more realistic, let’s add craters above its surface. We will use the again, but this time apply dark blue color with 1F2E6E color parameter.
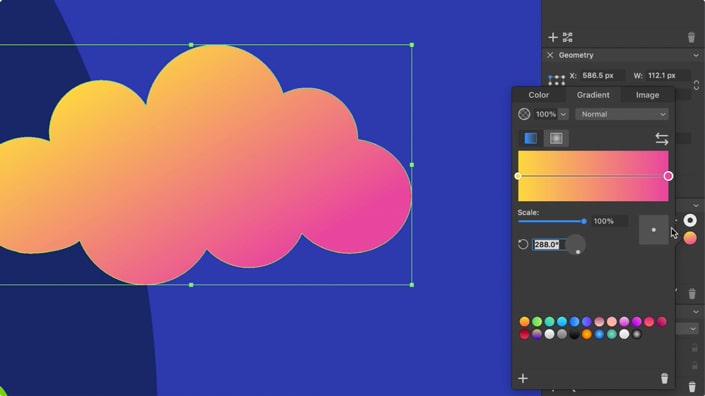
To draw clouds we will also use the and . But this time, we will use the Expand operation immediately after this (you can find it in the on iOS/iPadOs). Expand creates a single editable shape that can be further edited with the . We’ll move a couple of dots and make cloud borders smoother. Parameters for clouds gradient fill are as follows: Linear type, starting with yellow color (numeric parameter is FFDB51) and ending with pink color (numeric parameter is F257A2). Scale set to 100% and the angle of 288° will do. Increase the opacity to 100% and you’re all set.
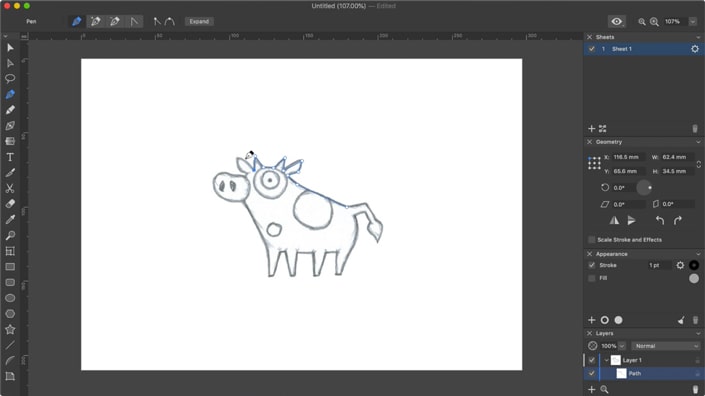
And, now the time has come to create the central element—a cow. If you haven’t mastered drawing with the yet, I would recommend you to draw a cow sketch on a paper first, then take a photo and import into Amadine with drag and drop or via the File / Import menu ( > on iOS/iPadOS). After that, you can trace the cow with the Pen Tool, which is way easier than drawing from scratch. As the work with the Pen Tool was covered in one of the previous tutorials, let’s switch to an already drawn object.
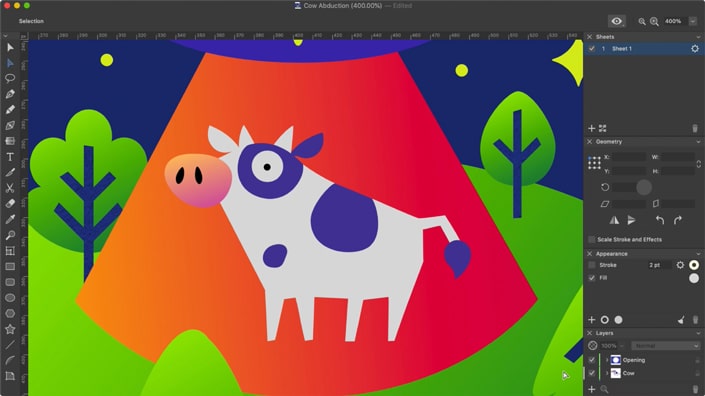
Now we use the light grey color for the cow’s body (numeric parameter is D9D9D9), and violet color (numeric parameter is 4A3B96) for cow’s spots. For the nose use gradient with the following numeric parameters FFB767 and DA5D9A, scale of 100% and angle 288°. Normal Blend mode. The eye is filled with DA5D9A color, the nostrils and a pupil have a color code 000000, which corresponds to a dark black.
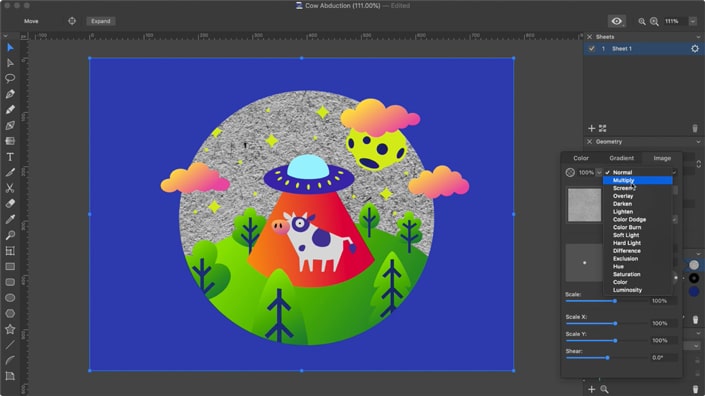
Once all objects are in place, we will proceed with applying texture and depth effects to graphic elements. For texture, use a raster image, you can use your own texture or download one from the internet. Let’s begin with the background rectangle. Using the Appearance panel, add another fill option and set its type to Image. This is where we’ll use previously created paper texture. For this Image fill, let’s set Overlay blend mode with the 40% transparency and place the texture in the desired position. We choose to set the scale to 88%, but your value may differ, due to different texture patterns used.
Let’s add one more fill to the background rectangle. This time add gradient fill with the following parameters:
Fill: Gradient Linear
Color code 1: FFFFFF
Color code 2: BD6A94
Alfa Channel: 80%
Color code 3: 961355
Alfa Channel: 80%
Blend Mode: Overlay
Scale: 100%
Opacity: 100%
Angle: 286°
The background is finally ready.
Now it’s time to fine-tune the rectangle with a hole in it. It already has a blue color fill. We are adding another fill with the image texture as we did for the background rectangle. Again, set the Overlay blend mode with transparency at 60% and the scale at 100%.
Next we’re adding another gradient fill with the following parameters:
Fill: Gradient Radial
Color code 1: FFFFFF
Color code 2: 0C0C0C
Alfa channel: 38%
Opacity: 75%
Blend Mode: Overlay
Scale: 100%
Roundness: 100%
Angle: 305°
This particular gradient simulates a partially lit surface. Adjust the position of where the light falls using the rotation wheel.
One last gradient fill needs to be added with the following parameters:
Fill: Gradient Linear
Color code 1: F3E1D7
Color code 2: 873C3C
Opacity: 50%
Blend Mode: Overlay
Scale: 100%
Angle: 330°
After completing adding fills, it’s time to add a stroke of 1pt width and grey color with numeric parameter E5E5E5. It is also important to select a stroke profile, the one that gets thinner to the edges.
Now we will move on and add a shadow. For this, in the Appearance panel click the little and select Shadow in the drop-down menu. And then, in the Shadow settings enter the following parameters:
Color code: 020D18
Opacity: 75%
Blur: 22 px
Offset: 15 px
Blend mode: Normal
Angle: 315°.

Using the same approach previously described, we add textures, shadows and gradients to other shapes. For the Earth shape, add a gradient that starts with a light green color and ends with the dark green. As well as adding, 1pt stroke with the color parameter of EBEBEB and a fill with previously used paper texture.
Fill: Image
Opacity: 50%
Blend Mode: Overlay
Scale: 85%
Apply texture to tree trunks with the following parameters:
Fill: Image
Opacity: 40%
Blend Mode: Overlay
Scale: 280%
Apart from adding texture, we will also apply Shadow and Inner Shadow effects to tree trunks. First, add a shadow of black color:
Color code: 000000
Blend Mode: Normal
Blur: 3 px
Offset: 2 px
Opacity: 60%
Angle: 315°.

Then add Inner Shadow of white color to create a thin paper effect. The difference between Inner Shadow and Shadow is that the latter is used to add ordinary shadows, while Inner Shadow is mostly used to add volume to shapes. For this particular graphics, we’re trying to achieve a different effect, therefore we add very thin Inner Shadow with the following parameters:
Color code: FFFFFF
Blend Mode: Normal
Blur: 0 px
Offset: 0.5 px
Opacity: 70%
Angle: 0°.
Let’s get back to trees and add texture fill to tree crowns with the following parameters:
Opacity: 97%
Blend Mode: Overlay
Scale: 200%
Scale parameters may vary to make trees slightly differ one from another.
Tree crowns should also have Shadow and Inner Shadow. Shadow parameters are:
Color code: 031324
Blend Mode: Normal
Blur: 4 px
Offset: 4 px
Opacity: 60%
Angle: 315°.
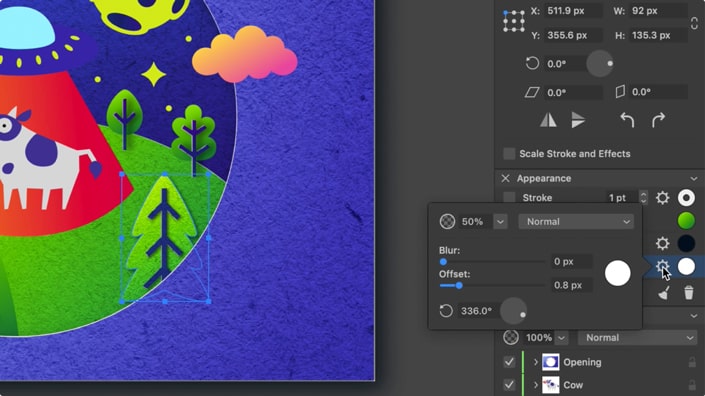
Inner Shadow parameters are:
Color code: FFFFFF
Blend Mode: Normal
Blur: 0 px
Offset: 0.8 px
Opacity: 50%
Angle: 336°.
Now, we will add textures and effects to the flying saucer. Let’s begin with light beam:
Fill: Image
Fill Type: Fill
Opacity: 97%
Blend Mode: Overlay
Scale: 120%
Shadow:
Color code: 000000
Blend Mode: Normal
Blur: 4 px
Offset: 3 px
Opacity: 50%
Angle: 336°.
Inner Shadow:
Color: FFFFFF
Blend Mode: Normal
Blur: 0 px
Offset: 0.8 px
Opacity: 60%
Angle: 0°.
The flying saucer disc parameters are:
Fill: Image
Fill Type: Fill
Opacity: 97%
Blend Mode: Overlay
Scale: 160%
Also, add gradient fill:
Color code 1: FEFF81
Color code 2: 99738C
Color code 3: 662D91
Opacity: 97%
Blend Mode: Overlay
Scale: 100%
Angle: 277°.
Then add shadow with the following parameters:
Color code: 031320
Blend Mode: Normal
Blur: 12 px
Offset: 8 px
Opacity: 70%
Angle: 315°.
And, finally, add inner shadow with the following parameters:
Color: FFFFFF
Blend Mode: Screen
Blur: 0 px
Offset: 1 px
Opacity: 60%
Angle: 335°.
The cabin gets the image fill:
Fill: Image
Full Type: Fill
Opacity: 97%
Blend mode: Overlay
Scale: 250%
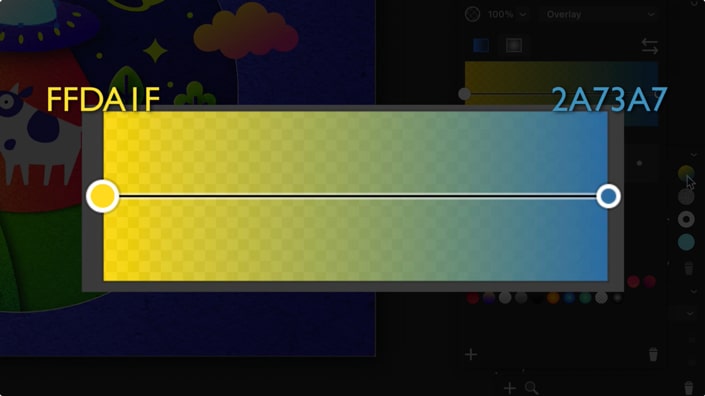
And a Linear Gradient fill:
Color code 1: FFDA1F
Alfa channel: 90%
Color code 2: 2A73A7
Opacity: 75%
Blend Mode: Overlay
Scale 100%
Angle: 300°.
And, finally, a shadow with the following parameters:
Color code: 010B14
Blend Mode: Normal
Blur: 2 px
Offset: 1.6 px
Opacity: 70%
Angle: 315°.
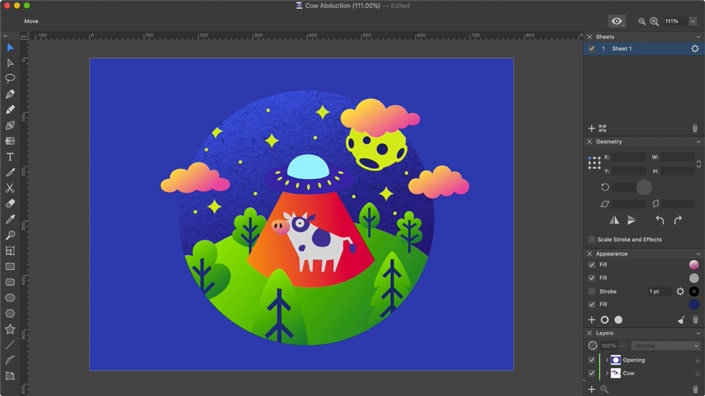
Apparently, you already got the basic idea, so, using the approach described above, add image fills, gradients and shadows to the remaining design elements. In the end, you will get an illustration very similar to this.