Blend Modes 1.0.1: What You Need to Know When Using Blend Modes in the Amadine App
When working with graphic design software, you may have come across the term “blend modes”. If you’re not familiar with it, it is simply a range of tools that allow designers to mix the colors of objects or layers underneath them in creative ways. Understanding how to use blend modes opens up new opportunities for artistic expression for your projects. Here we will take a look at blend modes, and when you may want to use them. We’ll also highlight the four most used blend modes in the Amadine app. After reading this article, you will have enough knowledge to easily be able to use them in your own designs.
What Are Blend Modes in Digital Design
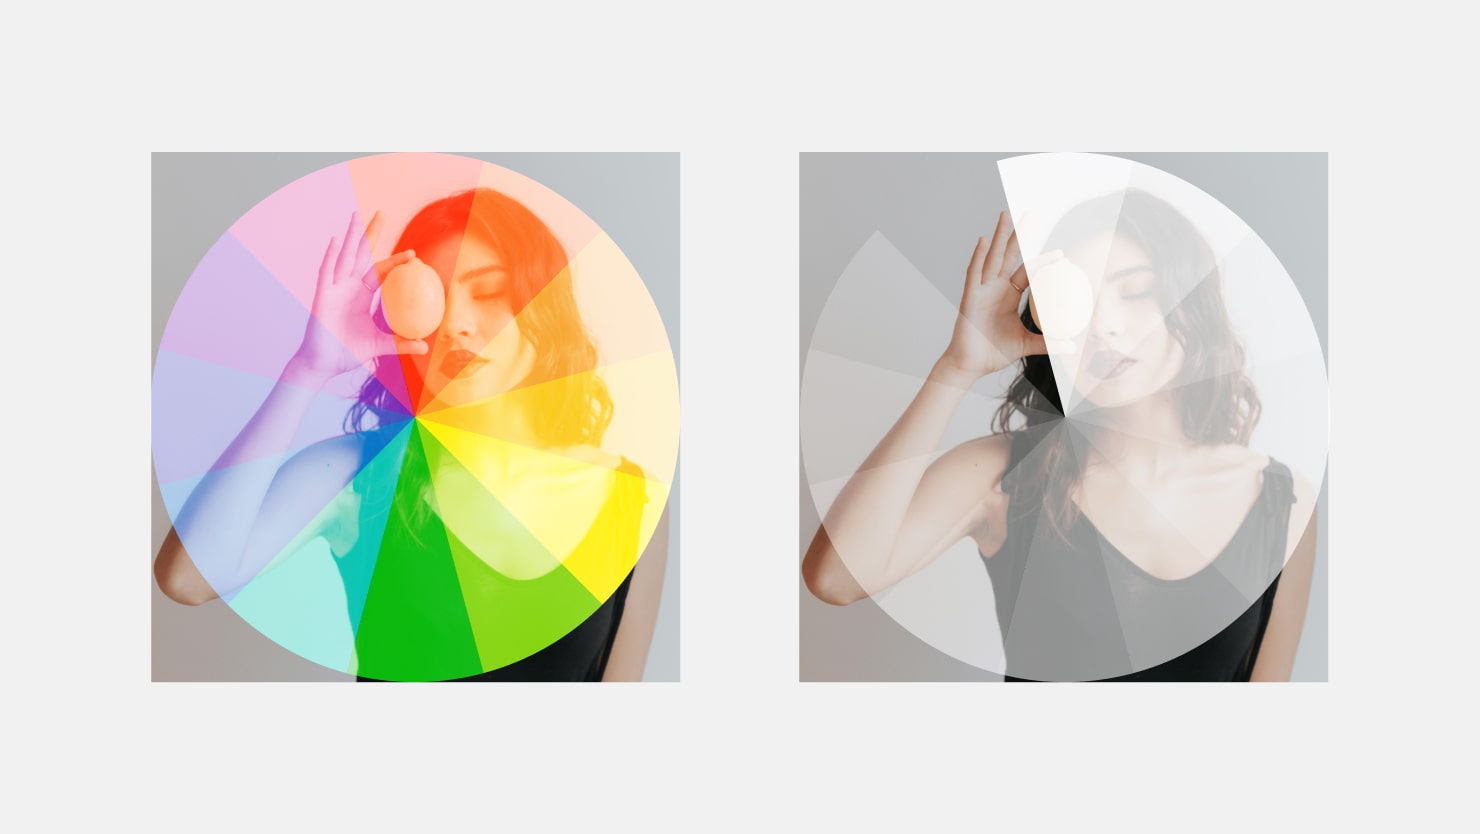
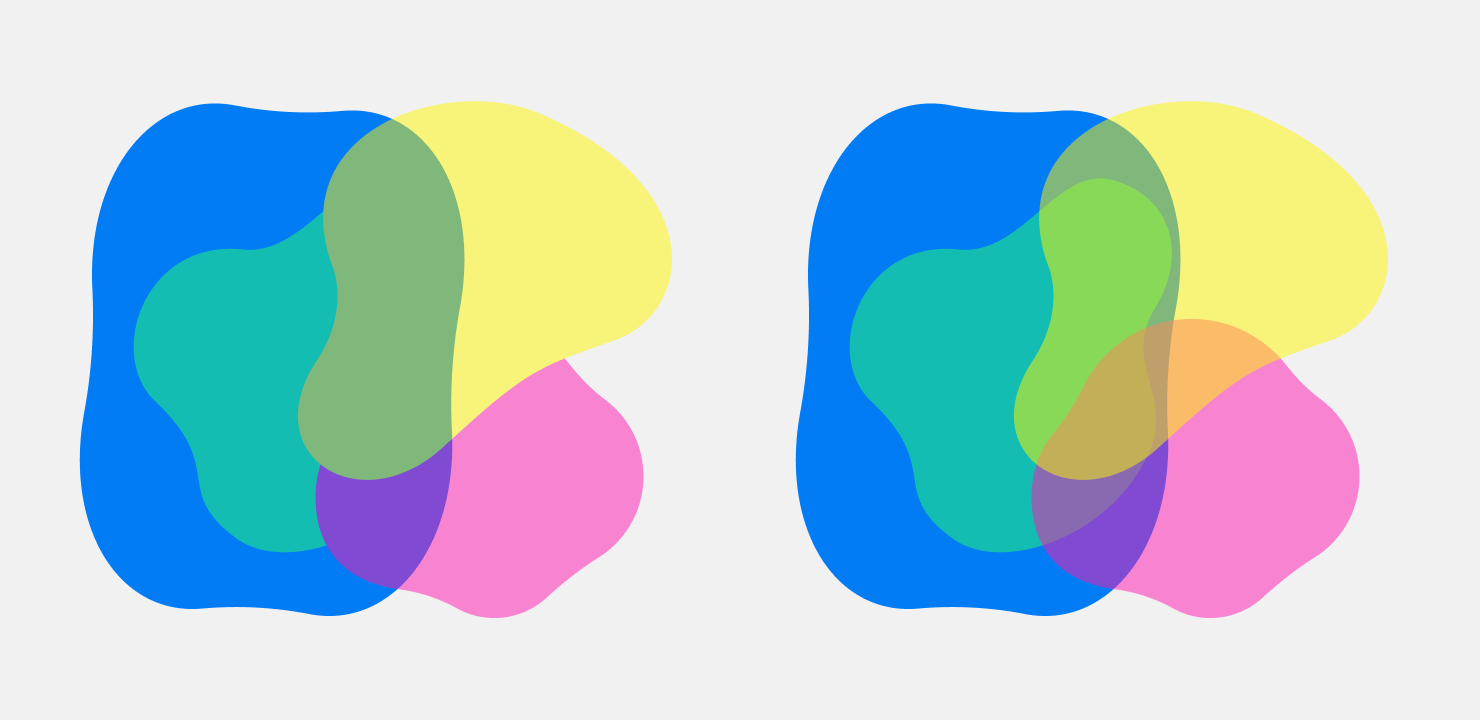
Blend modes characterize how colors are displayed for overlapped objects or layers in creative ways. This is done by determining how the pixels in two different layers interact with each other. Blending applies to objects in the same way as to layers. So, to make the article easier to read, we’ll only talk about layers. In design applications, the basic blending method is to cover the lower layer with a top layer. In editing programs, like Amadine, there are other blend modes that mix layers in different degrees, by using varying levels of opacity for the top layer. The top layer, known as the blend layer, may not always be another actual layer in the app: the top layer can also be a painting or editing tool that creates different blended effects.
Blend modes enable designers to have much more control over the way finished designs look, and add all kinds of artistic effects. Blend modes allow designers to mix different colors together almost as if they are mixing paint. Blending also allows you to emphasize a contrast or subtract colors.
Blend Modes in Amadine: An Overview
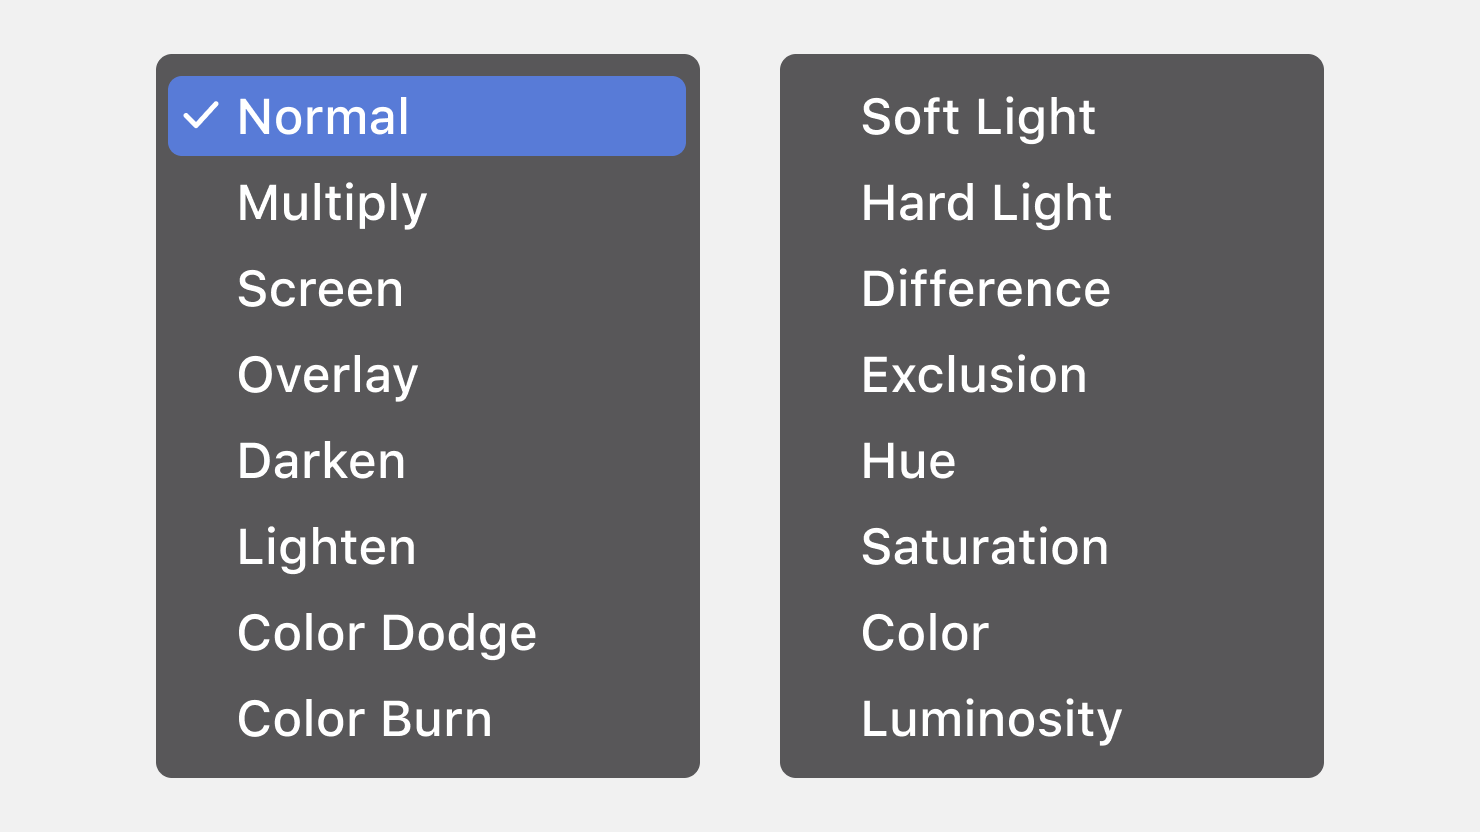
The Amadine app gives you a wide range of blend modes to customize colors and textures. To be precise, there are 16 blend modes in Amadine. However, it is enough to know only a few to start applying really cool effects to your designs. We will show you the most-used types of blend modes below. Whether you’re on a Mac or an iPad, we have a few helpful tips to familiarize you with the steps to start using blend modes.
Blending Objects
First of all, it’s key to understand that you can apply blend mode to objects just as you might apply it to layers. You can blend each object separately, or apply blend mode to a group of objects—or all objects in the layer at the same time (that is, the blend mode of the entire layer).
The blend modes in the Amadine app offer endless variety to the way your designs can look. They allow you to adjust highlights and shadows, create glowing effects, change the hue or saturation, or enhance the luminosity of colors. As an artist, you may want to experiment with all of them to see how they work and to know how to achieve the effect you want to achieve.
As mentioned earlier, to get a grasp of blend modes, you really only need to get to know four: Normal, Multiply, Screen and Difference.
Normal Blend Mode
The Normal blend mode means that the top layer determines the color. If the transparency of the top layer is adjusted, then the result will depend on the level of transparency and the color of the pixel in the underlying layer. The result will be some degree of combination of the two layers. Normal blend mode is the default mode for every layer.
Multiply Blend Mode
Multiply blend mode is used for darkening. Depending on the lightness of the top layer, the layers beneath will appear darker where there is overlap. This mode is great for adding shadows or creating a silhouette.
Screen Blend Mode
Screen blend mode creates a brighter color as a result of lightening the colors and values of the top layer. The result will be a brighter color. If the top layer is white, the appearance will remain unchanged, because this mode keeps the white or brighter colors of the top layer. Screen blend can be used to create a glowing effect, add highlights or soften an image’s effect.
Difference Blend Mode
Difference blend mode can create high contrast effects. This mode creates brighter colors if the blended layers are contrasting colors. It can create darker colors if the blended layers are colors that are similar. It subtracts the bottom layer from the top layer. There are no changes if the blending is with black bottom layer. Blending identical colors will create black.
The Difference blend mode can be used to create high contrast effects and make colors stand out.

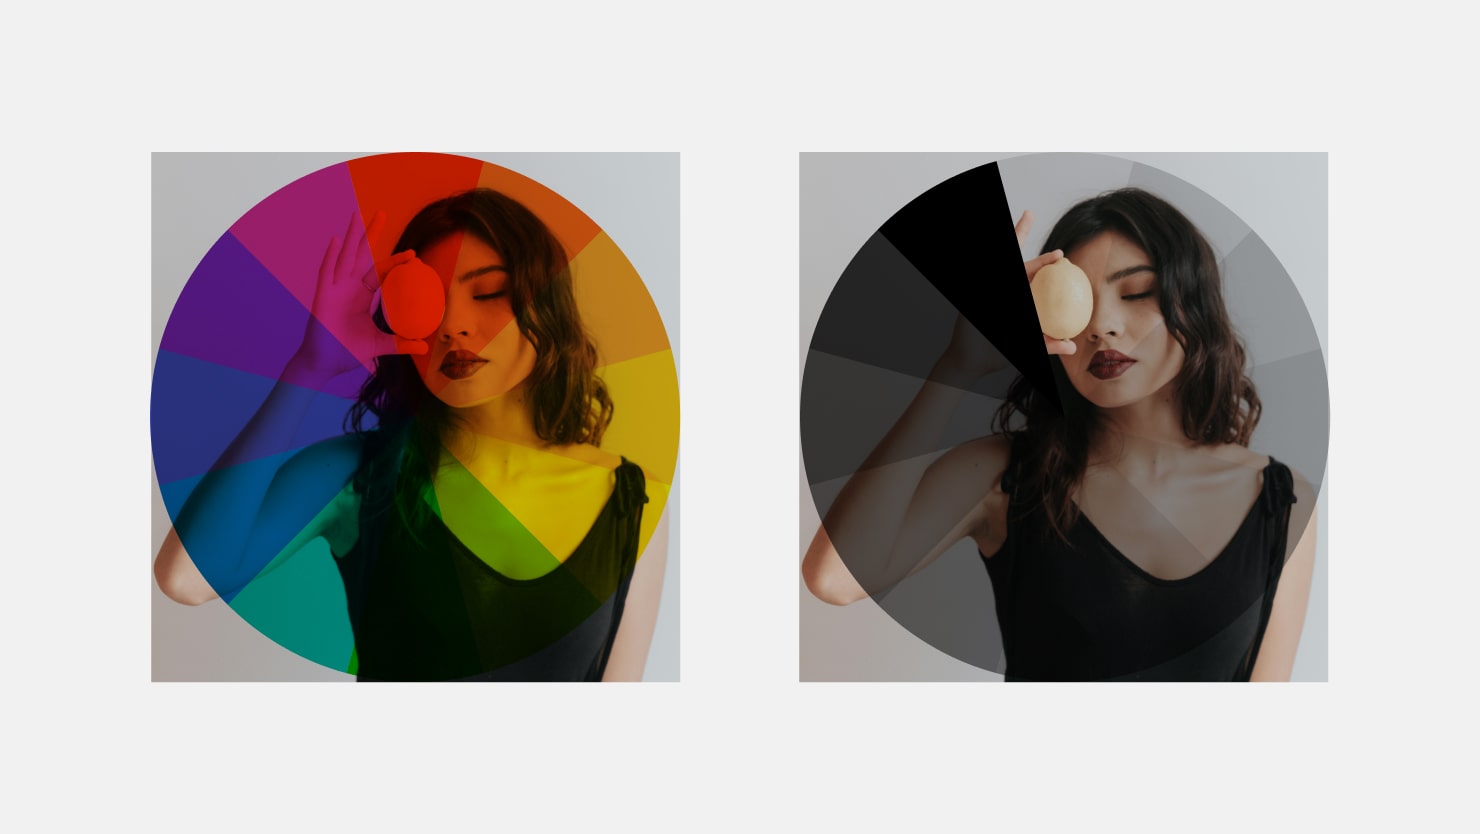
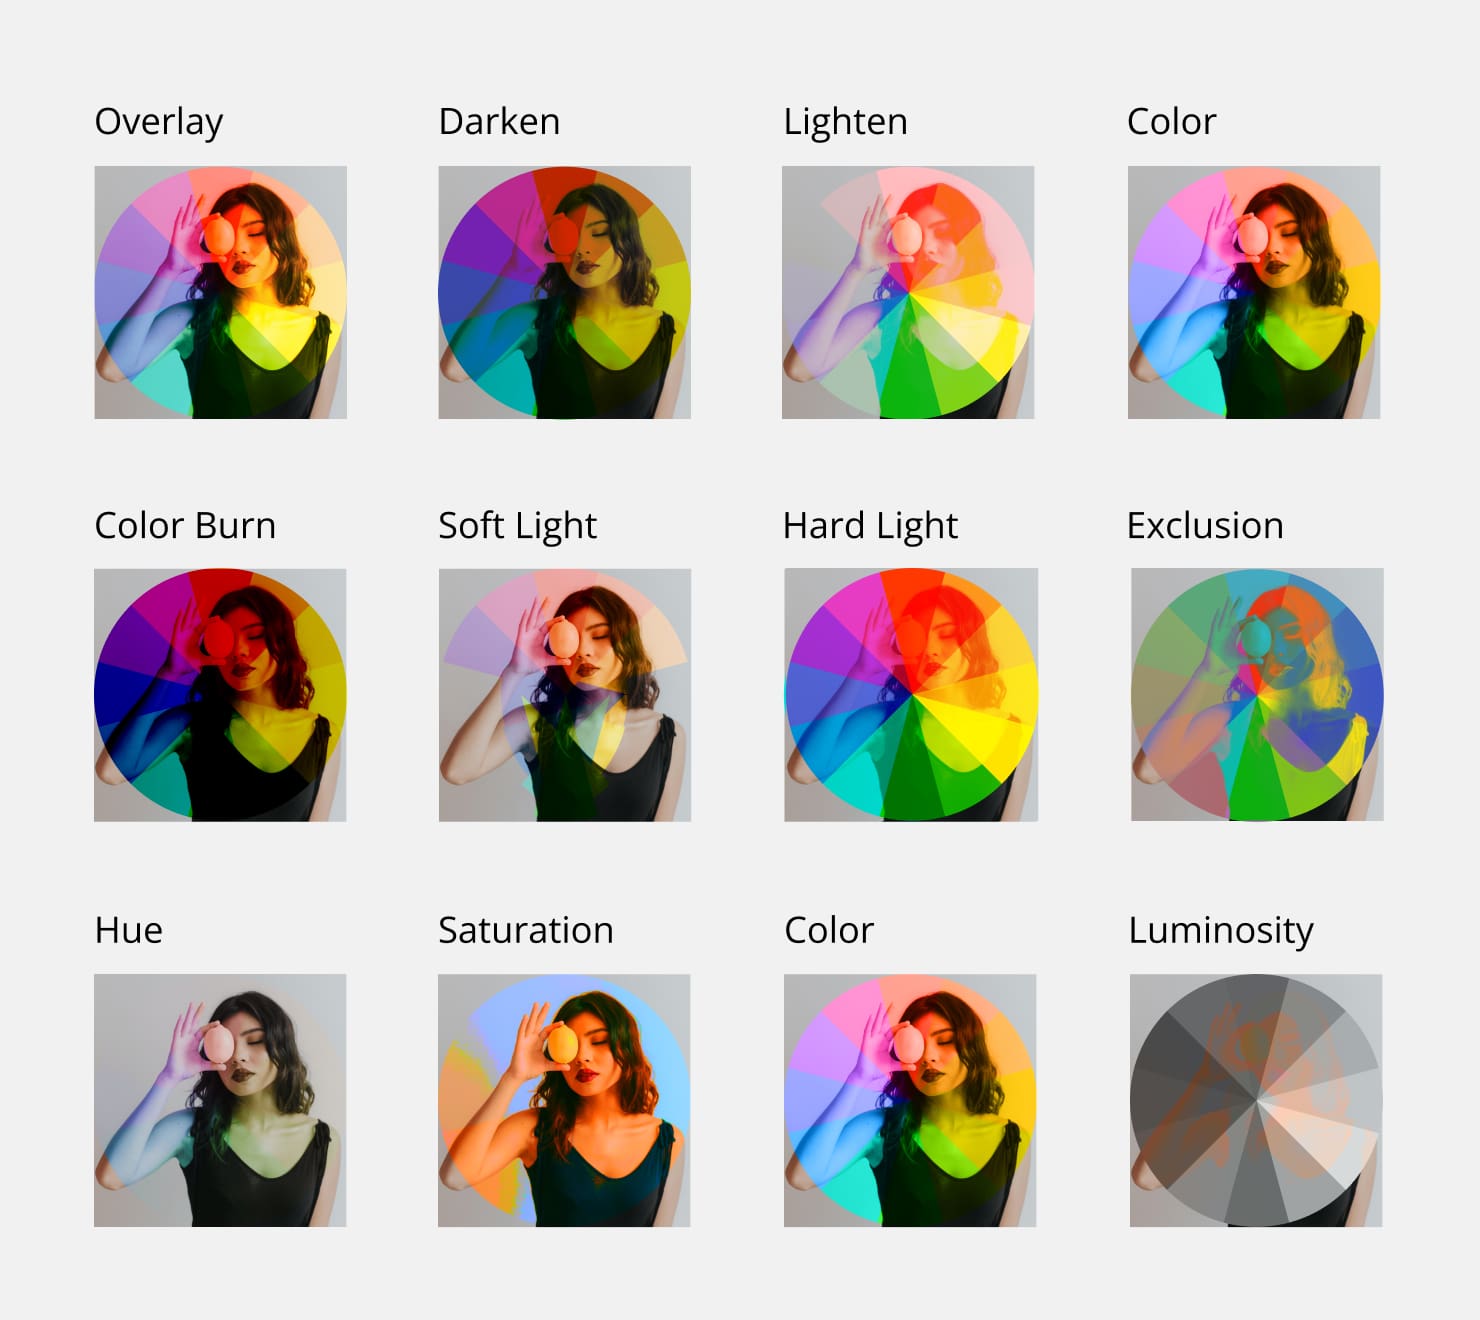
Here you can see examples of every other blend mode available in the Amadine app with the same design.
Opacity When Using Blend Modes
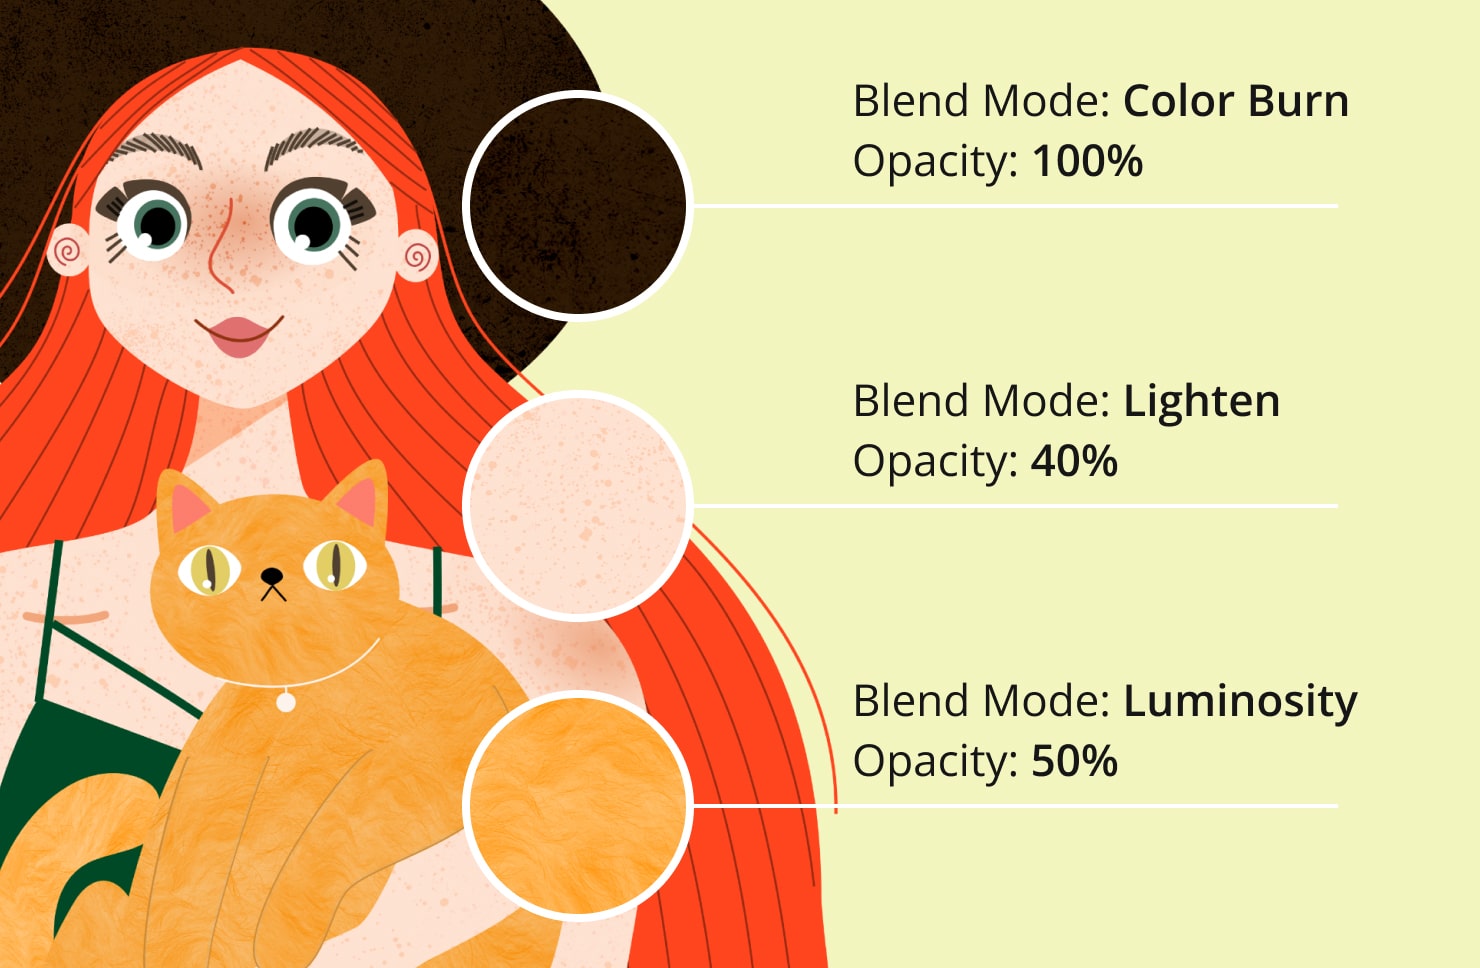
Opacity is the key parameter responsible for making the object or group of objects, or layer more or less transparent. Lower opacity lets you see more of the layers underneath showing through the top layer. So, when you decrease the Opacity parameter in the Layers panel, the contents of the layer become more transparent.
It is possible to change the Opacity, both for each object separately, and for a group of objects. You can also change the Opacity for all objects in the layer at the same time (that is, the Opacity of the entire layer). For even more fine-tuned control, you can even change the Opacity separately for Stroke and Fill of each object.
For example, you might also make an overlay of “art” which is a group of objects that have their own different colors, on the texture. Using a blend mode between art and texture, we achieve a different interaction between the colors of the “art” (the group of objects) and the texture on which it is superimposed. At the same time, we add opacity to “art” (groups of objects) that are overlaid on the texture, so the texture becomes more clearly visible.
Opacity settings can be adjusted for individual objects, groups, or entire layers as needed. Don’t be afraid to experiment with different opacity levels. By trying different opacity levels for each layer or object, you will see how this tool allows you to create more visual effects than you ever imagined!
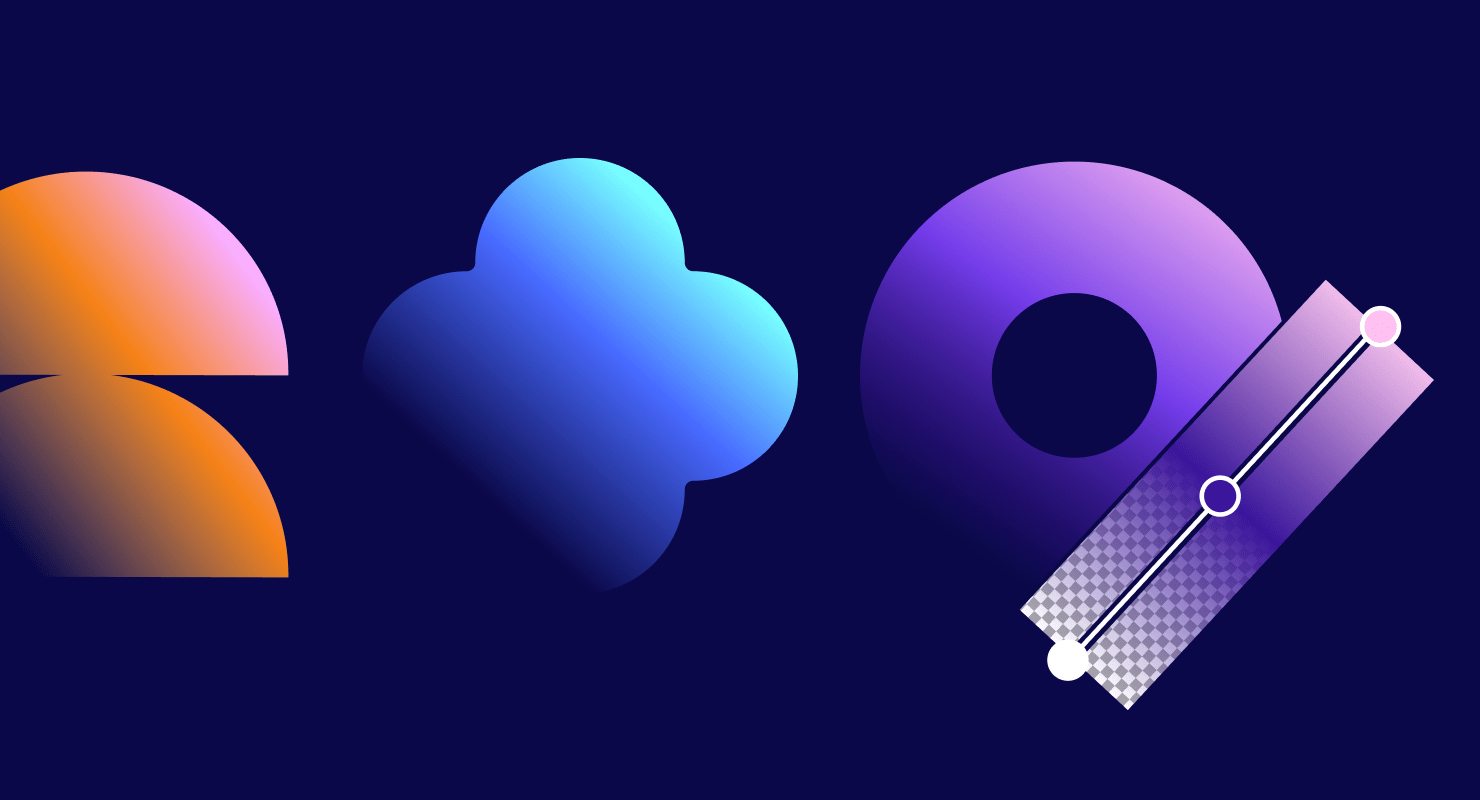
Opacity With Gradients
It is also possible to beautifully use transparency in gradients. This creates a subtle effect of color blending from deeper to lighter shades through the gradient. The gradient you select can be set as the top layer, and by adjusting the transparency, the lower layer shows through to different degrees.
Opacity With Multiple Objects
Opacity also interacts in different ways when several objects are superimposed on each other. We have a different visual effect when we change the opacity of the entire group of objects, or we go inside the group and change the opacity for each object in it overlaying. This can result in overall brightness or contrast of a design.
Conclusion
Blend modes are just another tool in a designer’s kit to provide more creative options. Each blend mode in Amadine creates its own unique effect, and those effects can be applied to each layer, each object or each group of objects.
Learning how to use them will elevate your graphic design skills and give you more control over how your finished digital pieces look. The best way is to just dive in: play with opacity in different degrees to add more subtlety, contrast or visual interest. By experimenting with blend modes and opacity, you’ll learn how to expertly apply them to create custom effects that take your artwork to another level.