Exporting Files in Amadine
When working in Amadine, you’ll eventually want to export the files you’ve created. You may want to email your design, or share your work to collaborate on a project. Exporting your work usually pursues one of the two goals. The first and most important one is getting the final result in the format that is needed (for web use, print, etc.). And the second goal is to enable collaboration and fulfill further works, for instance adding movement to the vector format export in an animation app. Whether you want to send your file to a professional printer, or use your art in a web design project online, understanding the export process is essential. It’s helpful to become familiar with the export process so you can adapt your designs for anything you want to do.
Depending on whether you are exporting a vector file or a raster file, there are a few things to think about and steps to take. Vector and raster files behave differently when they are exported, due to the way they interpret and store images. But overall, exporting files isn’t difficult. Read on and we’ll show you how to easily export files from the Amadine app.
Overview of Export and Its Settings in the Amadine App
First, determine the details about the file you want to export, and how you plan to use it. Here are some questions to ask yourself when exporting a file.
- What is the intended purpose of the file?
- What resolution will you need?
- Do you need to export the entire file, or just an individual sheet of the file?
- What is the overall color scheme?
- If the file is a raster image, what is the size?
- Is there text in the file? (If you have a vector file with text, it will need to be converted to curves before you export it.)
Answering these questions will help you get ready for the export process.

Exporting a File on a Mac
- To export a file, in the Amadine app, first select File > Export to open the export dialog box.
- Next, from the selections at the top, choose a file format that you want your file to be exported in. For example, if you want to export a vector file for the web, you might choose SVG. Or if you need a static illustration for the web, you can use raster JPEG, for example. If you’re not sure yet, there’s an article that gives an overview of raster and vector file types, and can guide your selection. You’ll want to choose the file type based on how you intend to use the export result.
- Choose what to export using the Export Scope drop-down menu. Here is where you will choose either Entire Document, Selection or particular sheets.
- Continue with the remaining export settings. These are explained in the Export Dialog section. This section displays all the settings for each different format.
- Click the Export button and type in a file name.
Done! You have successfully exported your file.
Exporting From an iPad or iPhone
If you are working on an iPad or iPhone, the steps are similar, but you will start out a bit differently.
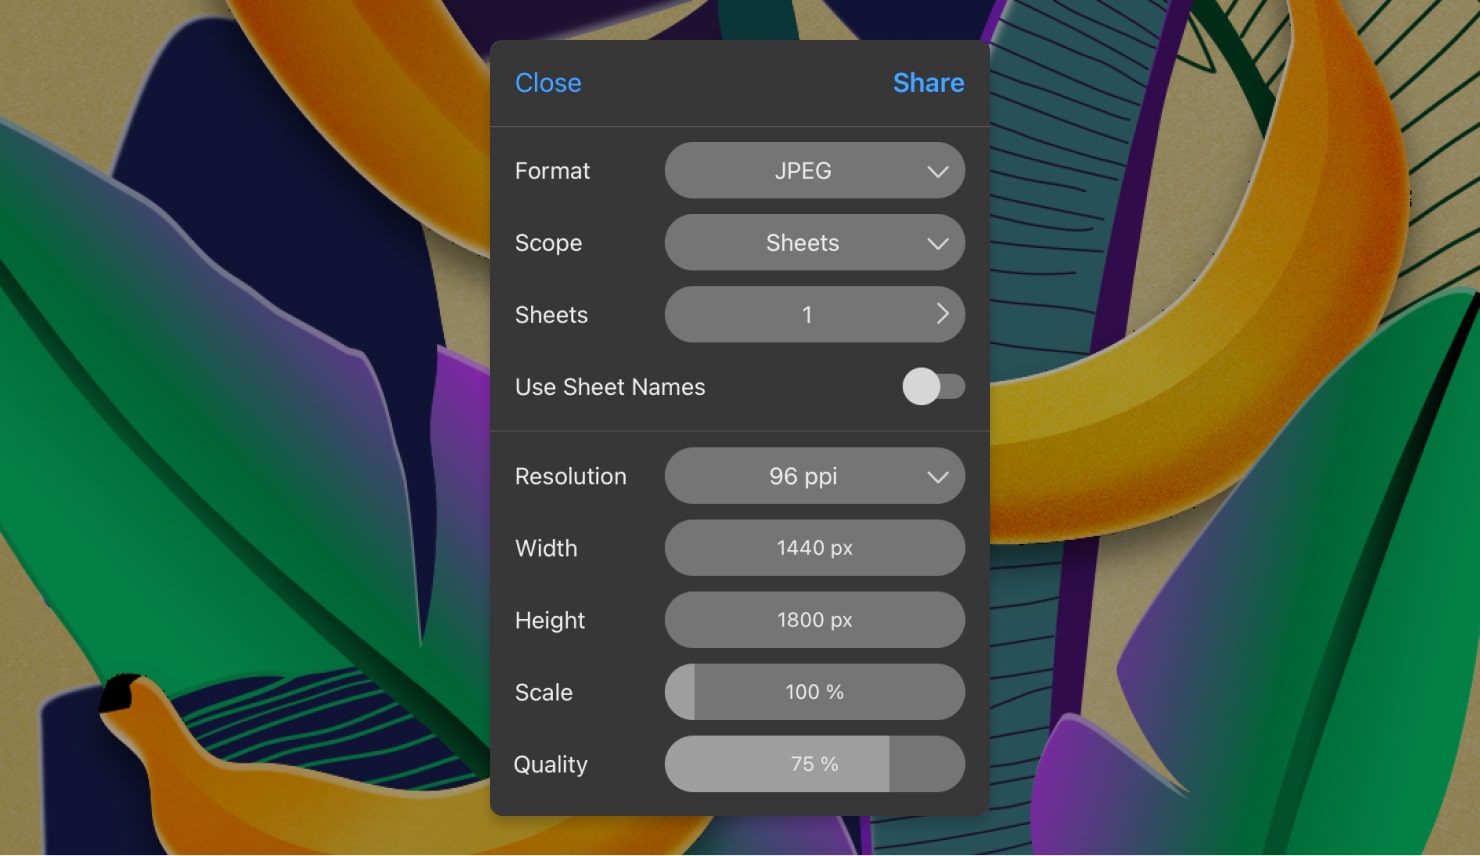
- Open the main menu. Choose Share and then Export to open the Export panel.
- Select a file format at the top.
- Choose what you want to export using the Scope pop-up menu. You can choose to export the Entire Document, Selection or particular Sheets.
- Set up the rest of the export settings. These are explained in the Export Panel section.
- Tap the Share button and type a file name to complete exporting.
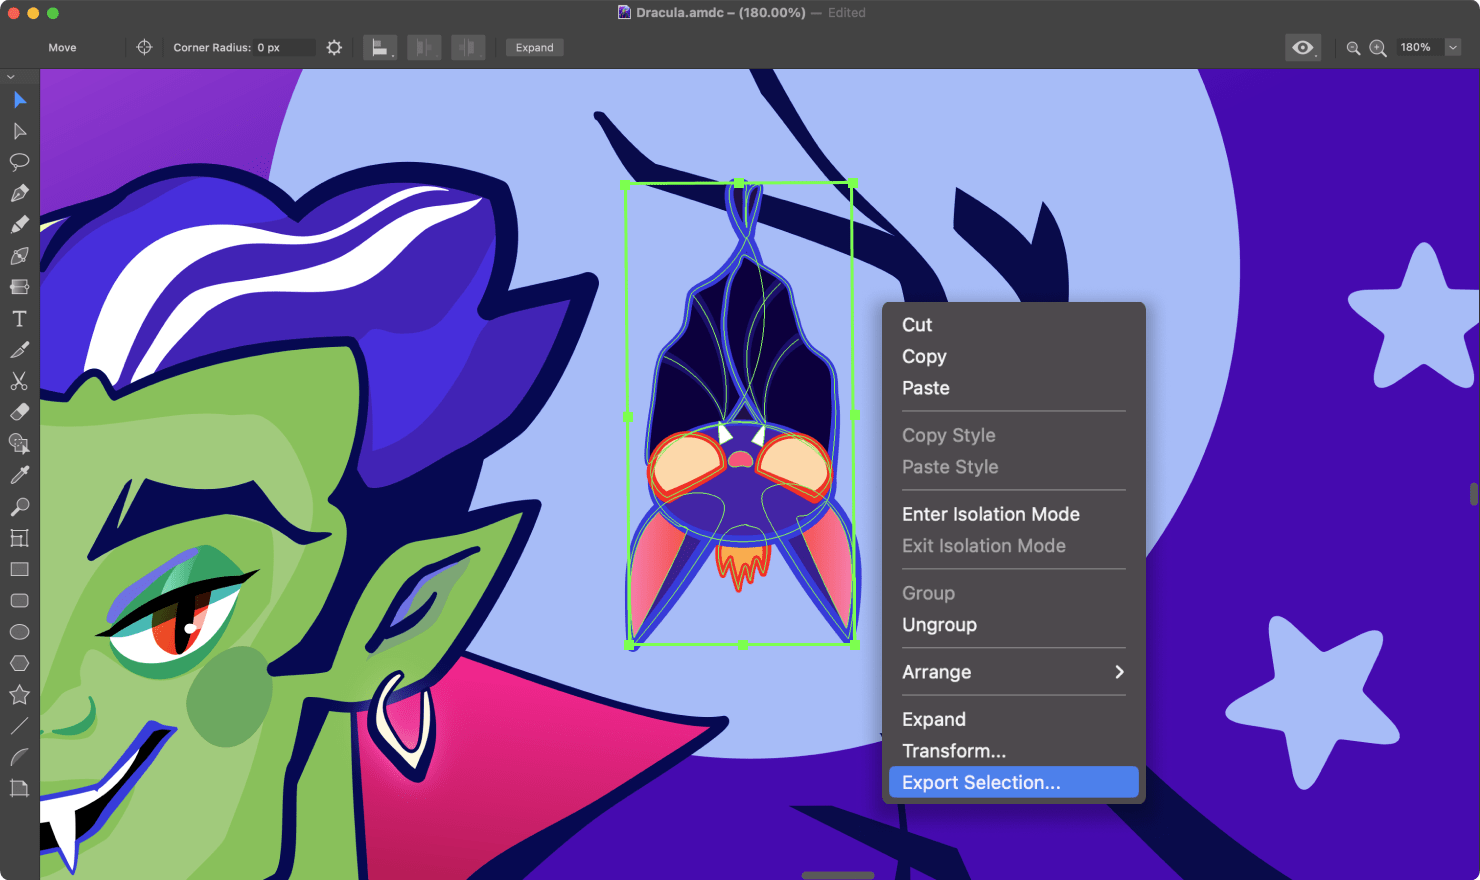
Exporting Part of a Design
If you only want to export part of your design, there is a quicker method. Simply select what you want to export, right click it, and choose Export Selection.
Then continue with step 4 above. Of course, remember to choose an appropriate format.
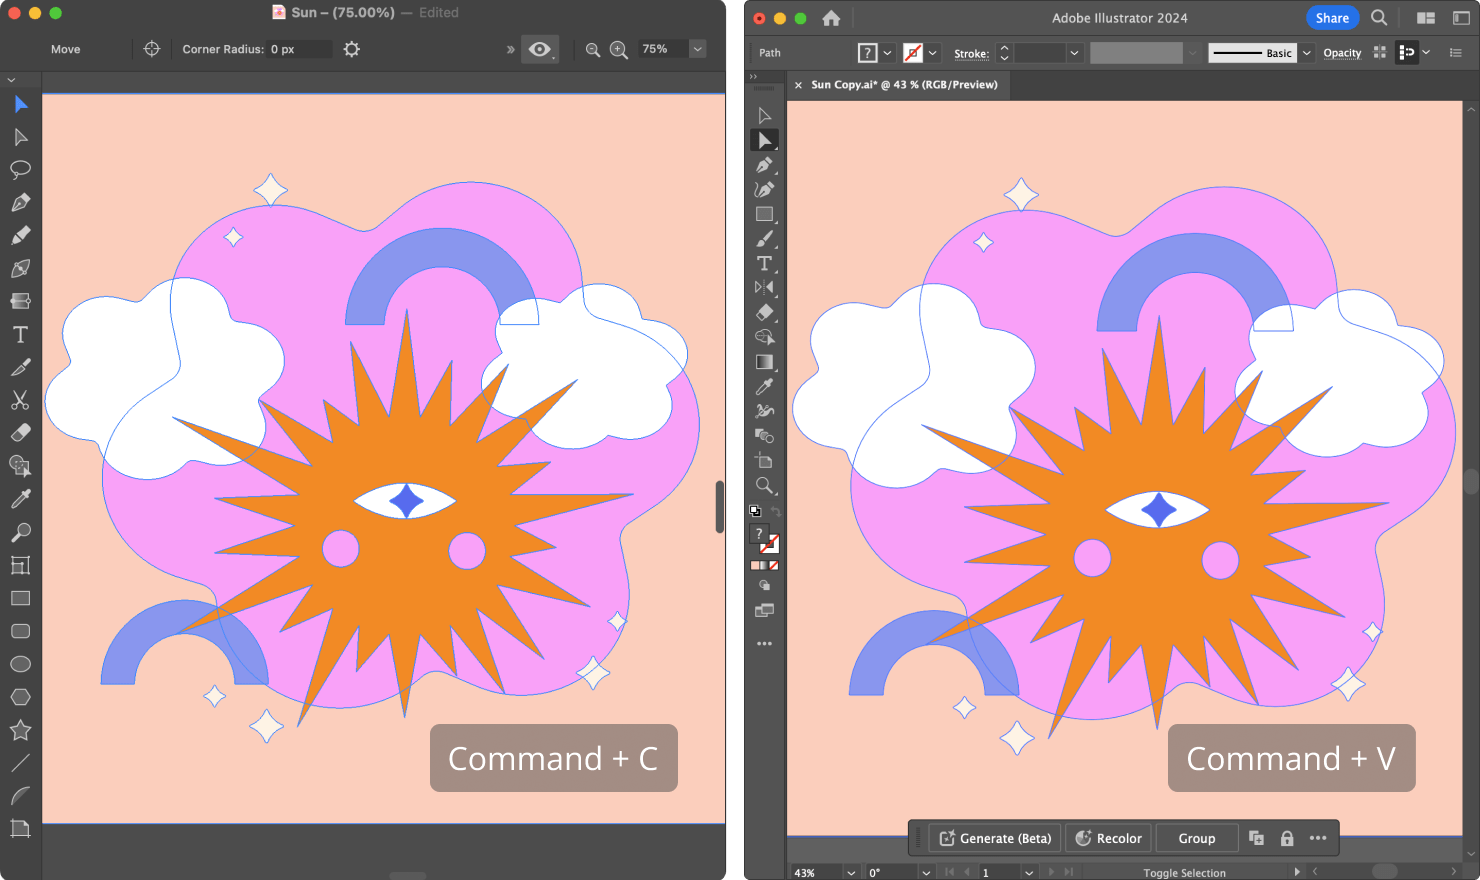
A Tip for Quick & Easy Exporting
Another method to export your design is to simply copy and paste it into another app. But, in this method, you don’t have control over the export options, so this limits what you can do with your file.
One thing to remember when exporting a file is there is always the chance of export losses in your design. When you export from one app and import it to another, you may not always get 100% identical results. There is always a conversion that takes place when you take a file through a different format, so the end result might vary.
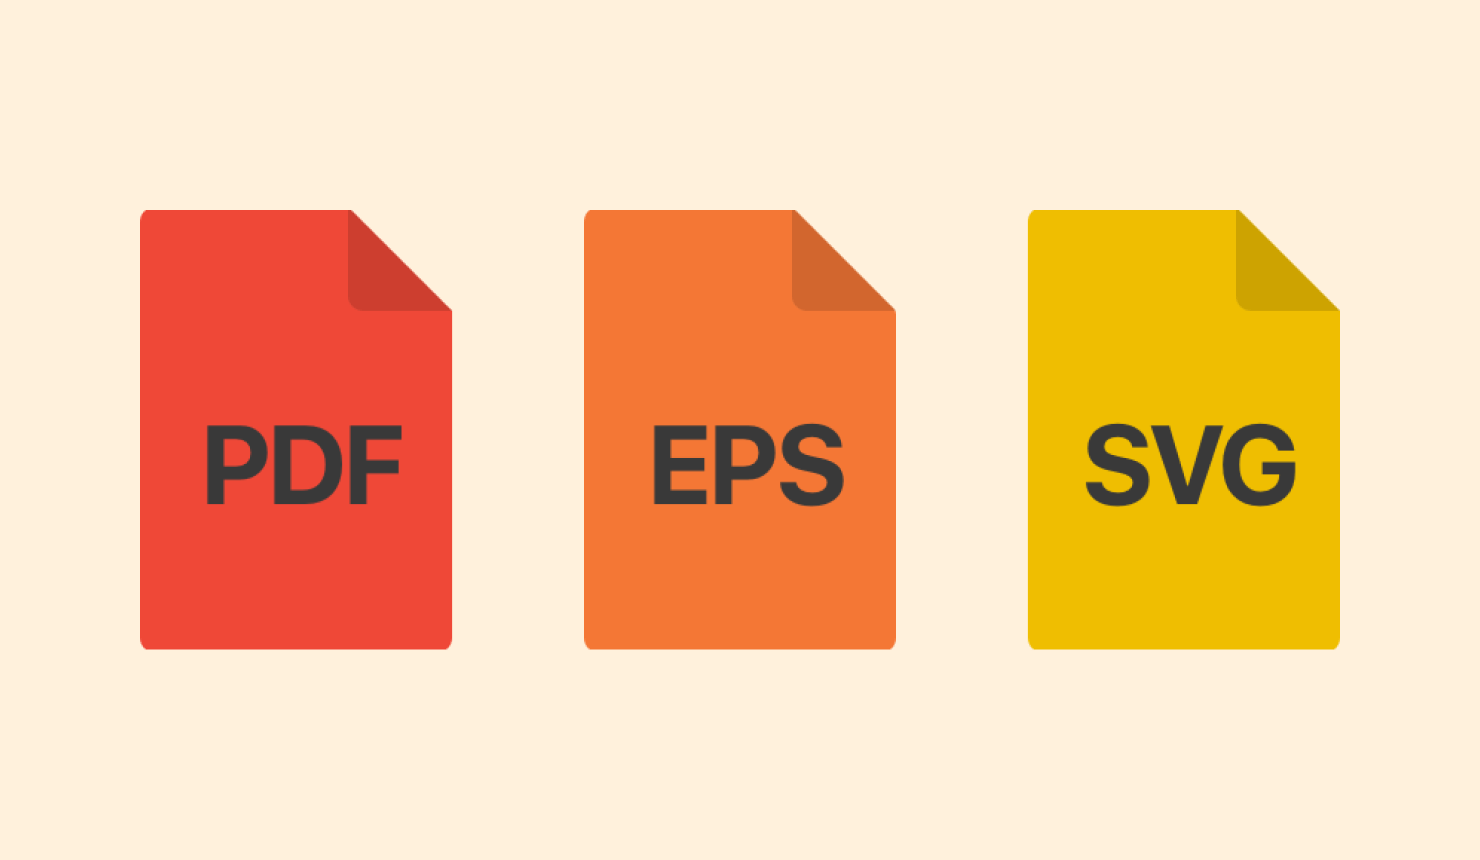
Export to Vector Formats
When exporting a vector design, you will choose between PDF, EPS and SVG formats. Perhaps you want to export a vector design for the web or printing. When you export a vector file, it will be completely scalable without losing any quality. And, it can be resized to any dimension, without becoming pixelated. This means you do not need to select a resolution in the export dialogue box for vector files. For printing, pay attention to the color scheme and color profile, but to be sure of your export choices check our article on preparing Amadine files for printing.
In this case, you’ll choose PDF, EPS or SVG formats to export your file. If you need hints on which format to select, the article on vector formats can help.
PDF and EPS
When choosing PDF or EPS format, in the Export Dialog box, there are the following settings to choose.
Export Scope: Choose whether to export the entire document or a part of it. The Export Scope option is described in the Export Scope subsection of Help documentation: for iOS, for Mac.
SVG
When choosing SVG format, in the Export Dialog box, there are the following settings to choose.
Export Scope: Choose whether to export the entire document or a part of it. The Export Scope option is described in the Export Scope subsection of Help documentation: for iOS, for Mac.
Resolution: Resolution is only for raster elements of the design. This option doesn’t affect vector elements.
Unique ID as Object’s Name: Use unique IDs for paths, groups, etc. Otherwise, the app exports the names which were used for naming objects, groups and layers in the Layers panel. Turning this option on can be useful if you are going to use the exported image for web applications.
Text as Curves: Convert text objects to paths. This option lets you avoid issues with missing fonts. Note that using curves to display text can significantly increase the size of exported files.
Remember that exporting to a vector format does not guarantee perfect result, even when exporting to the appropriate file type. Each format has its own structure for storage, and is not 100 percent identical to the Amadine app. For this reason, it is important to always save your original file and keep it for further use.
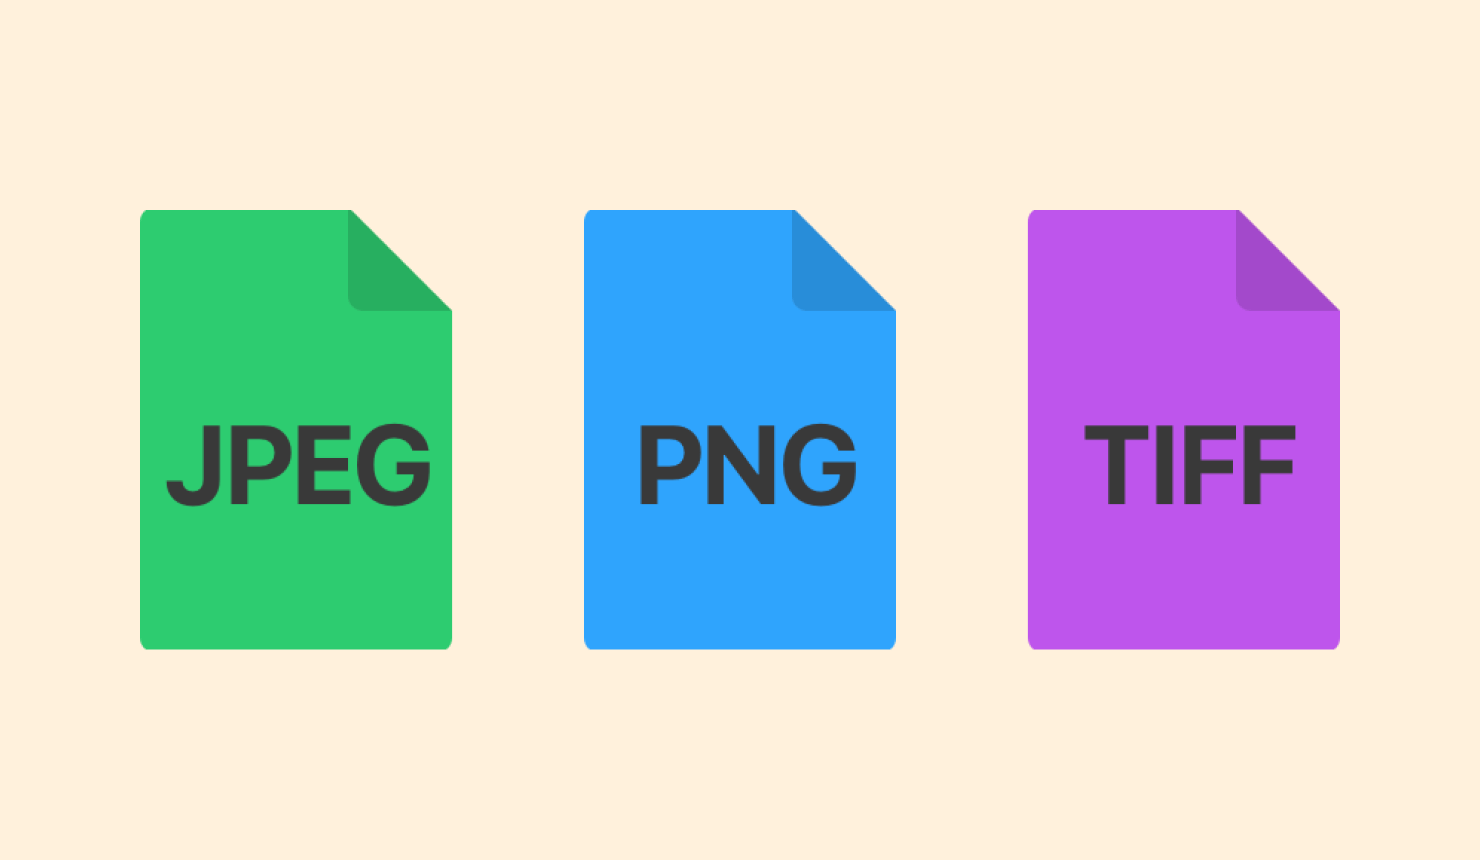
Export to Raster Formats
To export to a raster format, you will choose between JPEG, PNG and TIFF file types. If you have images with complex visuals, texture or realistic effects in your artwork, or when working with photos, you’ll likely be exporting raster formats. If you don’t need to be concerned with adapting the resolution, a raster file is also a good choice.
Within each of those formats, you will make selections in the dialog box to finalize your export.
JPEG
When selecting JPEG format, in the Export Dialog box there are the following settings to choose.
Export Scope: Choose whether to export the entire document or a part of it. The Export Scope option is described in the Export Scope subsection of Help documentation: for iOS, for Mac.
Resolution: Resolution of the output image. You can select one of the predefined options or type your own value.
Width and Height: Set the absolute size of the output image.
Scale: Set the output image size in relation to the original dimensions. When you change the Scale, the program shows the corresponding Width and Height.
Quality: Set the output image quality. By decreasing the value, you can have a smaller file, but the image will preserve fewer details, and it may have artifacts.
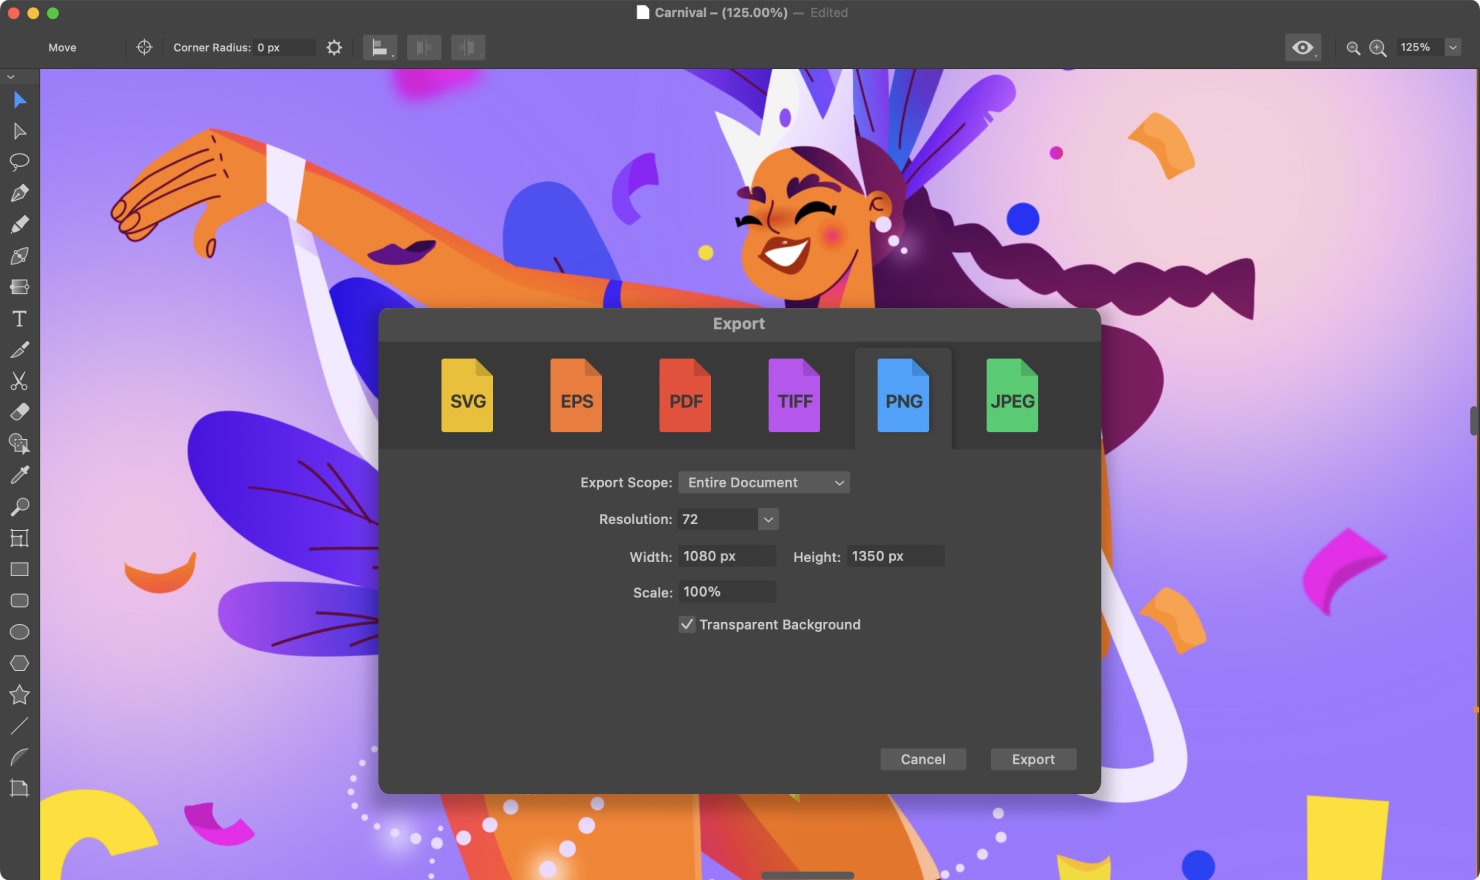
PNG
When selecting PNG format, in the Export Dialog box, there are the following settings to choose.
Export Scope: Choose whether to export the entire document or a part of it. The Export Scope option is described in the Export Scope subsection of Help documentation: for iOS, for Mac.
Resolution: Resolution of the output image. You can select one of the predefined options or type your own value.
Width and Height: Set the absolute size of the output image.
Scale: Set the output image size in relation to the original dimensions. When you change the Scale, the program shows the corresponding Width and Height.
Transparent Background: Keep transparency in areas that contain no visible objects in your design. When this option is turned off, a white background is used to fill these areas.
TIFF
When selecting TIFF format, in the Export Dialog box, there are the following settings to choose.
Export Scope: Choose whether to export the entire document or a part of it. The Export Scope option is described in the Export Scope subsection of Help documentation: for iOS, for Mac.
Resolution: Resolution of the output image. You can select one of the predefined options or type your own value.
Width and Height: Set the absolute size of the output image.
Scale: Set the output image size in relation to the original dimensions. When you change the Scale, the program shows the corresponding Width and Height.
Transparent Background: Keep transparency in areas that contain no visible objects in your design. When this option is turned off, a white background is used to fill such areas.
LZW Compression: Activate this option to decrease the output file size. Note that not all software supports compressed images.
Conclusion
In conclusion, knowing how to export files from the Amadine app is a key skill that will allow you to bring your artwork to life in different forms. By following the five main steps in our guide, and by understanding the scope, resolution, size, scale, quality and transparency from the Export Dialog box, you can export any file you create in Amadine.
Knowing why and how to export files will open up many possibilities for your artwork. Now you are ready to export your designs, making them accessible for sharing, collaboration, professional printing or web designs. Whether you need the precision of a vector file or the complex images of a raster file, the Amadine app makes exporting your files easy.