How to Work With Images—Part 1
Adding an image to an Amadine document may be done in a few different ways:
- using the Import command in the File menu and then choosing Photos or File;
- copying an image in some app and pasting it in Amadine.
There is also an alternative approach. We can fill a shape with an image. To do that, we open the Appearance panel, tap on the circle of the Fill property and open the Image tab. Then we tap on the Image button and navigate to the file. All settings in this panel will be explained soon.
All these methods have two things in common. They place an image inside a shape: either one that you selected or a rectangle, if you use import or copy-paste. Secondly, even if you did not utilize the panel to import the picture, you may still access the picture Fill options:
- You can import a picture by using the Image button.
- The imported image appears in the preview on the right.
- How the picture fits the shape is specified by the Fill Type control. There are three Fill Types.
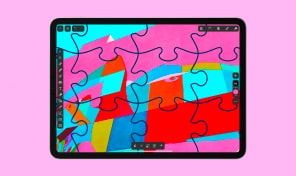
- Tile—the image replicates endlessly, filling the entire shape.
- Stretch—your image may become distorted as this type automatically adjusts the image width and height to fit the shape.
- Fill—by default, either width or height of the image fits the shape exactly.
- The picture may be made translucent using the Opacity control.
- The Blend Mode settings determine how the image’s colors combine with those of underlying objects.
The PDF and SVG file types may also be imported using the Amadine app. This lets you add external vector elements to your design and edit files in these formats. Once you import a PDF, it appears in the document as a single object. To edit it, you have to expand it. An imported SVG image can be edited right away.


