Pen Tool—Path Creation in Amadine
The Pen tool is one of the most widely used tools in any vector drawing app. Let’s dive into the possibilities of this tool in Amadine for Mac, iPad and iPhone. Throughout the article, you may find instructions asking you to “click”, meaning the primary button mouse click. These are used for the Mac version of the app equipped with a mouse, while, for your trackpad, Apple Pencil, iPhone and iPad, they simply transform into “tap”.
The first thing you need to know is that both straight and curved lines can be created with the help of the Pen tool. A path is drawn by adding segments one-by-one. You may find that some of the anchor points or segments you’ve created need to be adjusted, and then you can edit the path upon its creation.
Pen Tool Possibilities
The Control Panel contains several Pen tool modes from which to choose. Following are the available modes you can see in the Pen tool:
- Path drawing—you can add anchor points to create a new path.
- Anchor point adding—add an anchor point to an existing path by clicking on the path with this tool.
- Anchor point deletion—click on the anchor point with this tool to delete it.
- Anchor point type change—make it from smooth to corner and back to smooth, if needed. This tool lets you manipulate the direction points in order to adjust the curvature of the path segments. In this mode, you can simply select anchor points in order to delete or edit them using other tools.
- Corner point type conversion—make a selected anchor point the “corner point” type.
- Smooth point type conversion—make a selected anchor point the “smooth point” type.
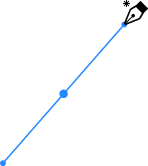
How to Draw a Straight Line
Here’s a comprehensive guide on the straight line design in Amadine:
- Choose the Pen tool.
- Click on the point at the start of the line.
- Click on the point at the end of the line.
- Deactivate the tool with the help of the Escape key or double-click.
How to Draw a Polygon
Polygon drawing includes more steps but is not much more difficult than straight line drawing. Here’s the guide:
- Choose the Pen tool.
- Choose the location of one of the polygon’s corners and click.
- Choose the points at which other corners should appear and click on each of them.
- Close the outline of the polygon by clicking on the first point. The program will close the shape by the click if you see a circle near the cursor.
- Deactivate the tool with the help of the Escape key or double-click.
How to Draw a Curved Line
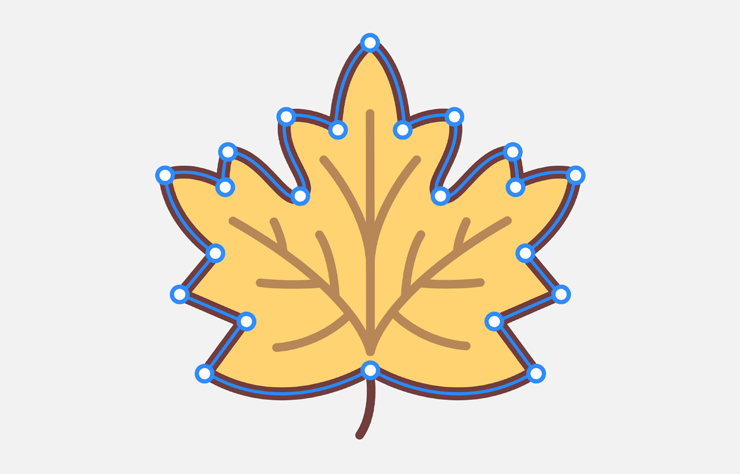
Curved lines are the basis of many types of illustrations, starting with obviously easy ones, like this:
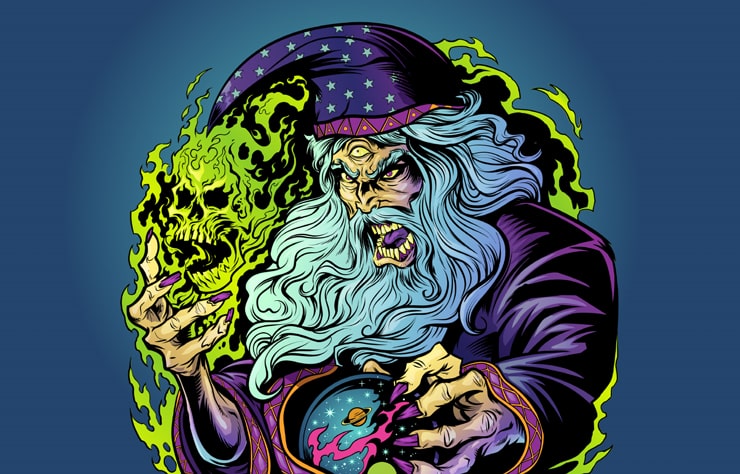
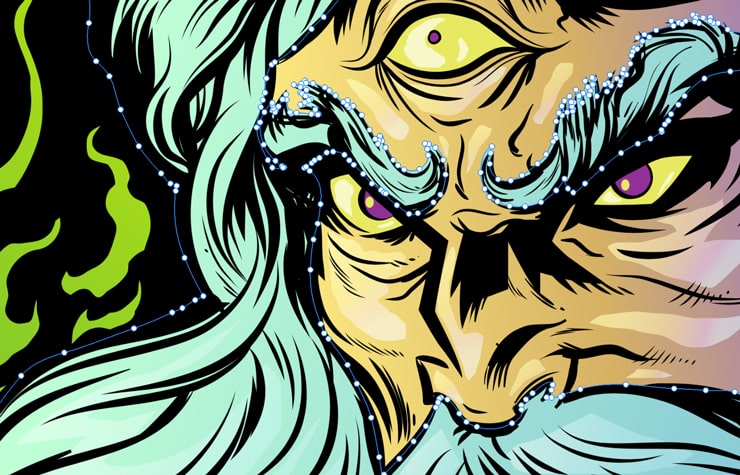
And up to way more difficult works like this:
Interested in how to make those curves happen? To create a curved line, make a primary mouse click and drag the cursor in the needed direction. The line will follow the cursor off the check point. The segment being drawn can be bent by the direction line near the corresponding anchor point. When you follow these instructions, you can set the initial direction of the curved line near every anchor point. To shape the curve to your liking, simply adjust direction lines after they’ve been drawn.
How to Draw a Curved Path
For a curved path, follow this simple step-by-step guide:
- Choose the Pen tool.
- Place the cursor point at the start of the intended line.
- Press and hold the primary mouse button.
- To see the direction line, move the cursor aside. One of its shoulders serves as a link between the cursor and the anchor point. Both the length and angle of the direction line will affect the curvature of the line you draw. Release the button.
- Move the cursor to the next point.

- Repeat steps 3 through 5.
- Click on the first point to close the shape.
- Hit the Escape key or double click to deactivate the tool.
Please note that curved and straight segments can be combined at your will.
There is a second way to draw a curved path in Amadine. It can be produced by combining the straight segments. In this case, make them curved as explained on the Edit a Path section.
How to Adjust Stroke Width and Color
If you wish to change the stroke width or color, this can be done with the help of the Appearance panel.