How to Draw Lines and Basic Shapes in Amadine
Any vector graphics, stripped to their core, are a set of lines and shapes situated on a sheet in a specific order. When you know how to create and use those two elements, you know how to create vector graphics. Adding complex effects to it will be a future task, but, to start out, you only need lines and shapes. Of course, a professional graphic designer uses the Pen tool most of the time, but the basic shapes tools save a lot of effort in many cases.
The Tool Set of Amadine
Amadine offers its users a set of tools for drawing primitive shapes and lines:

The names of the tools make its use self-evident, but let’s enumerate them for better clarification.
- The Rectangle tool, which allows you to draw rectangles.
- The Rounded Rectangle tool, which makes rectangles with rounded corners.
- The Ellipse tool that creates ellipses and circles.
- The Polygon tool, which allows you to create polygon shapes with any number of sides.
- The Star tool, allowing the creation of a star with the desired number of points.
- The Line tool, which creates straight lines.
- The Arc Tool (it is also on the video along with the line tool), which creates arcs and sectors.
Smart Shapes in Amadine
There are two different types of objects you can create with the help of this tool set: regular objects and smart shapes. The Line, Rectangle, Ellipse and Arc tools create regular objects (paths) that you can draw using the Pen tool. The smart shapes are the parametric objects that let you vary their shape after an object has been drawn.
When using the Selection tool on a smart shape, you will not see anchor points, only round handles, which are pre-programmed to change the object’s shape in a particular way, such as adjusting rounded corners. If you drag a handle of a rounded rectangle, you will edit all of its corners because all of the handles are selected by default. But, what if you only want to manipulate one handle? You click on it and then all the rest will become deselected. You can select several handles by holding Shift while clicking on them.
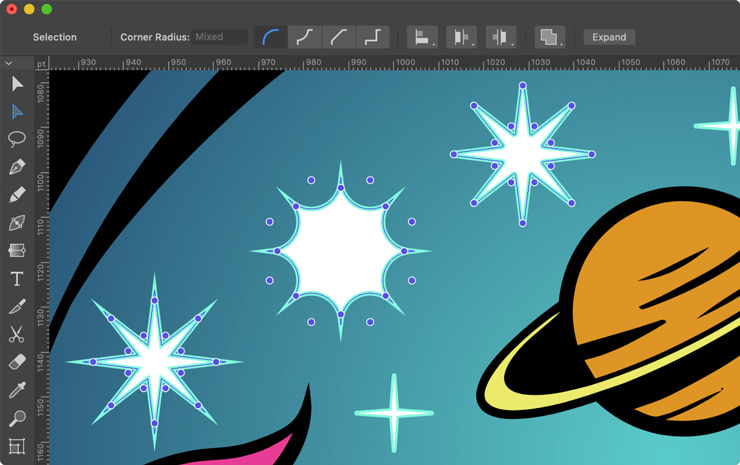
The properties of smart shapes can be seen as they are displayed in the Control panel.
You can turn a smart shape into a regular object by using the Expand command from the context menu or Control panel. Then you will be able to edit the object by working with anchor points. Note that it is not possible to convert a path into a smart shape.
The Tools Overview
Now let’s take a short tour through all the tools in the set to get an overview of their uses.
Rectangle
To draw a rectangle, follow those simple steps:
- Activate the Rectangle tool.
- Place the cursor on the canvas where the corner of a new rectangle should appear.
- Press and hold the left mouse button.
- Move the cursor to the point where the opposite corner should be located.
- Release the mouse button.
Rounded Rectangle
To draw a rounded rectangle, the workflow is basically the same:
- Activate the Rounded Rectangle tool.
- Place the cursor on the canvas where the "corner" of a new rectangle should appear, meaning an imaginary corner that would appear if it wasn’t rounded.
- Press and hold the left mouse button.
- Move the cursor to the point where the opposite corner should be located.
- Release the mouse button.
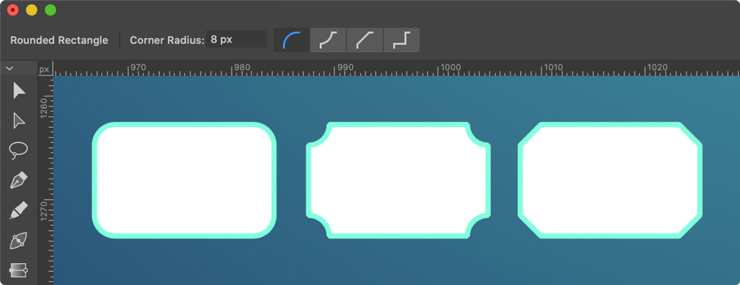
You need to remember that the object drawn with the Rounded Rectangle tool has additional properties. The Control panel lets you change the radius of the rounded corners. You can also choose different shapes for the corners.
Ellipse
Following is the process for the Ellipse drawing:
- Activate the Ellipse tool.
- Place the cursor on the canvas where a corner of the bounding box of a new ellipse should appear.
- Press and hold the left mouse button.
- Move the cursor to the point where the opposite corner should be located.
- Release the mouse button.
Please note that you can create a circle with this tool while holding the Shift key.
Polygon
Draw a Polygon following these steps:
- Activate the Polygon tool.
- Place the cursor on the canvas where the center of a new polygon should appear.
- Press and hold the left mouse button.
- Move the cursor aside in order to define the size and orientation of the object.
- Release the mouse button.
Bear in mind that the object drawn with the Polygon tool has additional properties. The Control panel lets you change the number of sides of a polygon.
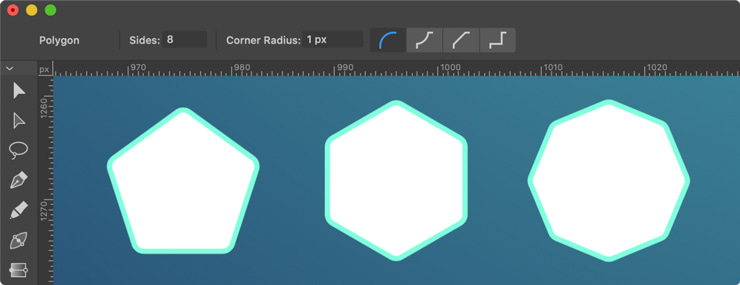
The Corner Radius can be adjusted. When its number is greater than zero, the corners of the polygon become rounded, and they can have other shapes as well. You can choose the shape using the four buttons in the Control panel.
Star
To draw a star, follow those simple steps:
- Activate the Star tool.
- Place the cursor on the canvas where the center of a new star should appear.
- Press and hold the left mouse button.
- Move the cursor aside in order to define the size and orientation of the object.
- Release the mouse button.
Note that the Star object has additional properties.The Control panel lets you change the number of points and the Inner Radius and Radius parameters.
You can adjust the size of the space taken up by the body of a star using the Inner Radius parameter.
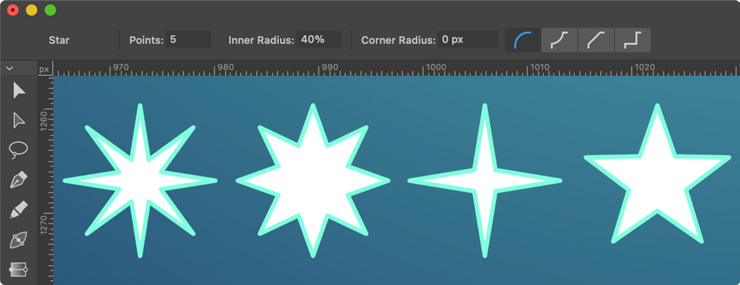
Reminiscent of the one you’ve already seen in the Polygon tool properties, the Star tool also has a Corner Radius, which can be adjusted to greater than zero. You can make the points of the star rounded or another predefined shape as well. The shape can be chosen and changed using the four buttons in the Control panel.
Line
Drawing a line is similar in the workflow:
- Activate the Line tool.
- Place the cursor on the canvas where a new line should start.
- Press and hold the left mouse button.
- Move the cursor to the point where the line should end.
- Release the mouse button.
Basically, a line created with the Line tool is no different from a single straight segment of a path drawn using the Pen tool.
Arc and Sector
Draw an arc or a sector following these steps:
- Activate the Arc tool.
- Select one of the modes in the Control panel.
- Place the cursor on the canvas at the starting point.
- Press and hold the left mouse button.
- Move the cursor to the point where the opposite corner should be located.
- Release the mouse button.
Please note that the Arc tool has a number of Modes. You can choose the type of object you want to create in the Control panel, but it needs to be selected before you start drawing. You cannot change to a different type once it has been created.
Drawing Shapes With a Fixed Center in Amadine
By drawing a line in the default mode, you can define the location of the ends of the line. When drawing a shape, the process is similar: you define the locations of the opposite corners of the object’s boundary.
Sometimes your designer task will include locating the center of a new line or shape at a particular point. When you face such a challenge, the position of the object’s center can be indicated using the Option key.
You need to press and hold the Option key before the start of the drawing process. The cursor should be placed where you want to place the future object’s center. While drawing the new object, this center will stay fixed. The cursor position will change the size of the object, but not the center point position. The same practice can be attributed to all types of objects described above, except for arcs.