Color, Gradient and Image Fill in Amadine
The easy-to-use Appearance panel may offer more than you think to your designs, such as different types of fills. Due to its use, the illustrations, posters, interface elements and logos with a slight gradient fill will make your clients happy and your competitors envious. Let’s look at how different types of fills work in Amadine.
In Amadine, like in any solid vector graphics app, you can fill an object with a plain color, gradient or image. To choose one of these options and adjust its properties, use the Appearance panel of the app.

How to Fill an Object with Color
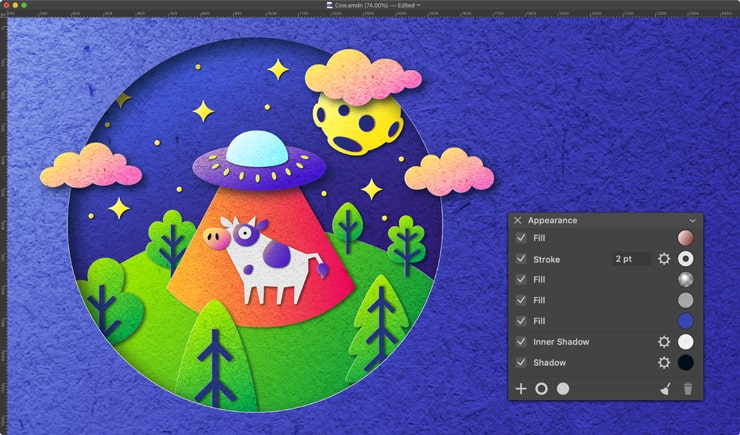
When an object is created, it has one default fill and one default stroke. You can add any number of fills by clicking on the plus icon and choosing Fill. The process can be one step quicker if you click on the circle icon. However, you need to carefully distinguish between the icons in the Appearance panel so as not to add a stroke (by clicking on the ring) instead of a Fill. So, basically, clicking on the ring adds a Stroke, while clicking on the circle adds a Fill.
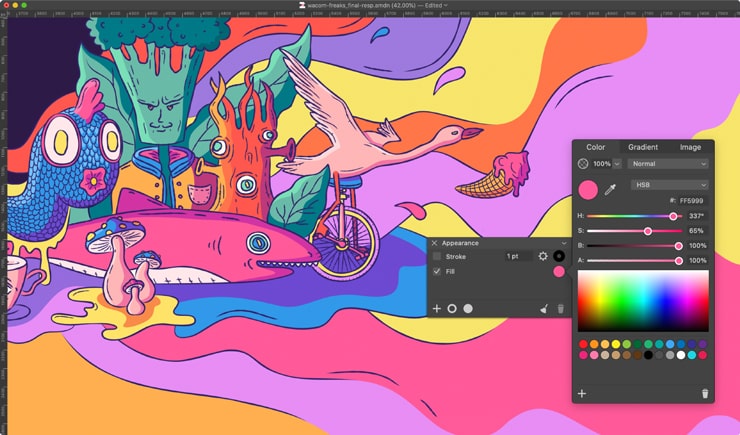
After clicking on the colored circle in the Appearance panel, the user will have access to the Fill settings.
By default, the first tab opens—Color. Here, we can adjust the fill color using various parameters: sliders (e.g., RGB, CMYK, etc.), a palette, or you choose a color with an eyedropper from an existing object or image. Also, the Fill can be set to transparency or blending mode.
Created or selected colors can be saved and deleted using the Plus and Trash icons in the lower toolbar of the panel.

How to Fill an Object with Gradient
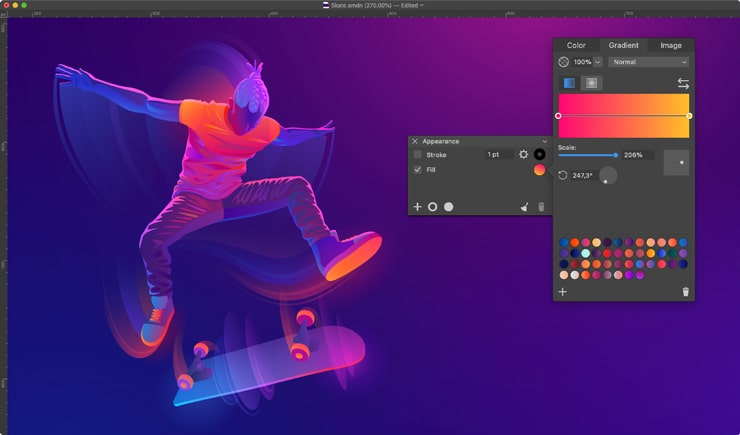
When one solid color is not enough, we can use a Gradient─a transition from one color to another. Gradients add volume, uniqueness, brightness and realism to the shapes in the illustration. The human eye rarely encounters flat colors in the real world, as light falls onto surfaces differently depending on the angle. Color transitions help to diversify the palette, making the design exceptional and unique.
To adjust the gradient, switch to the second tab in the Appearance panel. Here, we will see the settings that allow you to choose the shape of the Gradient (linear or radial) and set its rotation angle, position, colors, transparency and blending mode. You can also save and delete gradient swatches here. To add color, simply click anywhere on the color stretch, and a circle will be added. When you click on this circle, the color settings will open, the same as in the Color panel. To more conveniently adjust the rotation and position of the gradient, you can use the Gradient tool.

How to Fill an Object with an Image
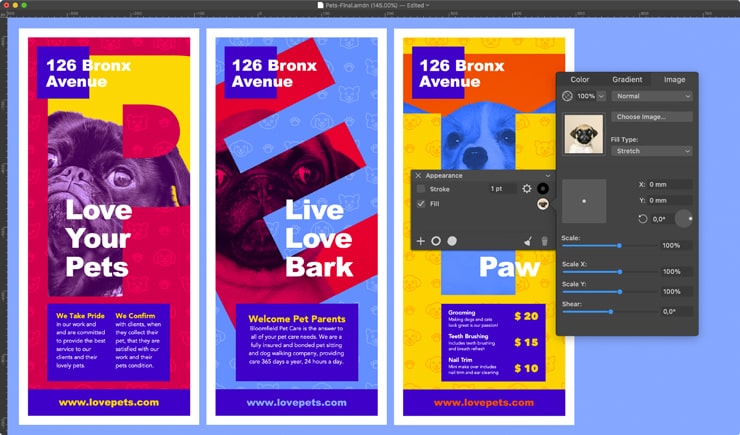
Amadine has the ability to fill an object with an image. Using this function, we can add raster textures or patterns to objects, which will help to diversify the appearance, create images in an unusual style and make an extraordinary design.
To do this, switch to the third tab of the Settings panel. You can use images of various formats, such as JPEG, PNG, TIFF, PDF. In the panel, you can set the fill type (fill, stretch, tile), scale, rotation and position of the image. The picture can also be set to transparency or blending mode. You can fill any shape with a picture, and you can also crop the image using a Clipping Mask.

Overview of Fill Possibilities
All the properties of Fill are enumerated in the Appearance panel. You can hide any properties by ticking the checkboxes in the column on the left. The color icon in the right column opens the Color panel.
If you wish to choose a color, open up the color panel by clicking the color icon. This will allow you to set up a gradient or select an image. Depending on your designer task, click on the Color, Gradient or Image tab.
The following articles and help sections will explain how to select a color or work with gradients or images: