How to Fill a Shape with an Image or Photo in Amadine
There is a common path to fill shapes or your canvas with the image, color or gradient. You can read more about Color, Gradient and Image Fill in Amadine in the dedicated article. But if we take one task—to fill a given shape with the image or photograph, there are basically two ways to do that in Amadine. The first one is a so-called “direct” path, the other one is using a clipping group, which is usually used when you have a collage or a very complicated illustration, consisting of many elements.
How to Directly Fill a Shape
The direct fill works in a simple and easy way—you pick a raster or vector image and use it as a fill for your shape. You can add an image or photo simply by dragging and dropping it from Finder directly onto the canvas. The chosen picture will be added as a new object with the original aspect ratio. Amadine also allows copying an image from other software.
The Color panel is used for filling a shape with the needed element. The steps are the following:
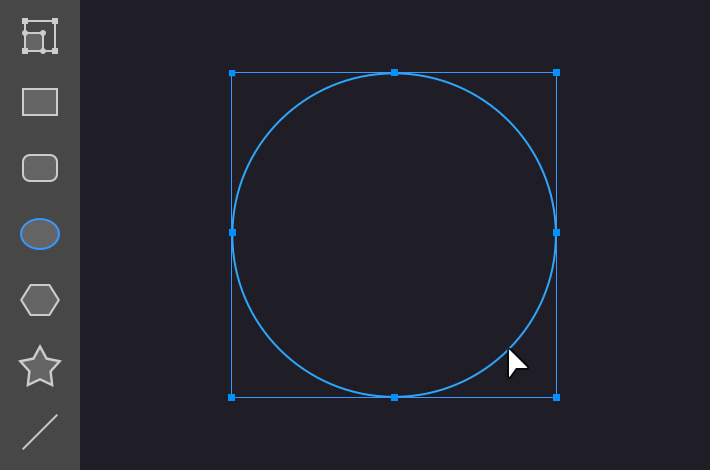
- Select an object.
- Add a Fill property to the current object in the Appearance panel if the object doesn’t have one.
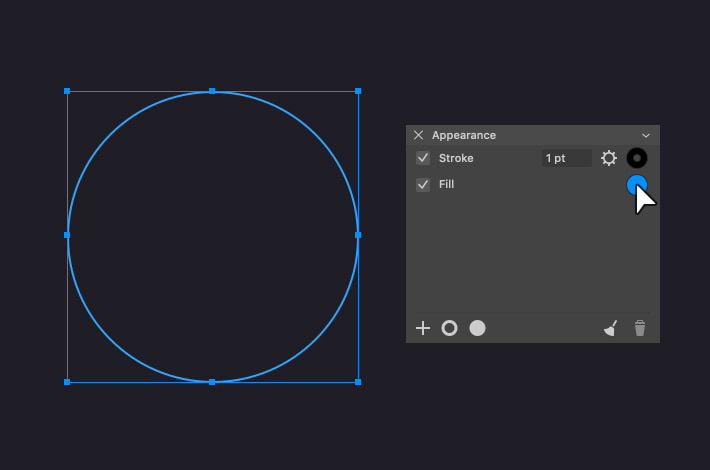
- Click on the color icon of the Fill property to open the Color panel. Then select the Image tab.
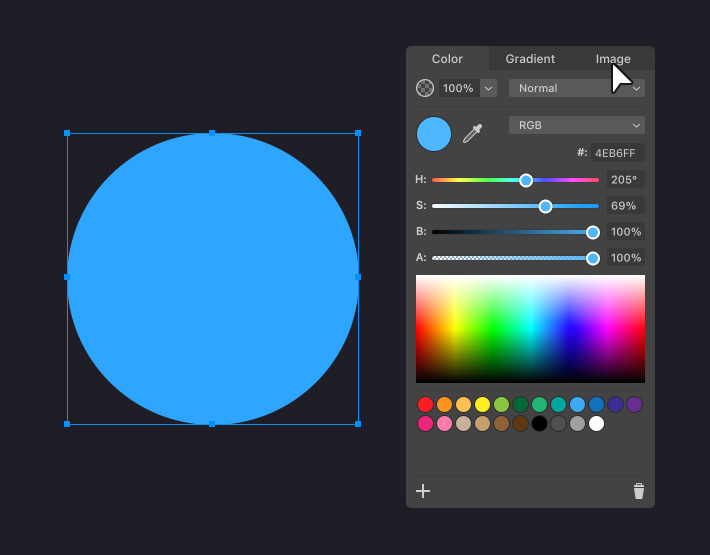
- Click the Choose image… button and select an image/photo/illustration.
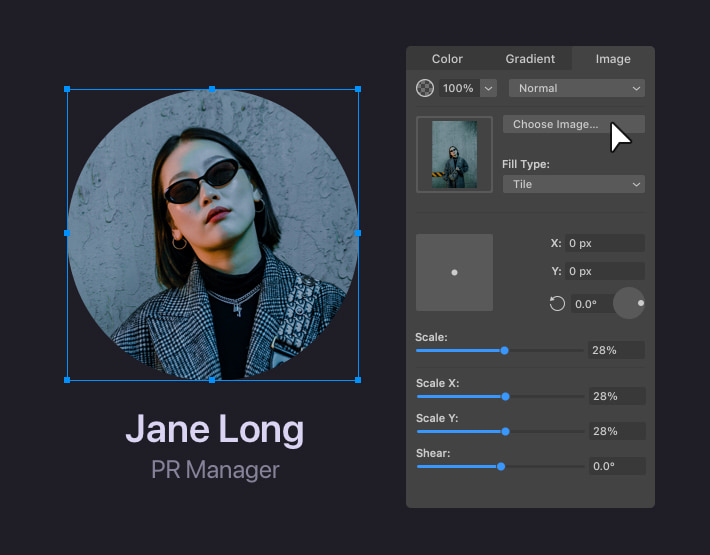
- Adjust image properties if necessary.
After adding the image, you can always come back into the Color panel and adjust the settings to reach the desired visual result.
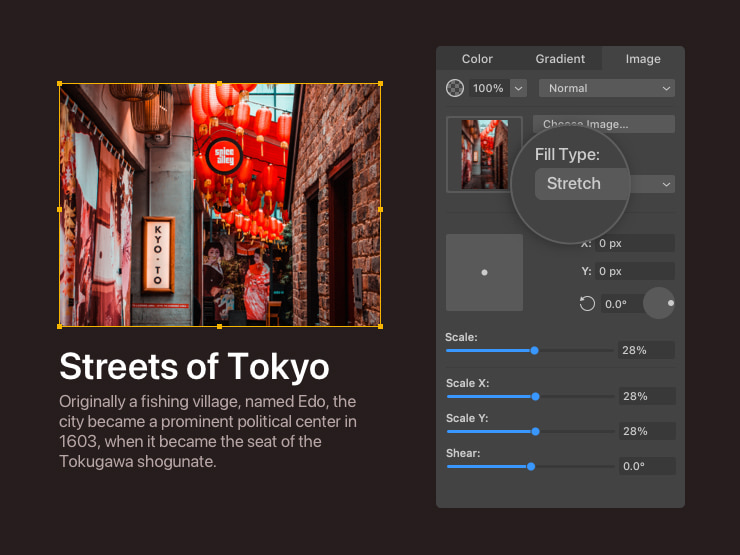
The fill type setting of the Color panel needs to be described in more detail.
There are three fill types represented there: Fill itself, Stretch or Tile. The trick is, when the scale stays 100% and the boundary has the same aspect ratio as the imported image, all of the options will be the same. To see the difference, you need to change the aspect ratio of the boundary or to scale the image.
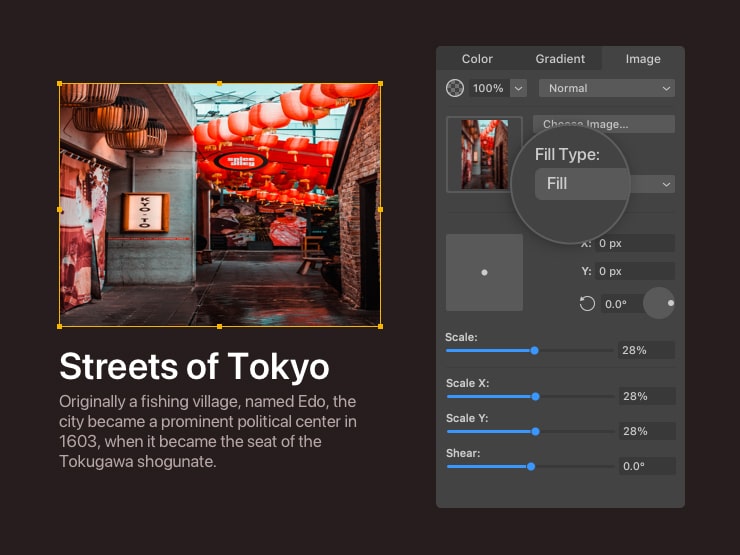
To see how the Stretch option works, we can decrease the height of the object. With Fill, the image will keep its aspect ratio, but some image parts that don’t fit can be invisible. Stretch will reshape the image to fit it for the new width and height.
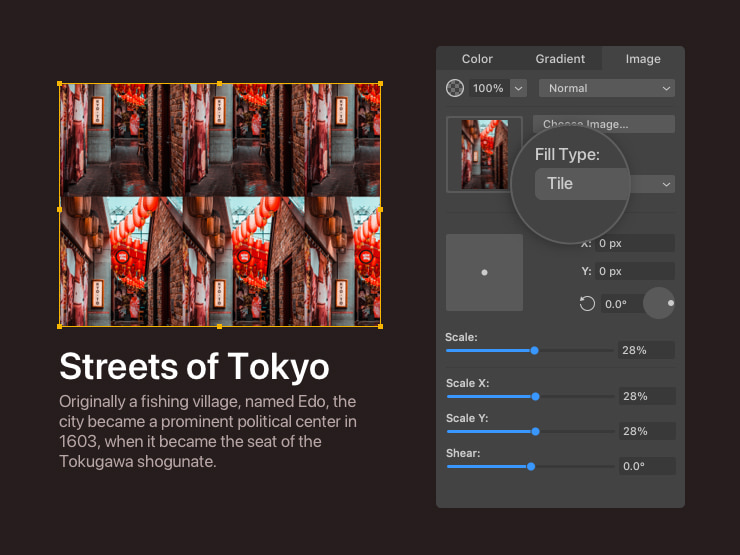
The Tile option makes a difference when the image is scaled down. Many copies of the image will take up the whole available space. With Fill, you’ll still have a single small copy.
Creation of a texture may require a specifically designed image that can be tiled seamlessly. The photos can look not as good as you wish with the Tile, please, pay attention to it, when using this setting.
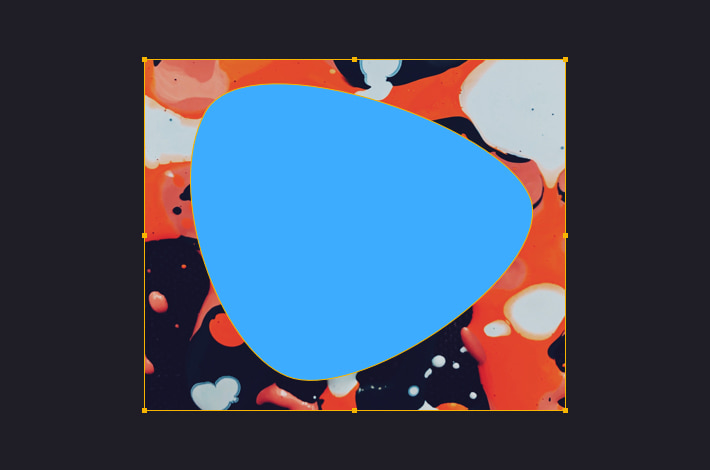
How to Fill a Shape Using a Clipping Mask
The more complicated images, like collages or overlapping elements of the photographs and pictures may better fill the shape if they are clipped. Moreover, one can draw directly on a photo in the Amadine app. Please note that the Clipping Mask can only be used to fill vector shapes. The main information on Clipping Mask origin and fields of use can be found in the dedicated article. Here we will only look at our main task—filling a shape with an image with the help of a clipping mask.
We can use Clipping Mask to hide parts of the objects, which should not be seen from under our shape. The Clipping Mask is shown as a command in the menu bar.
To apply a clipping mask to a shape:
- Create a vector object that will be used as a clipping mask. Only the shape of its path matters.

- Place the clipping path over the collage/photos/images you want to mask (add those elements as was described higher in the article). Select both the mask and the elements.
- Choose the Modify > Make Clipping Mask command from the main menu.
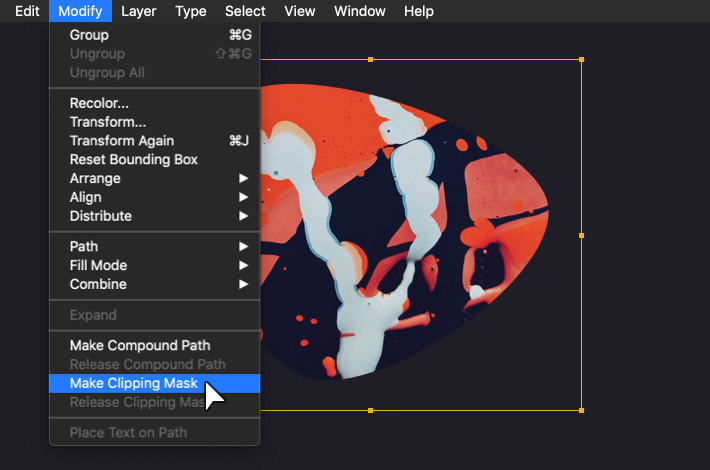
The result is a clipping group object that includes both the clipping path and masked elements. Only a vector object can be used as a clipping path. If you try to create a clipping mask out of a raster image, the rectangular boundary of this image will be used to create a clipping path. To prevent this from happening, you can turn your raster image into a vector one. You can mask any artwork—a collage, several pictures, illustrations etc.