
Best Free Online Image Vectorizer Tools
Need to turn a PNG or JPG into a crisp, scalable graphic? Use an image vectorizer. For a fast, free one-off, a browser tool like SVG Converter, Aspose, Vectorizer.io, Vectorization.eu, or a PNG/JPG → SVG converter will do the job. If you also want to edit the result, the Amadine app traces the image and lets you refine the paths in one place. This guide covers what each tool does, step by step, plus a comparison table and a short FAQ.
What Is an Image Vectorizer?
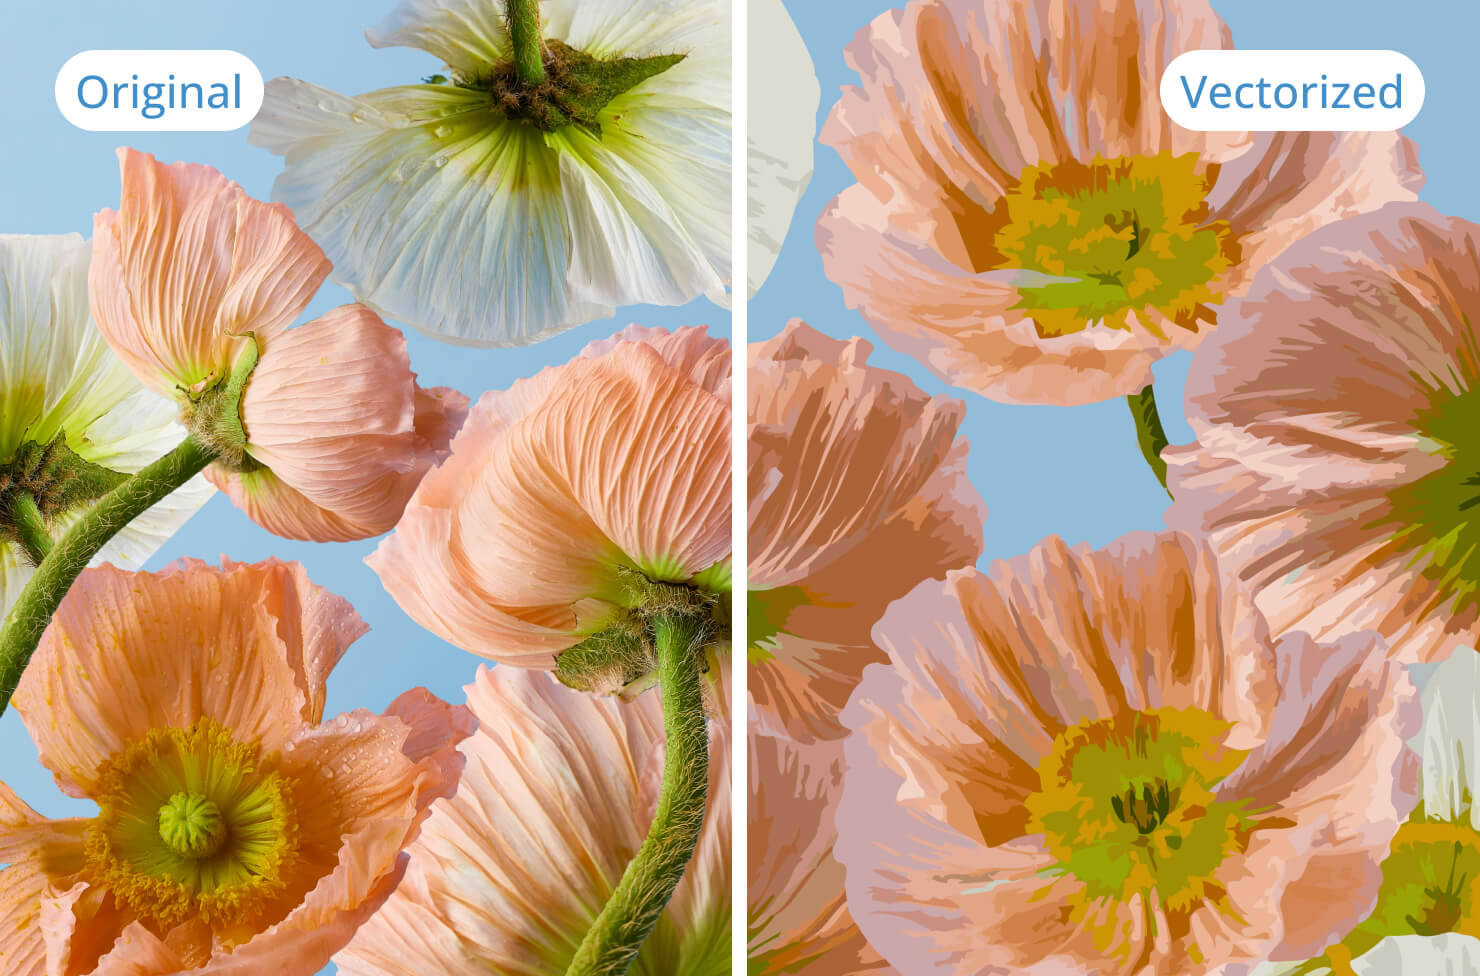
An image vectorizer is a tool or website that turns raster graphics—images built from individually colored pixels (PNG, JPG)—into vector graphics defined by mathematical points and curves (SVG, PDF, EPS, AI). Because vectors are math, not pixels, they stay sharp at any size and don’t develop ragged edges when you scale them up. A vectorizer can be a standalone online converter or a feature inside a vector design app.
You reach for one whenever artwork has to be resized, printed large, or reused across formats. Common uses include:
- App interface design
- Web development projects
- Animations
- Computer-aided design (CAD)
Real-world artwork that often needs vectorizing: illustrations, logos, and billboards—anything that must look clean whether it’s on a business card or a building.
Some professional vector apps include an image-trace feature that vectorizes raster images into smooth, clean lines and curves at any size. Amadine is one of them.
Amadine
Amadine is a vector graphic design app for Mac, iPad, and iPhone from BeLight Software. Its Image Trace feature vectorizes a raster image, and—unlike a browser converter—you can keep editing the resulting anchor points, colors, and paths right where you traced them. Amadine offers a free trial on Mac and a free version on iPad and iPhone, with full export unlocked by a one-time purchase or subscription.
Try Image Trace in Amadine
Trace a raster image and refine the vector paths in the same app—no re-import needed.
How to Use Image Trace in Amadine
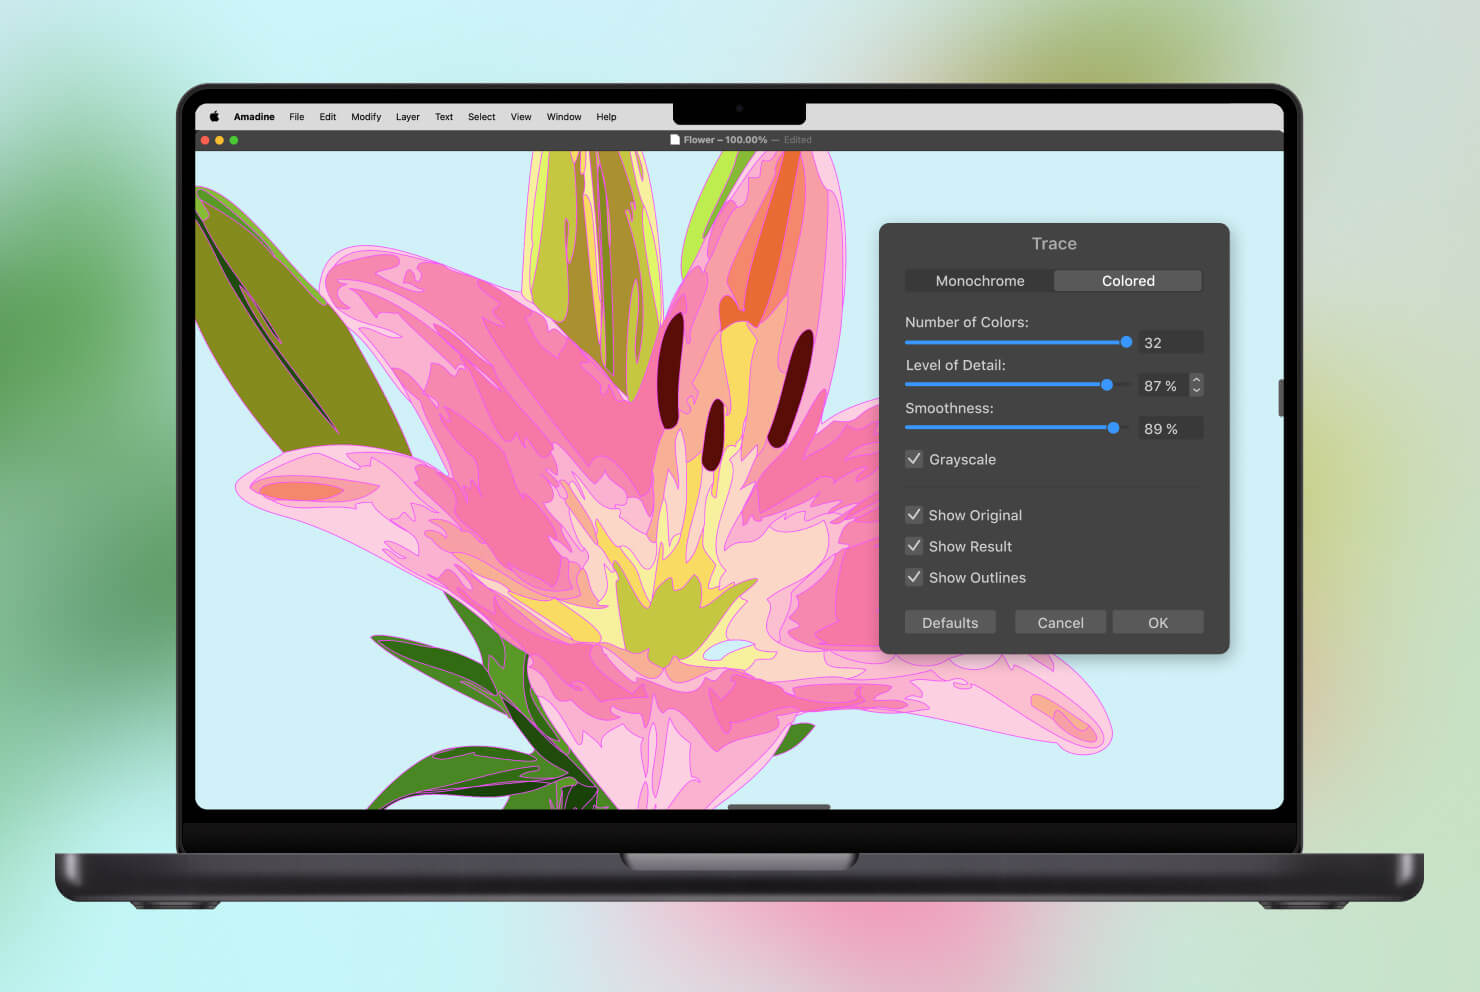
Image Trace has two modes. Use Monochrome for one-color artwork such as line drawings, stamps, and simple logos. Use Colored for artwork with several flat colors.
Monochrome Images
- Import a raster image into Amadine.
- Select the image and choose Modify → Trace… on Mac, or Inspector → Path → Trace on iOS.
- Set Mode to Monochrome.
- Increase the Brightness Threshold until every important detail is visible
- Set a proper Level of Details to remove small, unwanted shapes.
- Adjust Smoothness to simplify paths and create cleaner curves
- Apply the trace.
- Edit or simplify the generated vector paths if needed.
Optional controls:
- Invert colors—bright pixels become dark and vice versa. Handy when tracing white artwork on a dark background.
- Show Original—toggle the original image on or off.
- Show Outlines—preview outlines to inspect fine details closely.
Color Images
- Import a raster image into Amadine.
- Select the image and choose Modify → Trace… on Mac, or Inspector → Path → Trace on iOS.
- Set Mode to Colored.
- Choose the number of colors. More colors preserve detail; fewer colors give cleaner vectors.
- Adjust Level of Detail to drop unwanted small shapes if necessary.
- Increase Smoothness to simplify paths and create cleaner curves.
- Apply the trace.
- Edit or simplify the generated paths and colors if needed.
Optional controls:
- Grayscale—convert a colored input into a grayscale image before tracing.
- Show Original—toggle the original image on or off.
- Show Outlines—preview outlines to inspect fine details closely.
Ready to trace your own image?
Open your PNG or JPG in Amadine and run Image Trace in under a minute.
How to Use 5 Free Online Vectorizers
No install needed for these. Each one uploads your image, traces it in the browser, and gives you an SVG to download. Steps below reflect each tool’s own controls.
SVG Converter
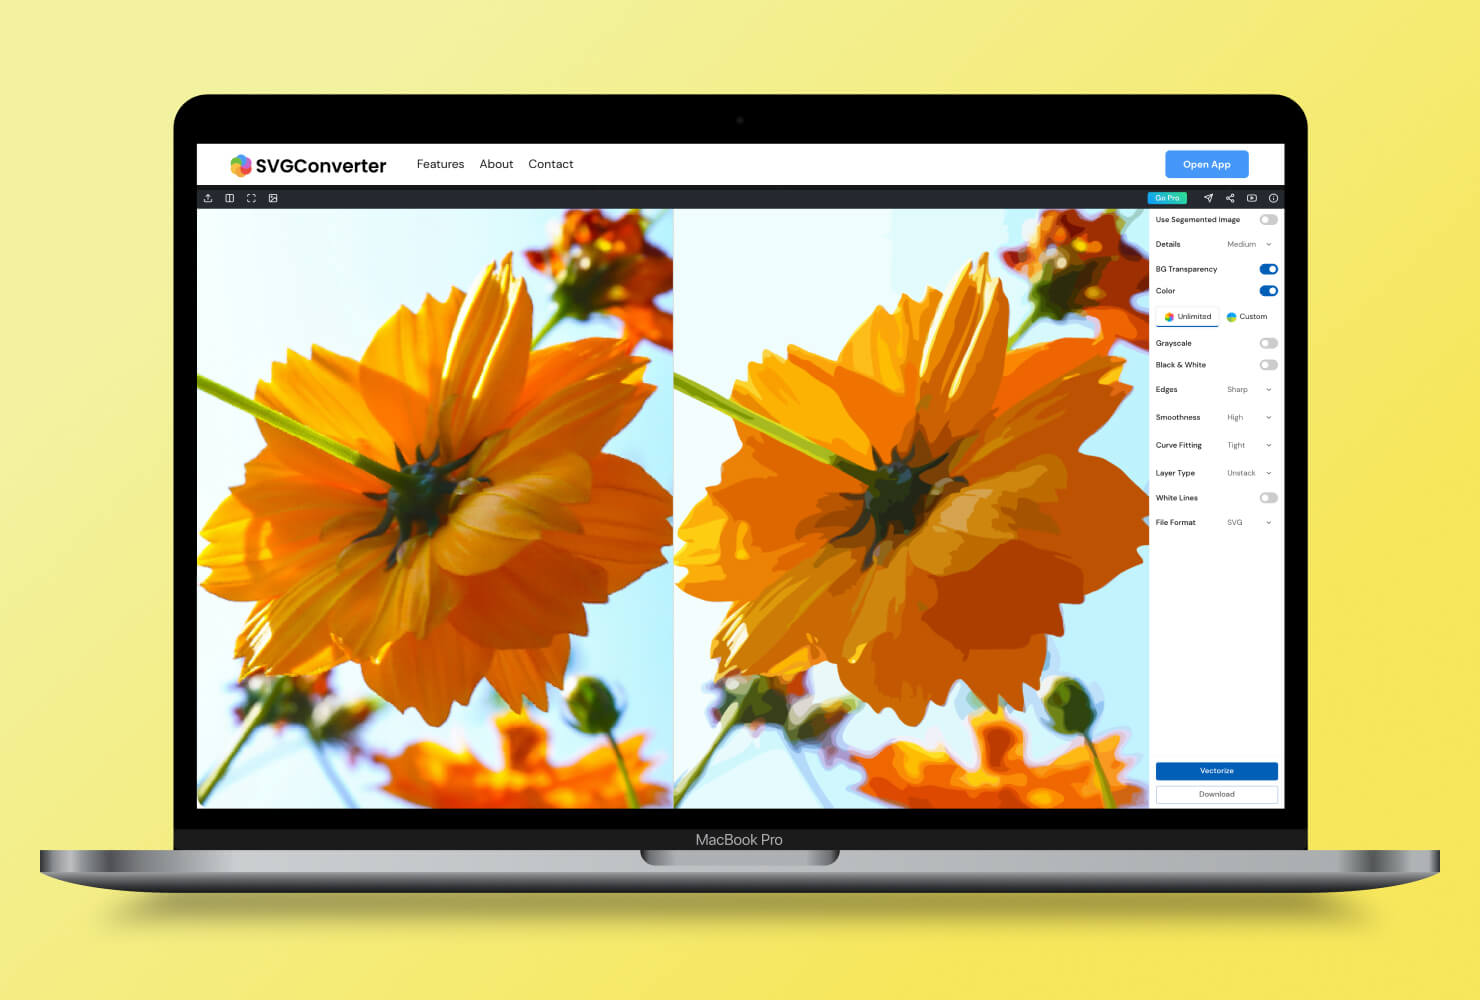
- Upload your image.
- Keep transparency enabled if the background should stay transparent.
- Select colorful or monochrome vectorization.
- Choose an Unlimited or Custom number of colors.
- Set up the edges, smoothness, and curve fitting.
- Choose SVG as the output (PDF, AI, and EPS are also available).
- Vectorize, then download the vector image.
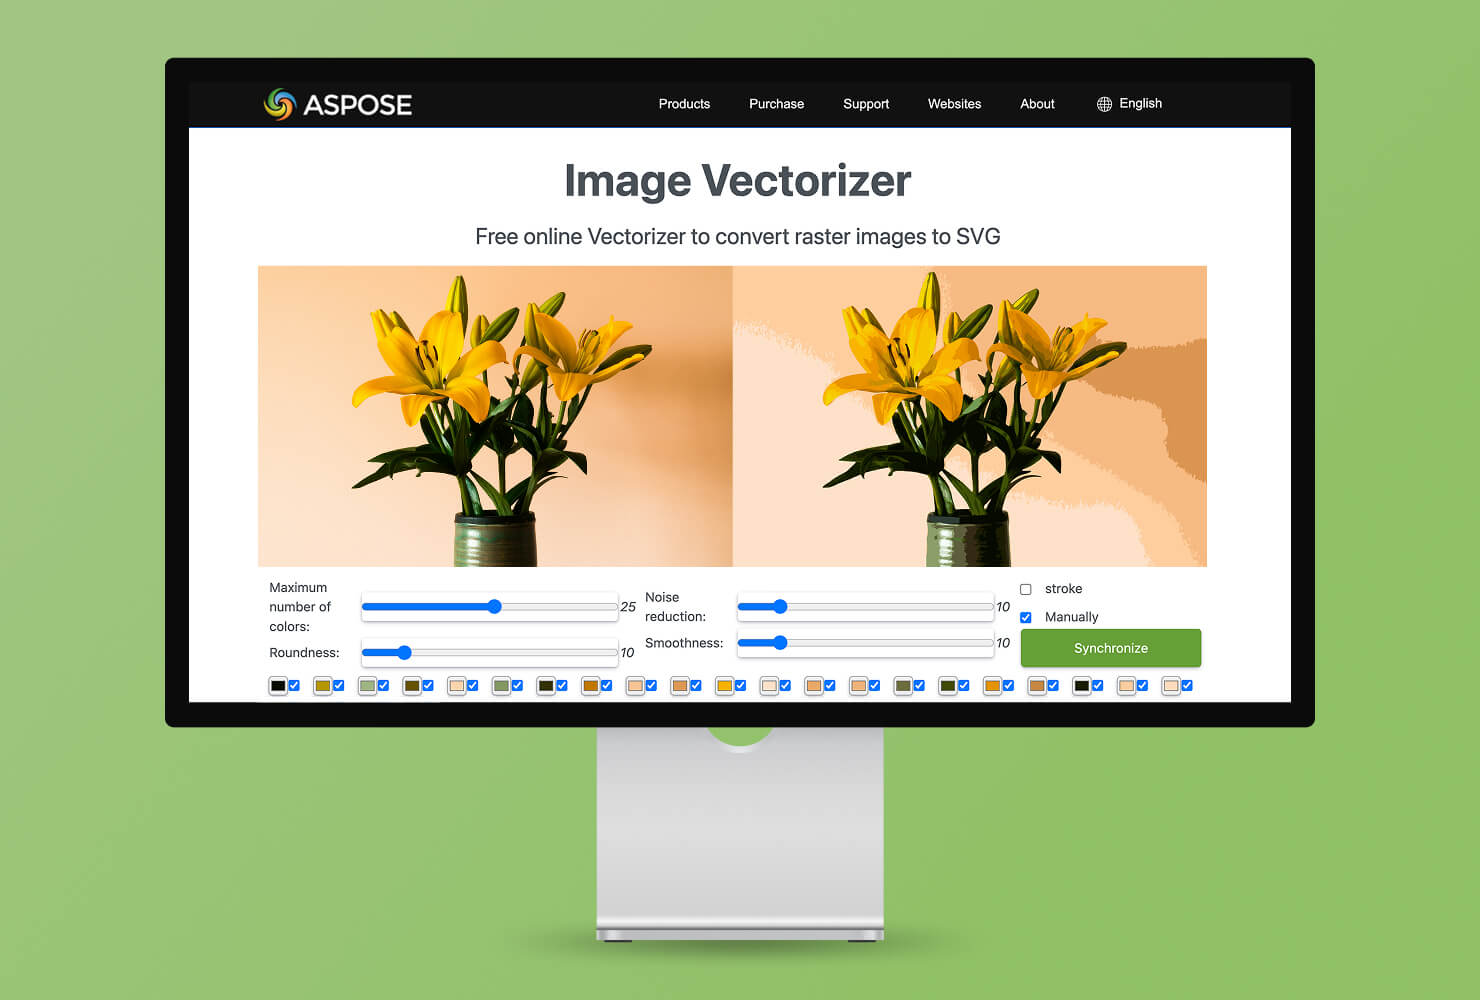
Aspose Image Vectorizer
- Upload your image and set up noise reduction.
- Choose a number of colors.
- Adjust Smoothing for cleaner curves.
- Round corners if the artwork has organic shapes.
- Modify the color palette only when necessary.
- Synchronize and save as SVG to your computer.
Vectorizer.io
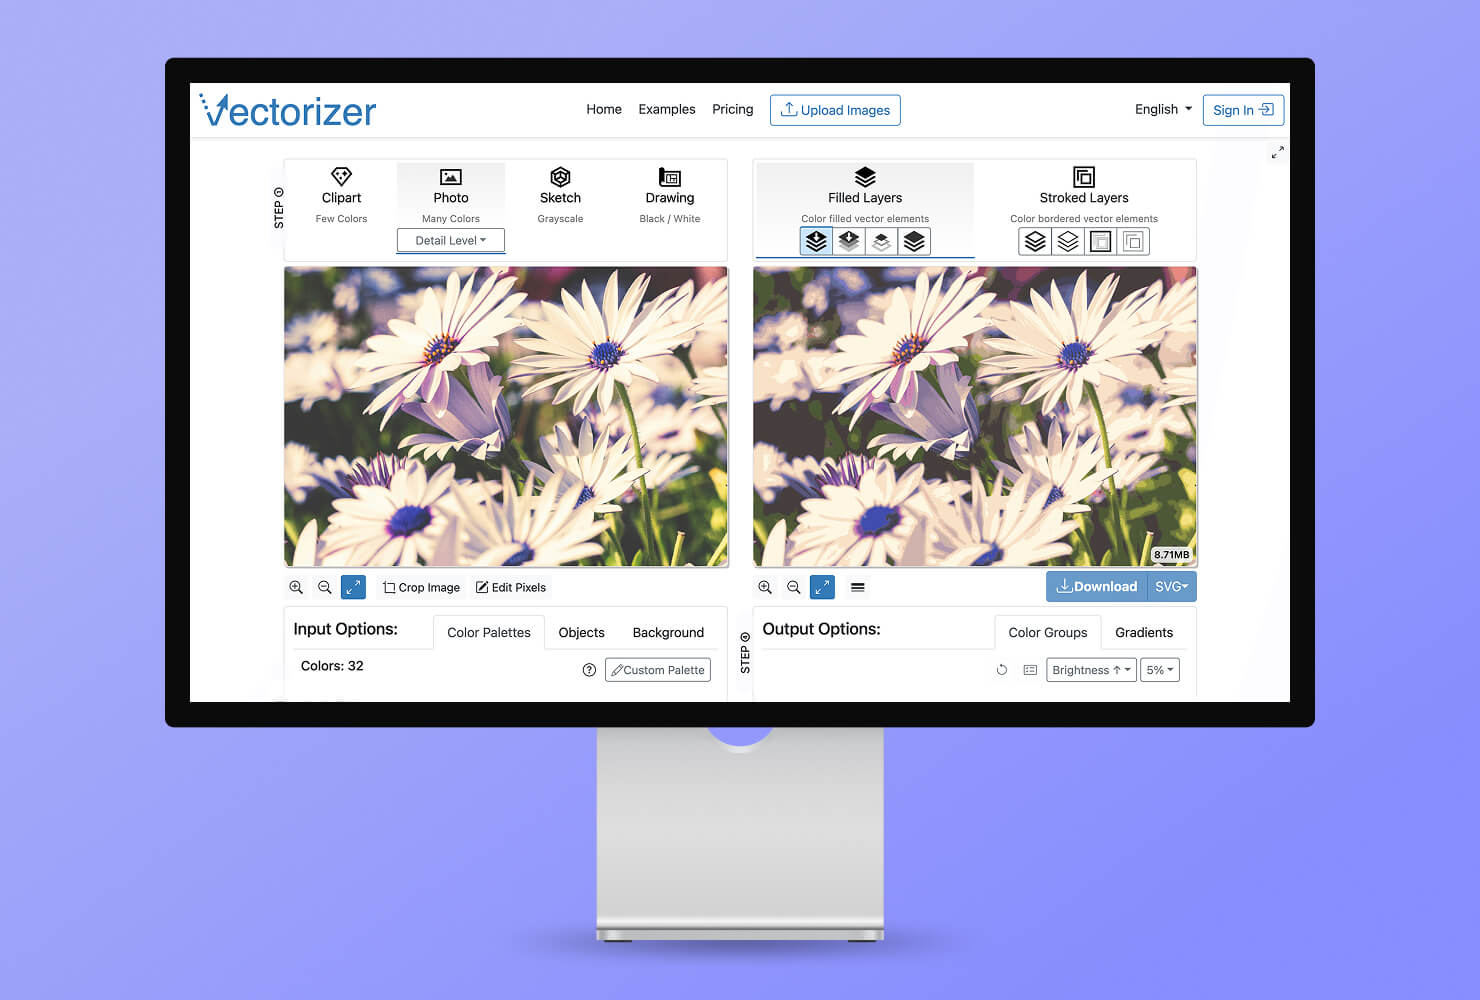
- Upload the image.
- Select the best mode: Clipart, Photo, Sketch, or Drawing.
- Pick a color palette that matches your image, or build a custom one.
- Adjust the quality settings: anti-aliasing, noise reduction, upscaling.
- Select output colors—fewer for cleaner vectors, more to preserve detail.
- Download the SVG.
Note: Vectorizer.io gives a few free credits to evaluate the service; commercial use requires purchased credits. You can check the pricing on the official store.
Vectorization.eu
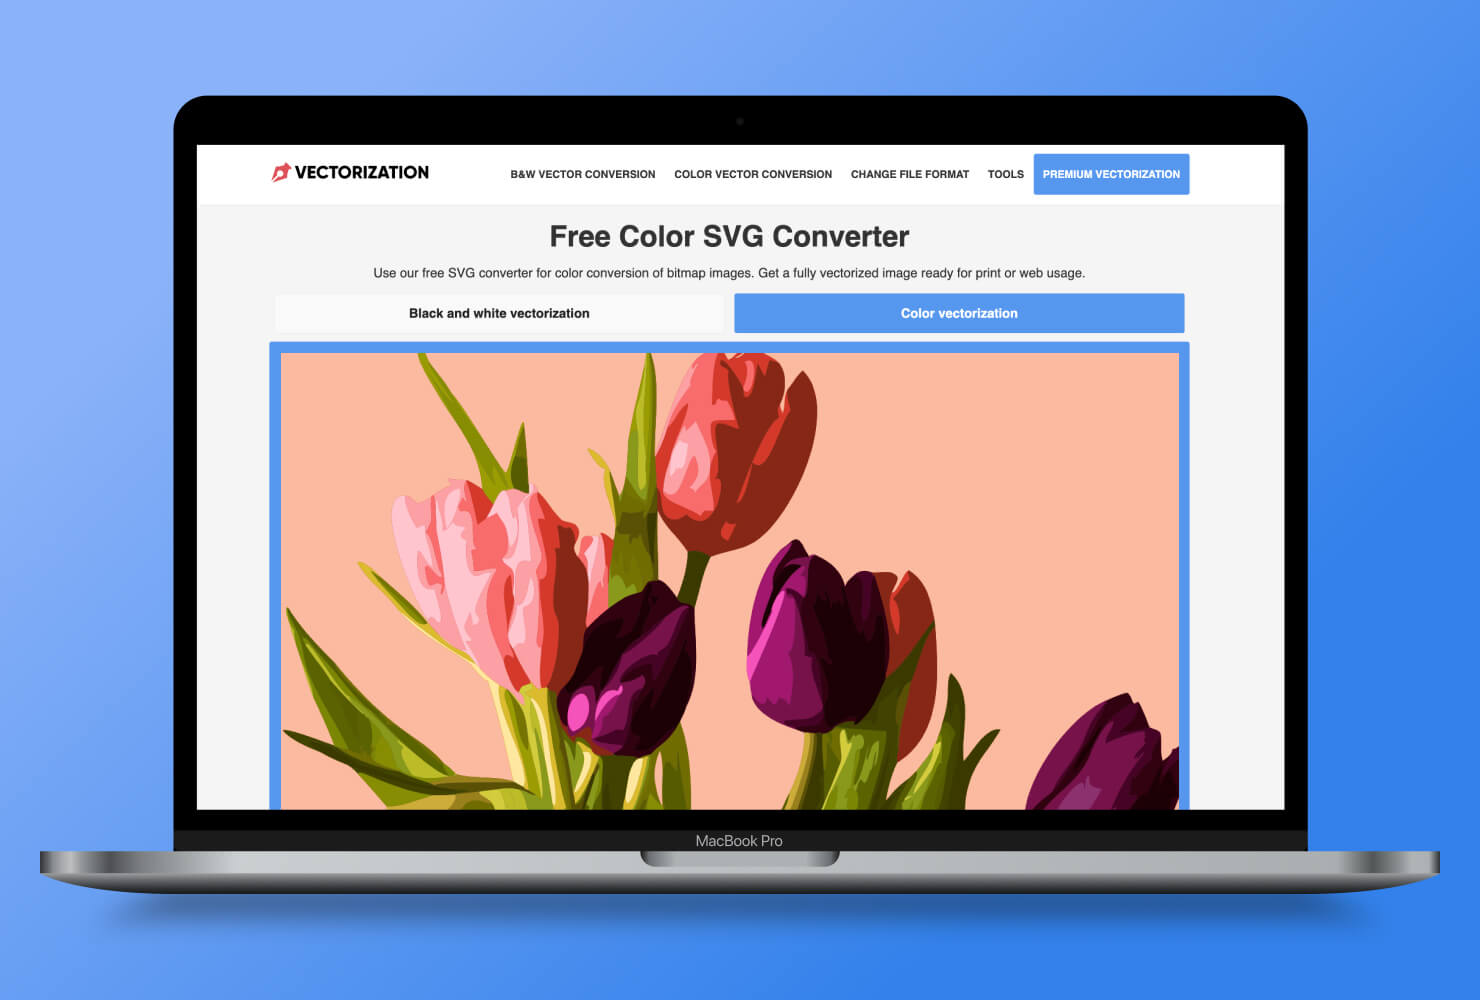
- Upload your image.
- Select Color or B/W tracing mode.
- Choose a curve-fitting method: Spline, Polygon, or Pixel.
- Increase Color Precision to preserve more detail.
- Use Filter Speckle to remove small artifacts.
- Adjust Segment Length for smoother or more accurate curves.
- Download the SVG.
Online PNG or JPG to SVG Converter
- Upload your image.
- Adjust the number of colors—fewer for cleaner vectors, more to preserve detail.
- Adjust Simplify to reduce vector points and create smoother paths.
- Preview the result and download the SVG.
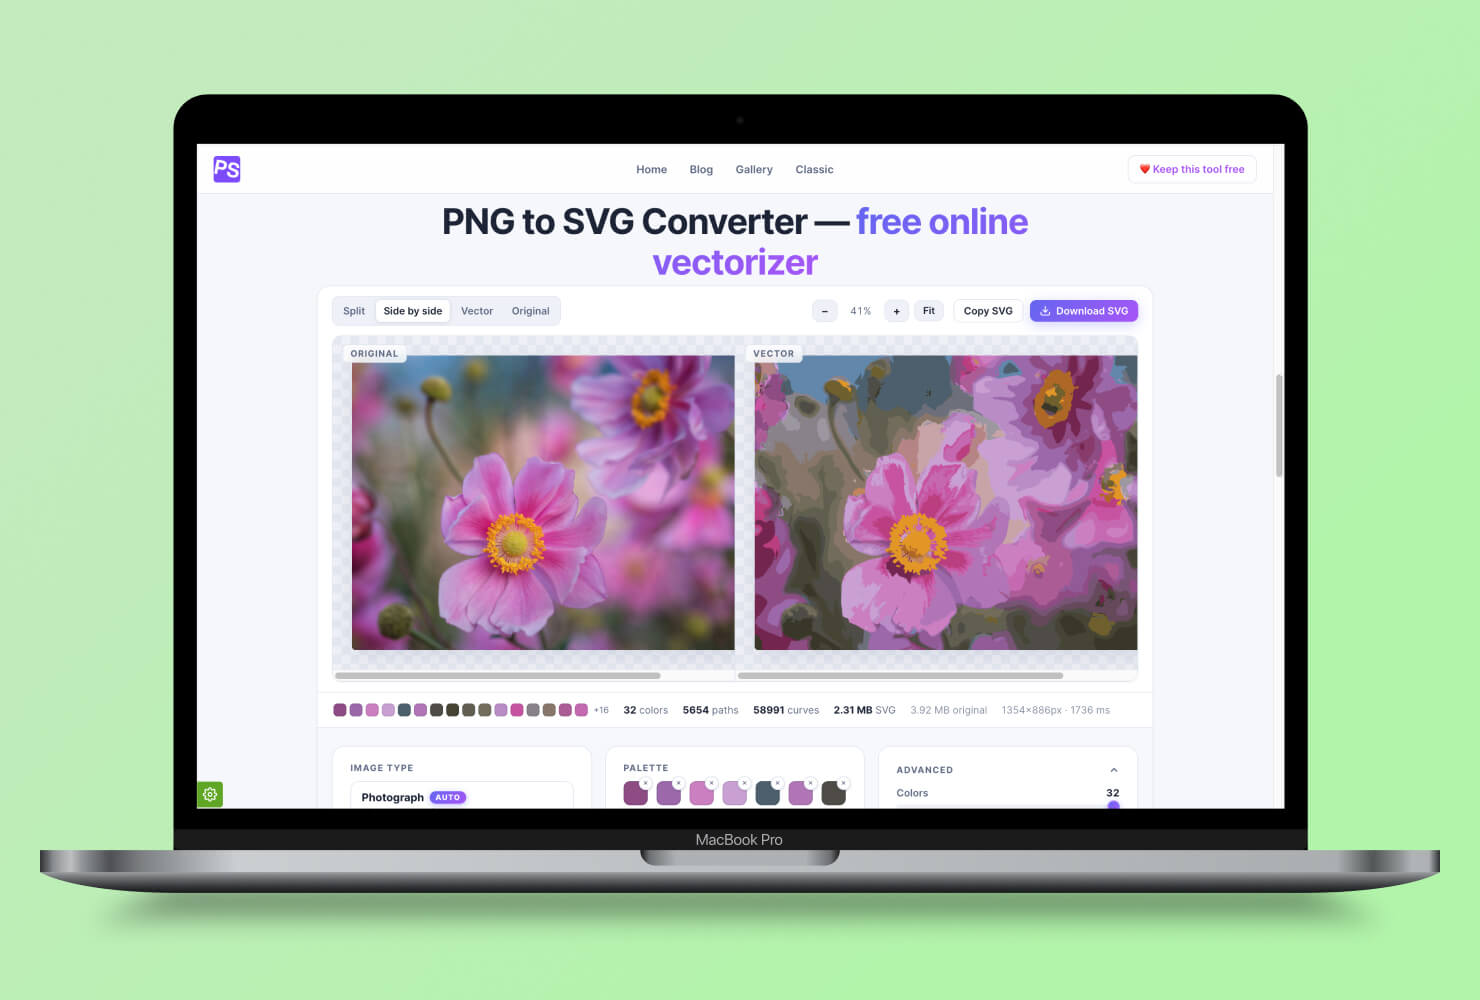
Image Vectorizer Tools Compared
The same trace can look very different depending on the tool. Here’s how the six options line up on the criteria that matter when you’re choosing one.
| Tool | Type | Modes | Output | Best for | Cost |
|---|---|---|---|---|---|
| Amadine (Image Trace) | Mac / iPad / iPhone app | Monochrome + Colored | SVG, PDF (+ full editing) | Tracing and refining paths in one app | Free trial; paid app |
| SVG Converter | Online | Color + mono, unlimited/custom colors | SVG, PDF, AI, EPS | Multiple export formats + transparency | Free |
| Aspose Image Vectorizer | Online | Multi-color, palette control | SVG | Quick, noise-reduced traces | Free |
| Vectorizer.io | Online | Clipart / Photo / Sketch / Drawing | SVG | Mode presets tuned per image type | Freemium* |
| Vectorization.eu | Online | Color + B/W; Spline/Polygon/Pixel | SVG | Fine curve-fitting control | Free |
| PNG/JPG to SVG Converter | Online | Color count + simplify | SVG | Fastest PNG/JPG → SVG | Free |
* Vectorizer.io offers free evaluation credits; commercial use needs purchased credits. Free tiers, limits, and app pricing change over time—verify on each tool’s site.
Frequently Asked Questions
What is the difference between raster and vector images?
Raster images (PNG, JPG) are grids of colored pixels, so they blur or show ragged edges when enlarged. Vector images (SVG, PDF, EPS, AI) are math-defined points and curves, so they stay sharp at any size and are usually smaller in file size.
Is Amadine’s Image Trace free?
Image Trace is part of the Amadine app. Amadine offers a free trial on Mac and a free version on iPad and iPhone; full export and image tracing is unlocked with a one-time purchase or subscription.
PNG or JPG—which is better to vectorize?
PNG is usually better. It supports transparency and has no compression artifacts, so edges trace more cleanly. JPG works, but its compression can add noise around edges that shows up in the vector.
Can I vectorize a photo, or only logos and line art?
Both, but results differ. Logos, icons, and flat illustrations trace cleanly. Photos produce large, approximate vectors with many colors—use a colored trace with a limited color count, expect some detail loss, and plan to clean up the paths.
Free online vectorizer or a desktop app—which should I use?
Use a free online vectorizer for a quick one-off SVG you won’t edit. Use a desktop app like Amadine when you need to refine anchor points, adjust colors, or keep the artwork inside a larger design—tracing and editing happen in one place.
The Bottom Line
If you just need one SVG and won’t touch it again, any of the five free online tools will get you there in a browser—pick the one whose controls match your image (mode presets, curve fitting, or extra export formats). If tracing is the start of the work rather than the end—you’ll refine paths, recolor, or drop the art into a bigger design—a desktop app that traces and edits in the same place saves the round trip.
