How to Crop in Adobe Illustrator and Other Vector Apps
Designers are often faced with the task of cutting some part of complete vector graphics. It can be a vector composition that needs to be cut for an artboard, or a vector pattern that needs to be filled into a certain shape. They may also need to cut off an unnecessary area in the logo, or create a new shape from the existing ones. All of these and many other tasks are the ones that designers have to deal with in their daily routine with vector graphics.
There are plenty of online graphic design tools you can use to crop your images, but not all tools work for vector graphics as well as some tools may not work with all the file formats. Since vector images are a special category and offer more flexibility, we’ll take a look at the best tools created to work with them. Even if you’re not a professional graphic designer, you can find a simple process to crop graphics that will work for you in any of your preferred apps.
Cropping Vector Graphics in Adobe Illustrator Using Artboard
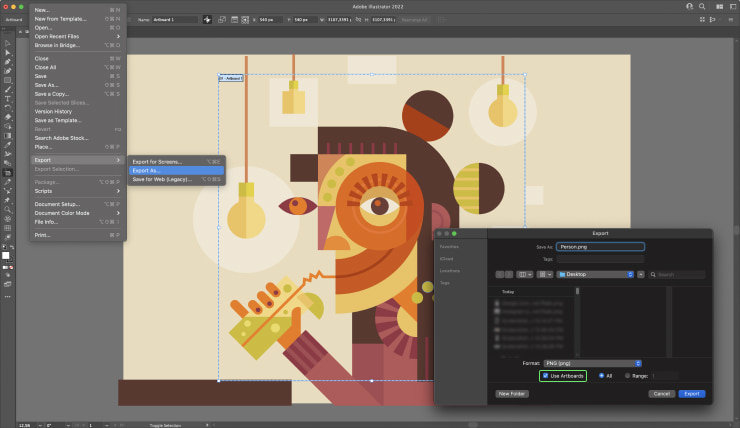
Adobe Illustrator is one of the most popular graphics editors used by designers because of its vast options for editing and creating vector images. First and the most common way to crop the vector is to use the artboard. It works best when you finish your artwork and want to save it, cutting off all the excess from the outside. This will only work with rectangular crops. If you do that only the shapes on the artboard are going to be saved, so you don’t even have to worry about those shapes that are hanging outside. You go to File > Export > Export as… and in the dialog box check Use Artboard for the export. Done.
Cropping Vector Graphics in Adobe Illustrator Using Vector Crop Tool
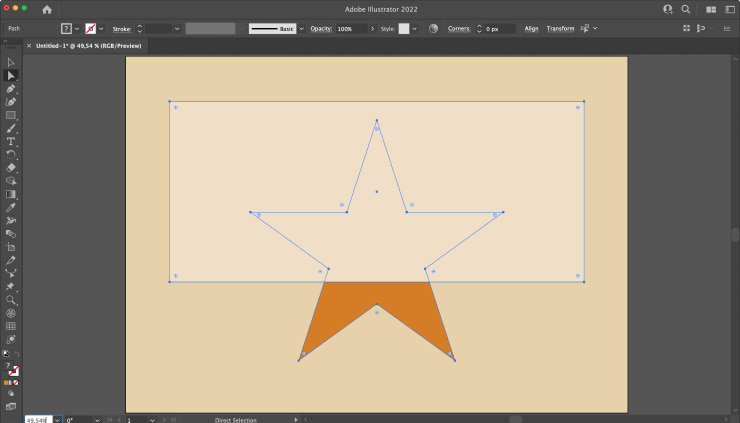
If you need to crop your vector into a simple shape, you can use the Vector Crop Tool, which is in the Pathfinder control panel. First, use the readymade shapes or create your own with the Pen or Draw Tool. Then, select both objects while making sure that the graphic you want to crop is underneath. Next, use the Window > Pathfinder options and click Crop. Everything outside the shape will be removed and your image will be cropped.

Cropping Vector Graphics in Adobe Illustrator Using Clipping Mask
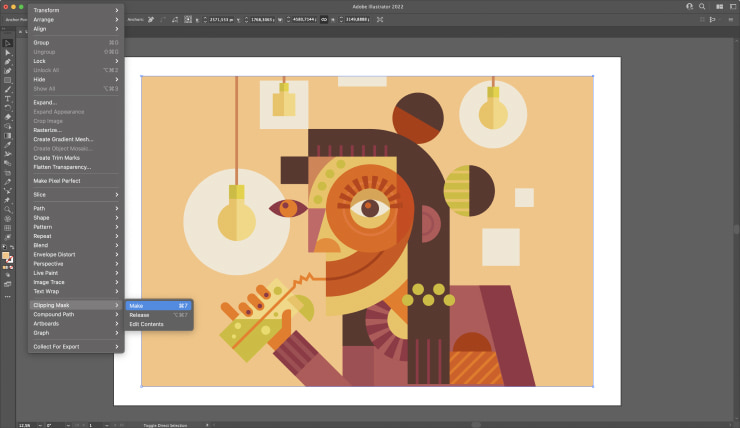
A mask is a vector shape that can be applied to hide parts of visual content beyond the mask shape. You can create it using a ready-made shape, draw a clipping path using the draw tools, or import a pre-existing shape into your canvas. The mask shape must be on top of the vector graphic that you want to crop. Select all objects that you want to crop together with the clipping mask and select Object > Clipping Mask > Make. The visual image will be “cropped” to within the clipping mask. Unlike the Vector Crop Tool, the Clipping Mask works non-destructive, which means that all parts outside of the shape will be hidden but still intact. If you want to edit some of those shapes inside the mask you can go up to the control bar and choose Edit Contents. Or you can also change the clipping mask itself choosing Edit Clipping Path.
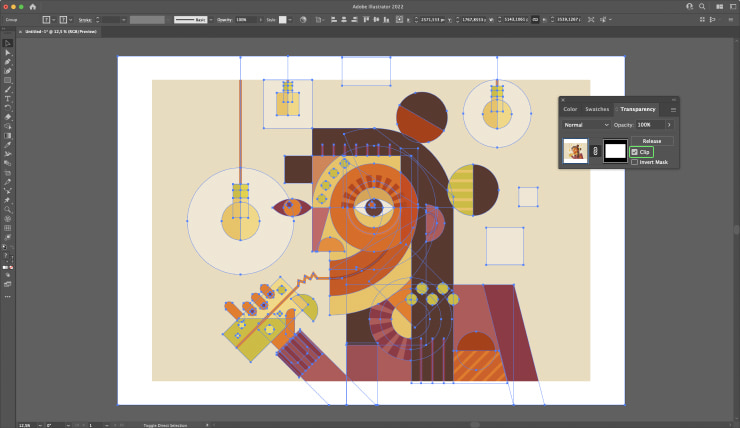
Cropping Vector Graphics in Adobe Illustrator Using Opacity Mask
Similar to the Clipping Mask method is the Opacity Mask. As in the previous method, create a shape or import a preexisting one. Make sure that the mask shape is situated at the top. Then go up to the color panel and fill this shape with white color. This color means that the image will be opaque in that area. Select all objects that you want to crop and go over to the transparency panel and in the flyout menu choose Make Opacity Mask.
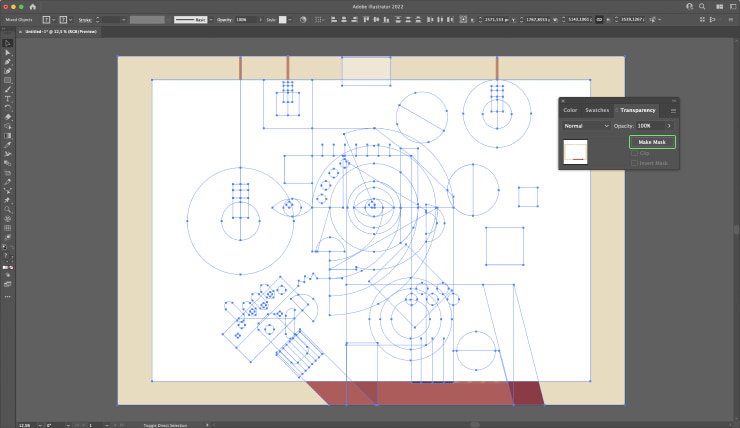
Make sure the Clip checkbox is activated.
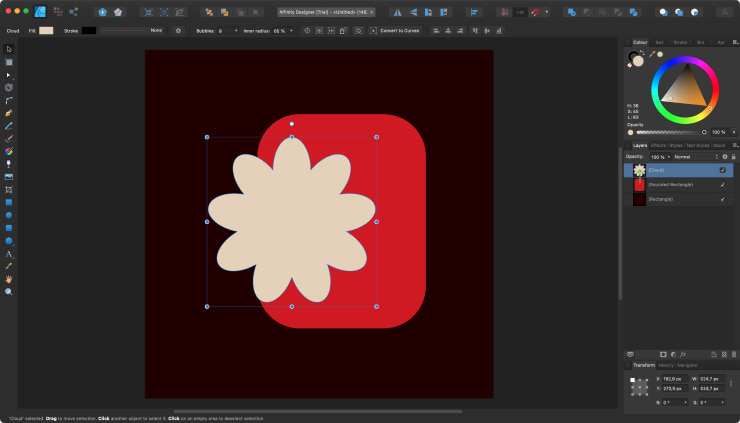
Cropping Vector Graphics in Affinity Designer With the Vector Crop Tool
In addition to Adobe Illustrator, there are other programs that will be useful to designers in editing vector graphics. It really is a matter of choosing a tool that you find easy to use and one that offers the capabilities you like. For example, if you tend to use Affinity Designer for your design works, there are also ways to crop vector objects in it. To do it, select your vector object in the program and click on the Vector Crop tool in the left toolbar. The bounding box with the handles on the corners and edges will appear on your vector object. Click and drag one of them to crop the portion of the vector graphic you’d like. If you want to preserve the aspect ratio of the bounding box, press and hold the Shift key. Pressing and holding the Ctrl key will start the bounding box transformation from the central point.

The Vector Crop tool works as a Clipping Mask so every movement of the cropped object is constrained to that bounding box. It is also a non-destructive process which means that you can reverse the cropping process simply by dragging one of the corner handles in the opposite direction to renew parts of the object that you crop before. Additionally, you can click and drag inside the bounding box to move the vector object around. The tool is intuitive and easy to use.
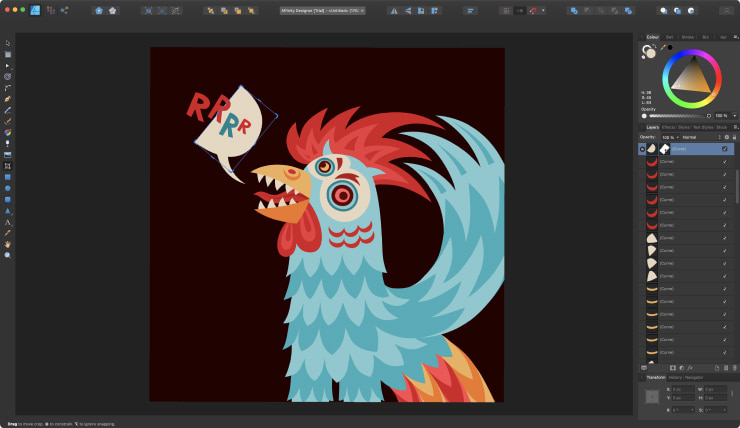
Cropping Vector Graphics in Affinity Designer With the Clipping Mask
You can also crop vector objects to a shape that you define using a clipping mask. In Affinity Designer, it is a very easy and fast action. On the page, position the vector object to be clipped so it overlaps the object which will perform the clipping. Go to the Layers panel, click and drag one layer with the vector you want to be cropped onto another layer that will be a clipping mask.
The process of creating a clipping mask produces a Parent (main layer) and Child (clipping mask) relationship. The Parent layer can contain many child layers including Adjustment layers.

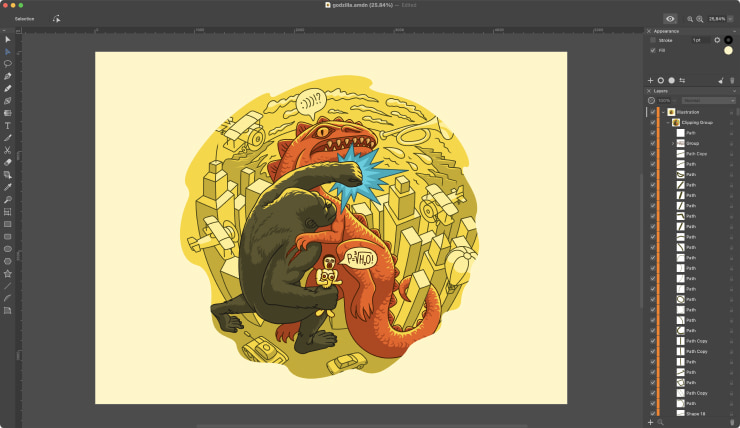
Using Amadine to Crop Vector Graphics
Amadine is another popular graphics editing tool with the capability to easily crop vector graphics. In Amadine, we’ll also look at using the clipping mask as the flexible way to crop. Like the Crop tool you can find in other vector drawing software, clipping masks can work similarly here. In addition to cropping a basic rectangle, with a clipping mask in Amadine, you can crop your graphics into any shape that has a closed path. As in other programs, the clipping mask in Amadine also is non-destructive and the area outside the crop is not permanently deleted, so you can still edit the mask and the image even after you have cropped it. This should give you confidence to try all sorts of shapes as you learn to use the clipping mask to crop, since you’re not making permanent changes to your image.
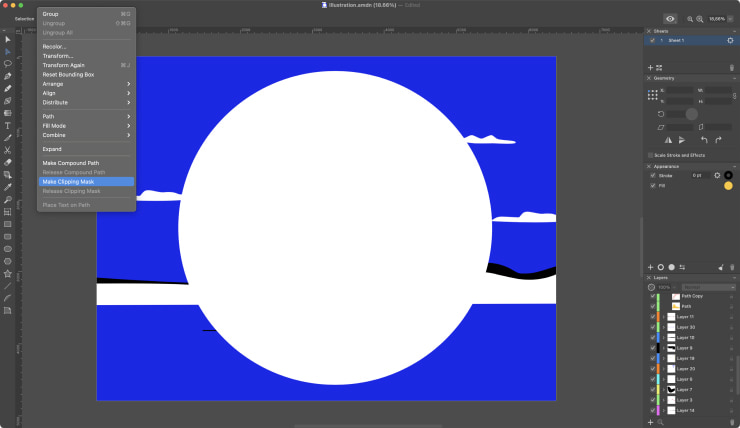
How to Crop a Vector Image in Amadine Using the Clipping Mask
First, create a vector object that you’re going to use as a clipping mask. This will create the clipping path in the shape of your desired crop. Next, place the clipping path over the vector graphic you want to mask. Then select the mask and the vector graphics. Now, choose Modify > Make Clipping Mask from the main menu.
This will create a ClipGroup object, which is a grouping of the clipping path you created, and the masked (or cropped) object. It’s important to know that if you tried to create a clipping mask from a raster image, the clipping path would only follow the rectangular outline of the whole image. But creating a vector clipping path will allow you to create a cropping shape (or mask) in any design you want.
If you’d like to edit the mask you created, you can modify the clipping path using the Pen Tool or Selection Tool. To outline the visible part of a masked object, you can simply apply a stroke to the clipping path.
As mentioned, even after the image is masked, as it is in vector format, you can still edit it. First, select the object in the Layers panel, then open the ClipGroup to access the object inside it. After you’ve selected it, you can modify the image using the tools you normally would to edit an image.

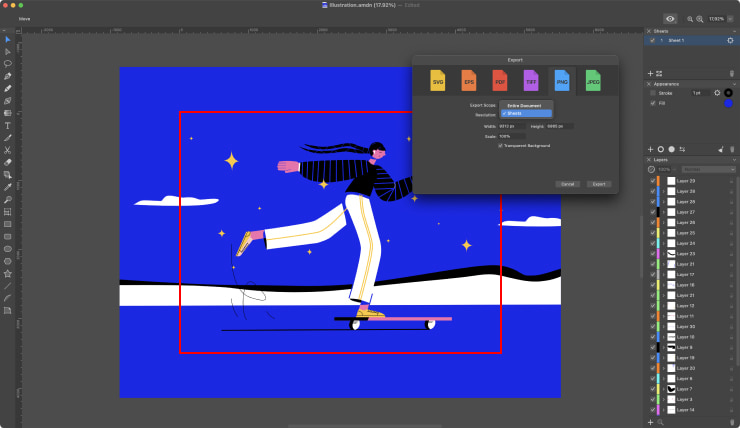
Cropping Vector Graphics in Amadine Using Sheets
The Sheets in the Amadine app can function in a similar way to Adobe Illustrator’s Artboard. Amadine can cut vector graphics with a sheet, because during export, all vector objects behind the artboard are automatically cut off and do not fit into the saved picture. When you wish to export, you can choose to export the Entire Document, Selection or particular Sheets. When you choose to export a particular sheet, you will have only the graphics on this sheet with everything else left out, much as in Adobe Illustrator.
Options for Any Artist to Crop Vector Graphic
Given all the options, any designer can find a tool they like to crop vector images. Whether you choose Adobe Illustrator CC, Affinity Designer or Amadine, cropping vector images to a desired shape can be simple. Learning these methods to crop your vector designs gives you the flexibility to create amazing images of any shape you can think of, resize them, and use them for a wide range of designs.