Most Useful Tools for Logo Creation in Amadine
Lots of graphics design products available on the software market are well suited for logo creation. Being one in the highest demand among the graphic design skill set, this field provides an immeasurable number of opportunities for the amateur designer.
But the next question that arises is how to use all the available tools to achieve the best result and which exact results are to be expected from using different tools? We’ve prepared an article to introduce you to Amadine’s most used tools for logo creation and make the logo designer’s learning curve as smooth as possible. Enjoy the reading and try out the new knowledge in the Amadine app!
Pen Tool
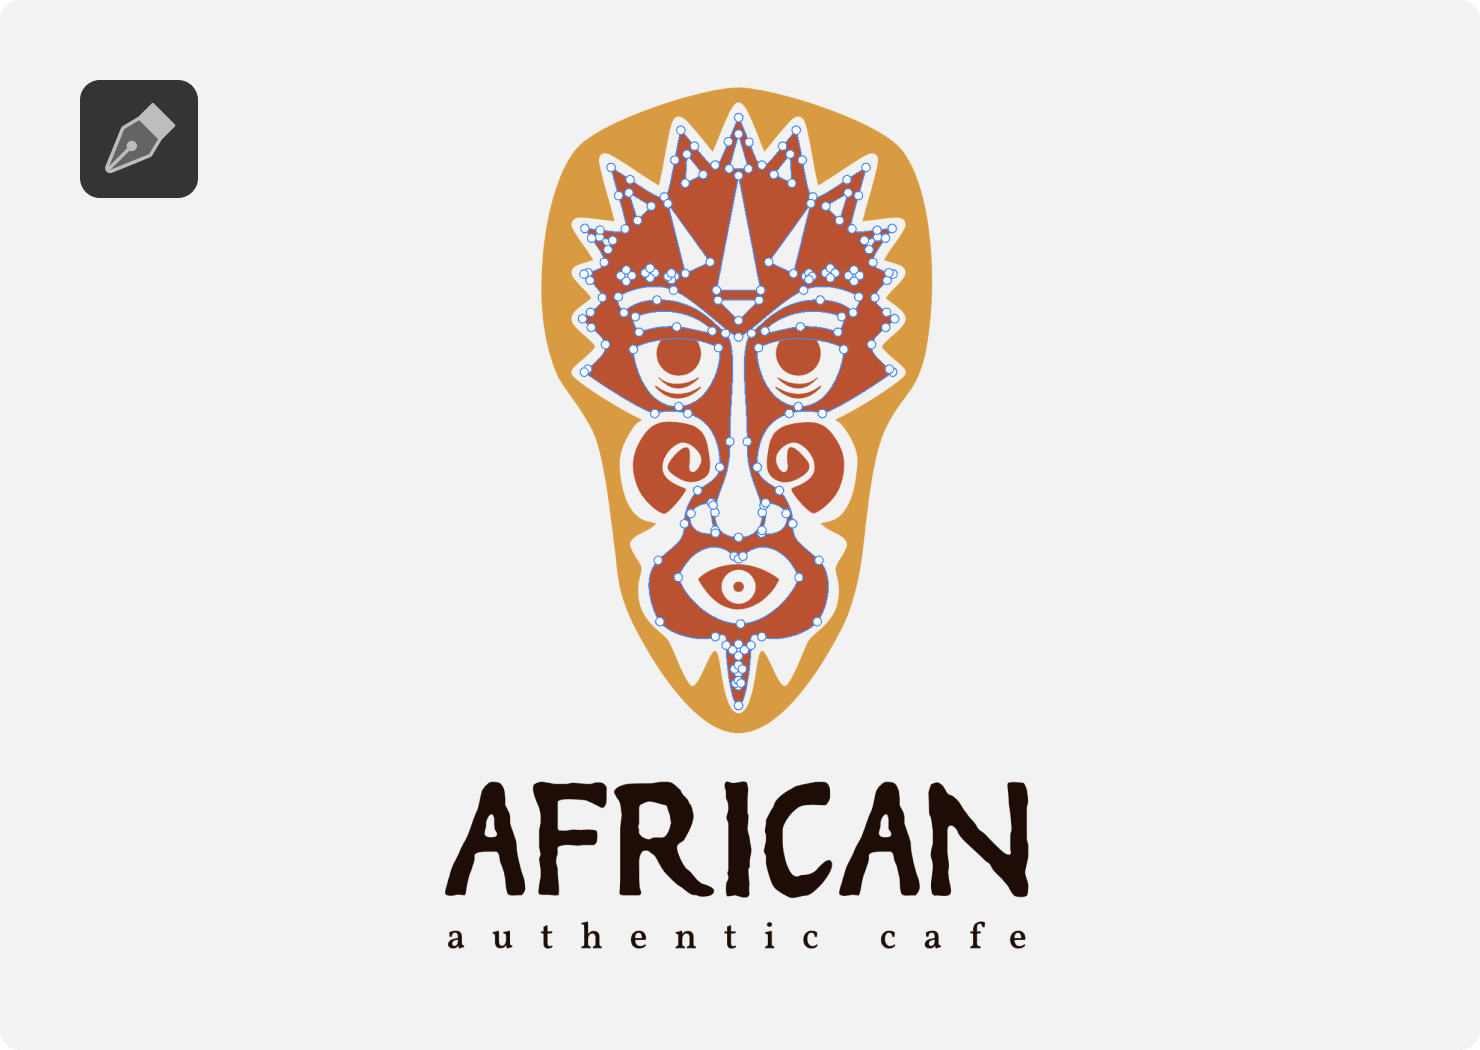
One of the most basic tools to create logos is the Pen tool. You can make almost any shape using it, because the Pen tool can draw both straight and curved lines, as you can see in the example logo. You should add segments one after another when drawing a path. The good news is that you can alter the path after it has been constructed if any of the extra anchor points or segments need to be adjusted.
Draw Tool
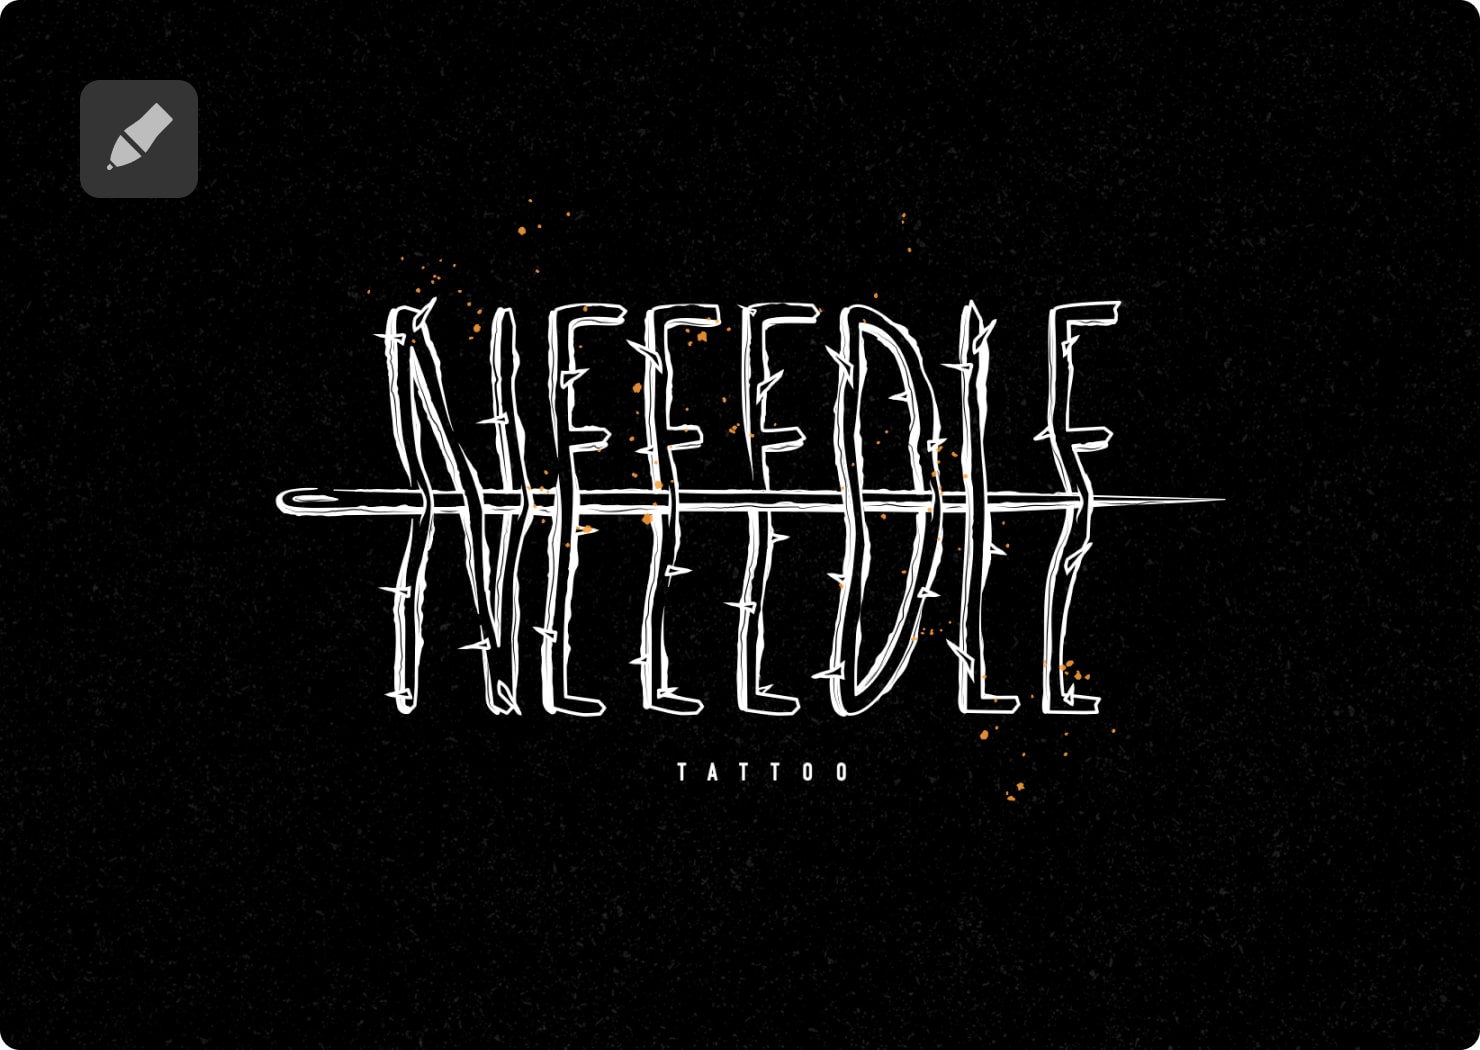
Next most common tool to create logos with handwritten effects is the Draw tool. The power of this tool is that you can connect your stylus or Wacom on your Mac or draw using the Apple Pencil on your iPad to create an imitation of drawing by hand. As you draw, a curving route is formed and follows the stylus. The path that has been constructed can be modified.
The Draw tool automatically inserts anchor points based on the curvature of the path, in contrast to the Pen tool, which allows you to directly place anchor points. While a zigzag requires an anchor point each time it changes direction, an almost straight line may only need two anchor points on its endpoints. The most trendy logo designs are at your fingertips with the Draw tool.
Path Width Tool
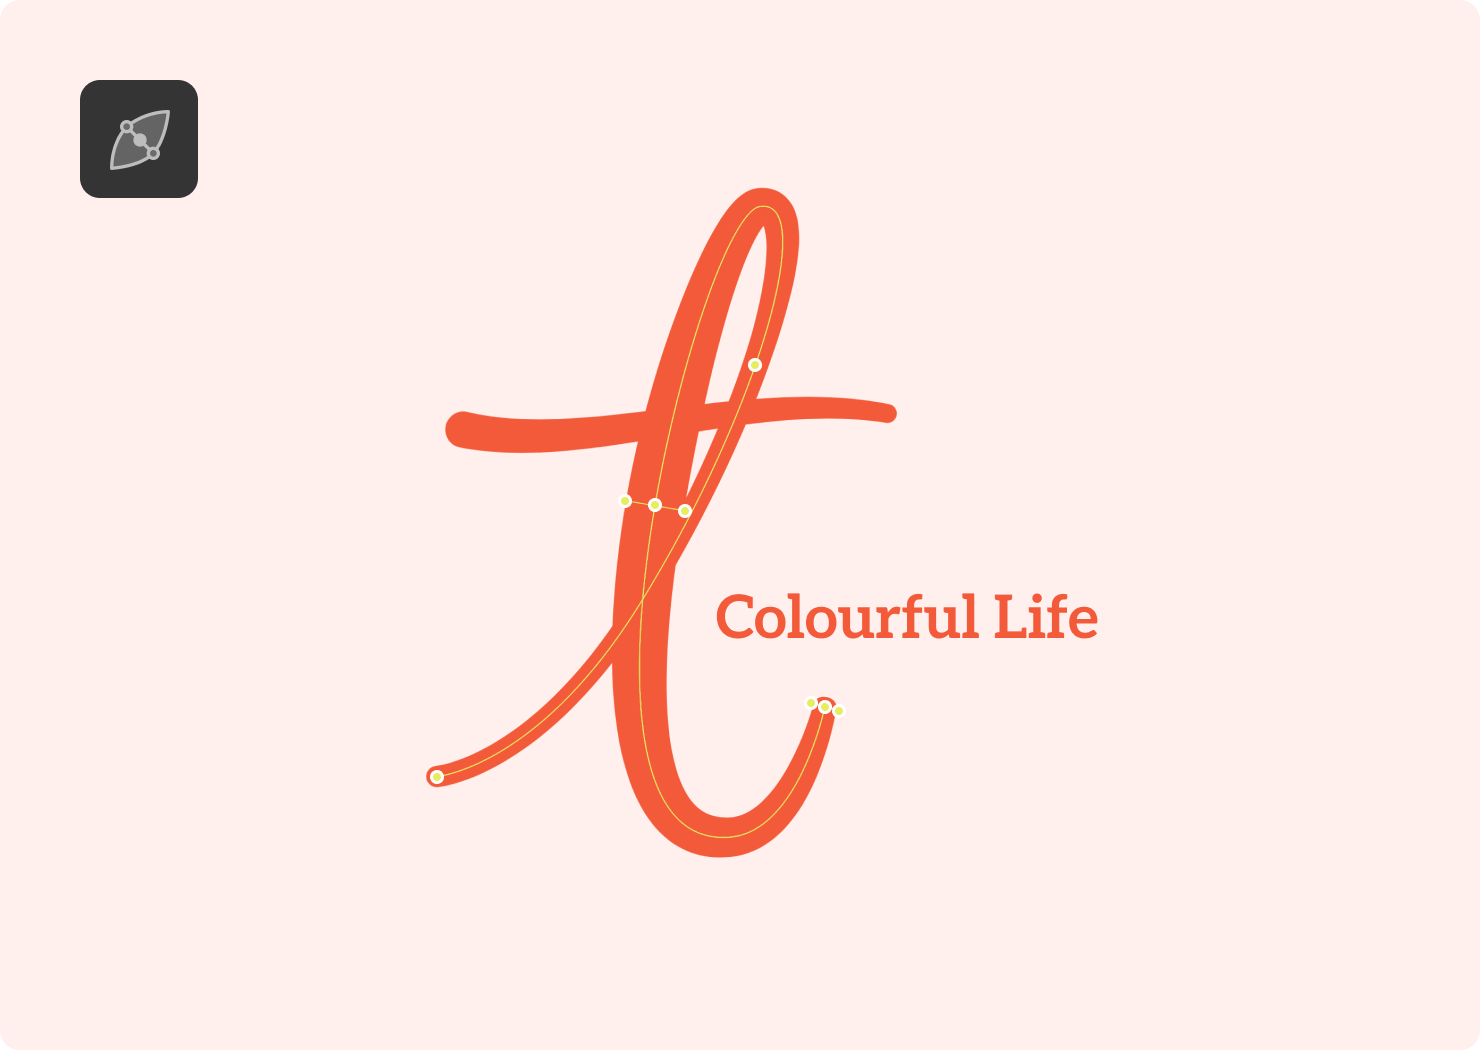
Magic of this tool allows you to make strokes wider or thinner in exactly the place you need. This tool is the best to imitate pen pressure. Note, that you must apply a stroke to the path you are going to alter. Choose a path, then turn on the Path Width tool to change the width.
You can only change the stroke width handles using the Path Width tool. You should activate the proper tool for further tasks like selecting, moving, or resizing objects.
Gradient Tool
The Gradient tool allows you to add beautiful transitions between colors. Gradients are used in places where you want a more natural change in color rather than using one solid color fill throughout the shape. In the logos, it can be used to make dull backgrounds more interesting and entertaining.
Although it is applicable in any type of branding, you need to make sure you keep the discreet tone in official logos like banking or governmental organizations where colorful gradients may be considered light minded. You can see how the Amadine logo looks perfect with gradients in the example. Amadine allows you to use Radial and Linear gradients, both of which work perfectly to give your logo an authentic feel.

Text Tool
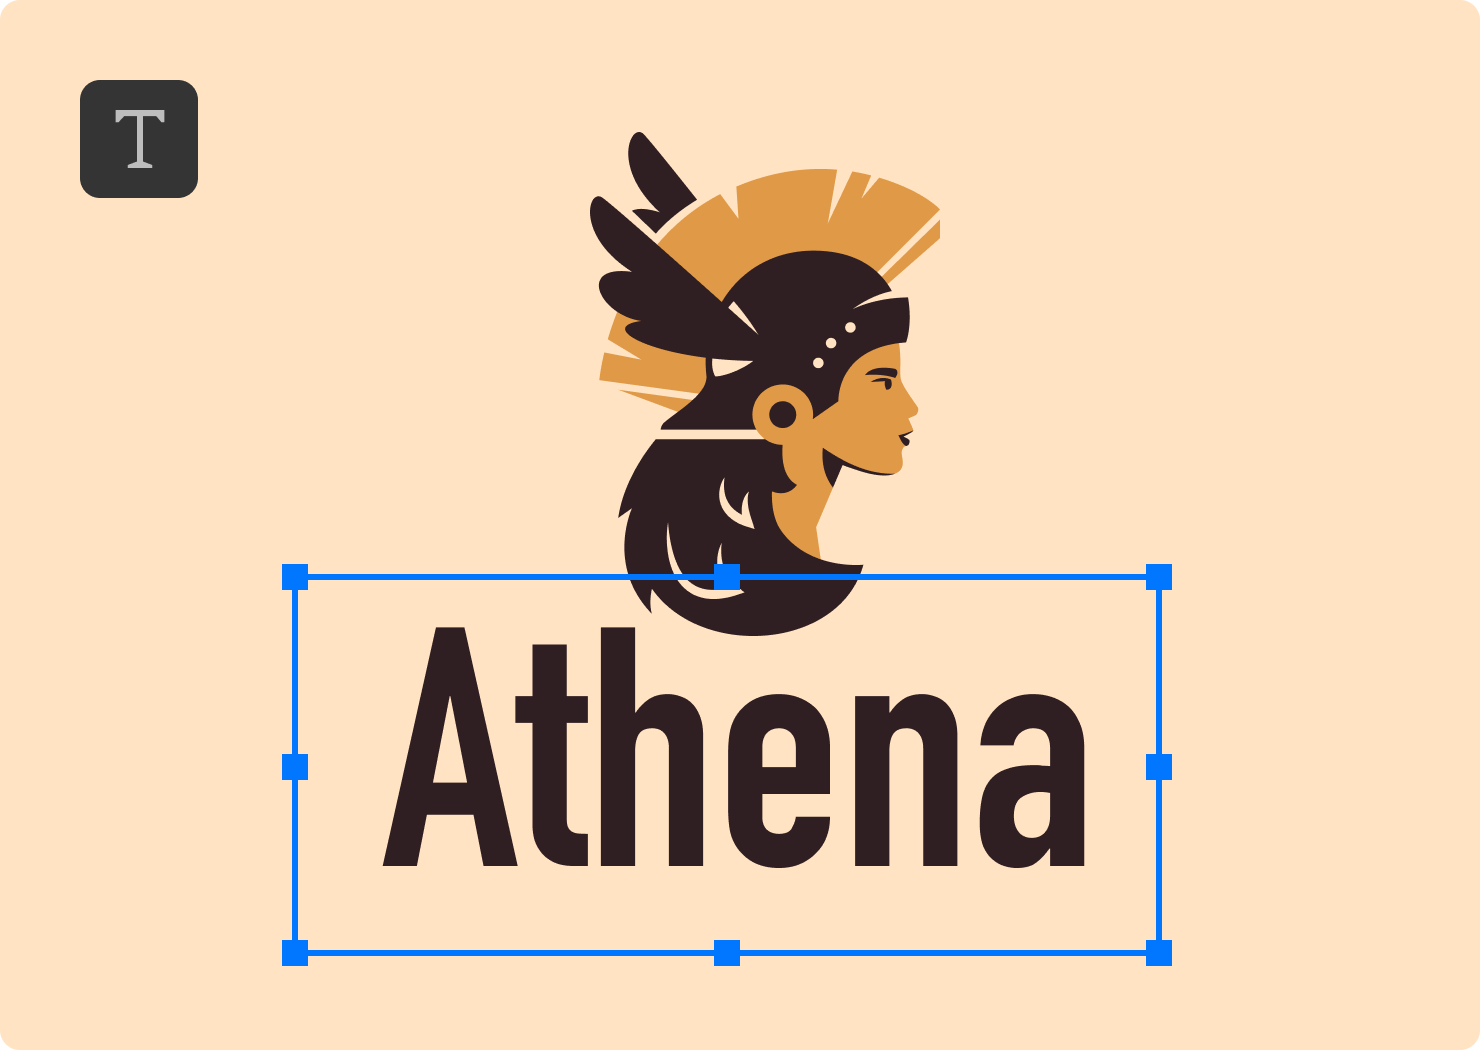
The Text tool is of utmost importance in logo creation because almost every logo reaps the rewards of naming. It can be used merely as a creative font as in example below or more artistically, as a helpful element to describe the name of a company.
The Text tool allows you to add every font you need and even modify it. But every time you use a particular font in a commercial logo, don’t forget to check usage rights. If you have no information about font privacy, you can always use Google Fonts which are free for both commercial and personal use.
Text Along a Path Tool
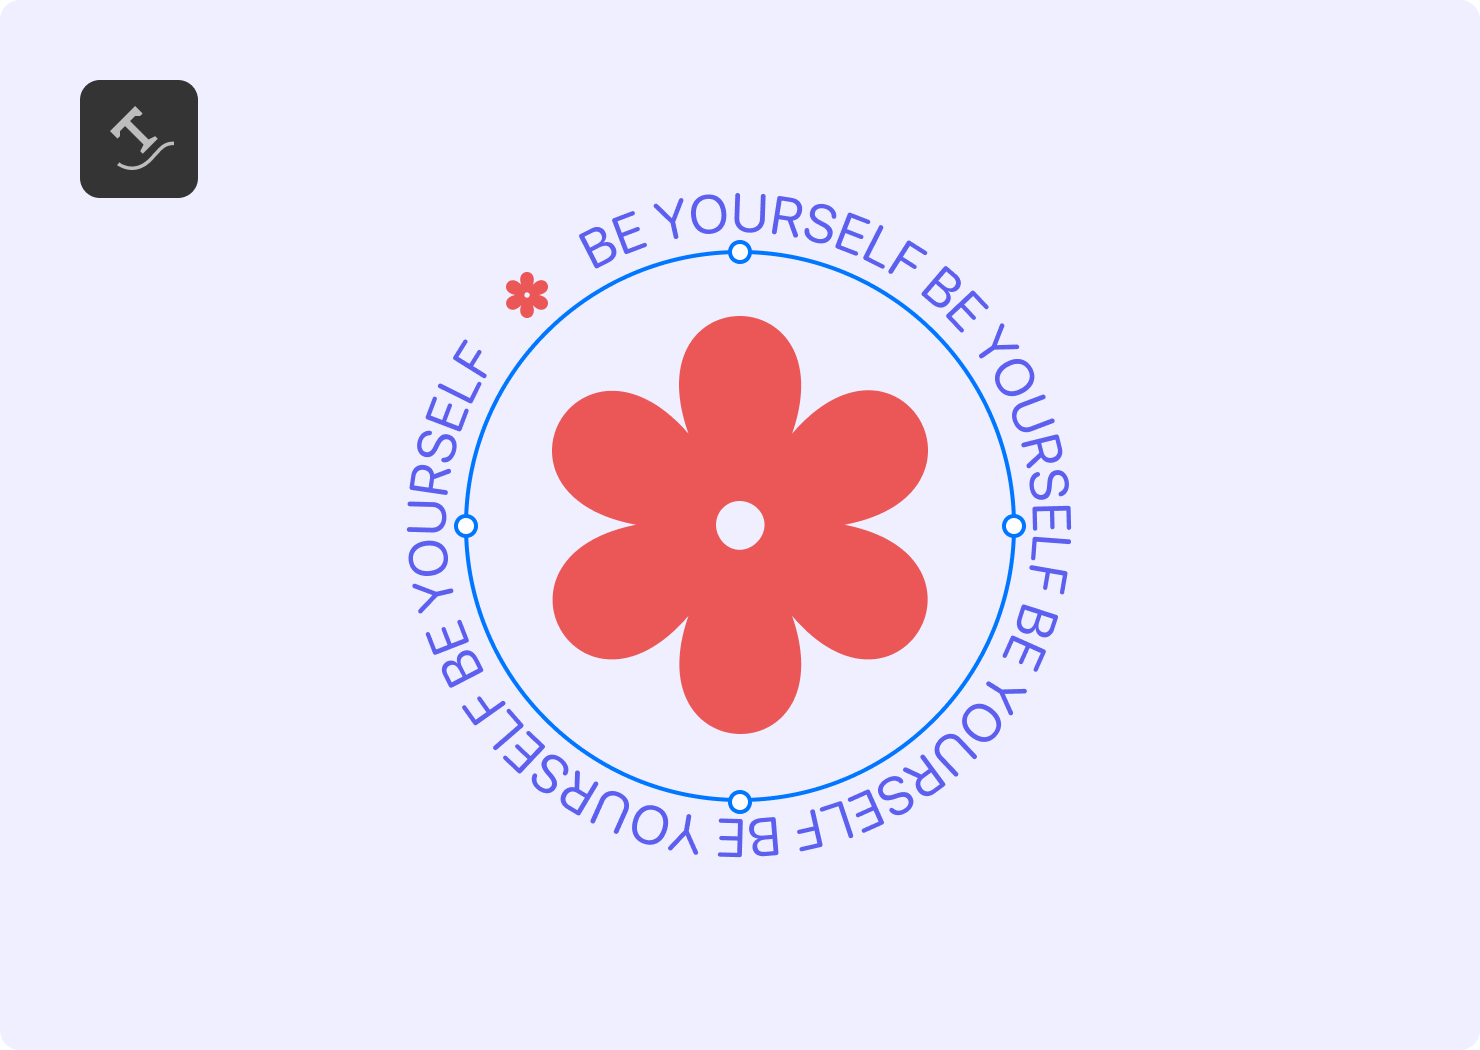
Another useful tool to make beautiful trending logos is the Text Along a Path tool. It helps to put any text on any stroke or shape.
To edit the text itself as a path, use the Modify > Expand command from the main menu to turn a text object into a path. Then, using the appropriate tools, you can change each character as a path or an anchor point. Keep in mind that once a text object has been expanded, neither editing it as text nor changing its formatting will be available.
Fusion Tool
The Fusion tool helps to build vector objects from different shapes. Just collect shapes as you wish and then combine or delete shapes. In the example below you can see that the shape of the fox was subtracted from letter X and this type of branding is called negative space logo. If you’re interested in the whole process of creation of such a logo, you can find out the step-by-step instructions in our article on negative space logo creation. You may also enjoy the article on The Fusion tool controls and specifics of use or compare the most popular Shape Builder tools in different apps.

A Tool for Every Task
Seeing you create awesome logos with a variety of Amadine tools is what makes the Amadine team delighted. Hopefully, the examples above have demonstrated that in your creative work the sky’s the limit and every tool in the app can be used for implementing your design dreams and aspirations on canvas. Don’t forget to share your beautiful works on Instagram and tag Amadine—we would love to share your design with our creative community there.